Photography Guide
Seafood Food Photography Guide
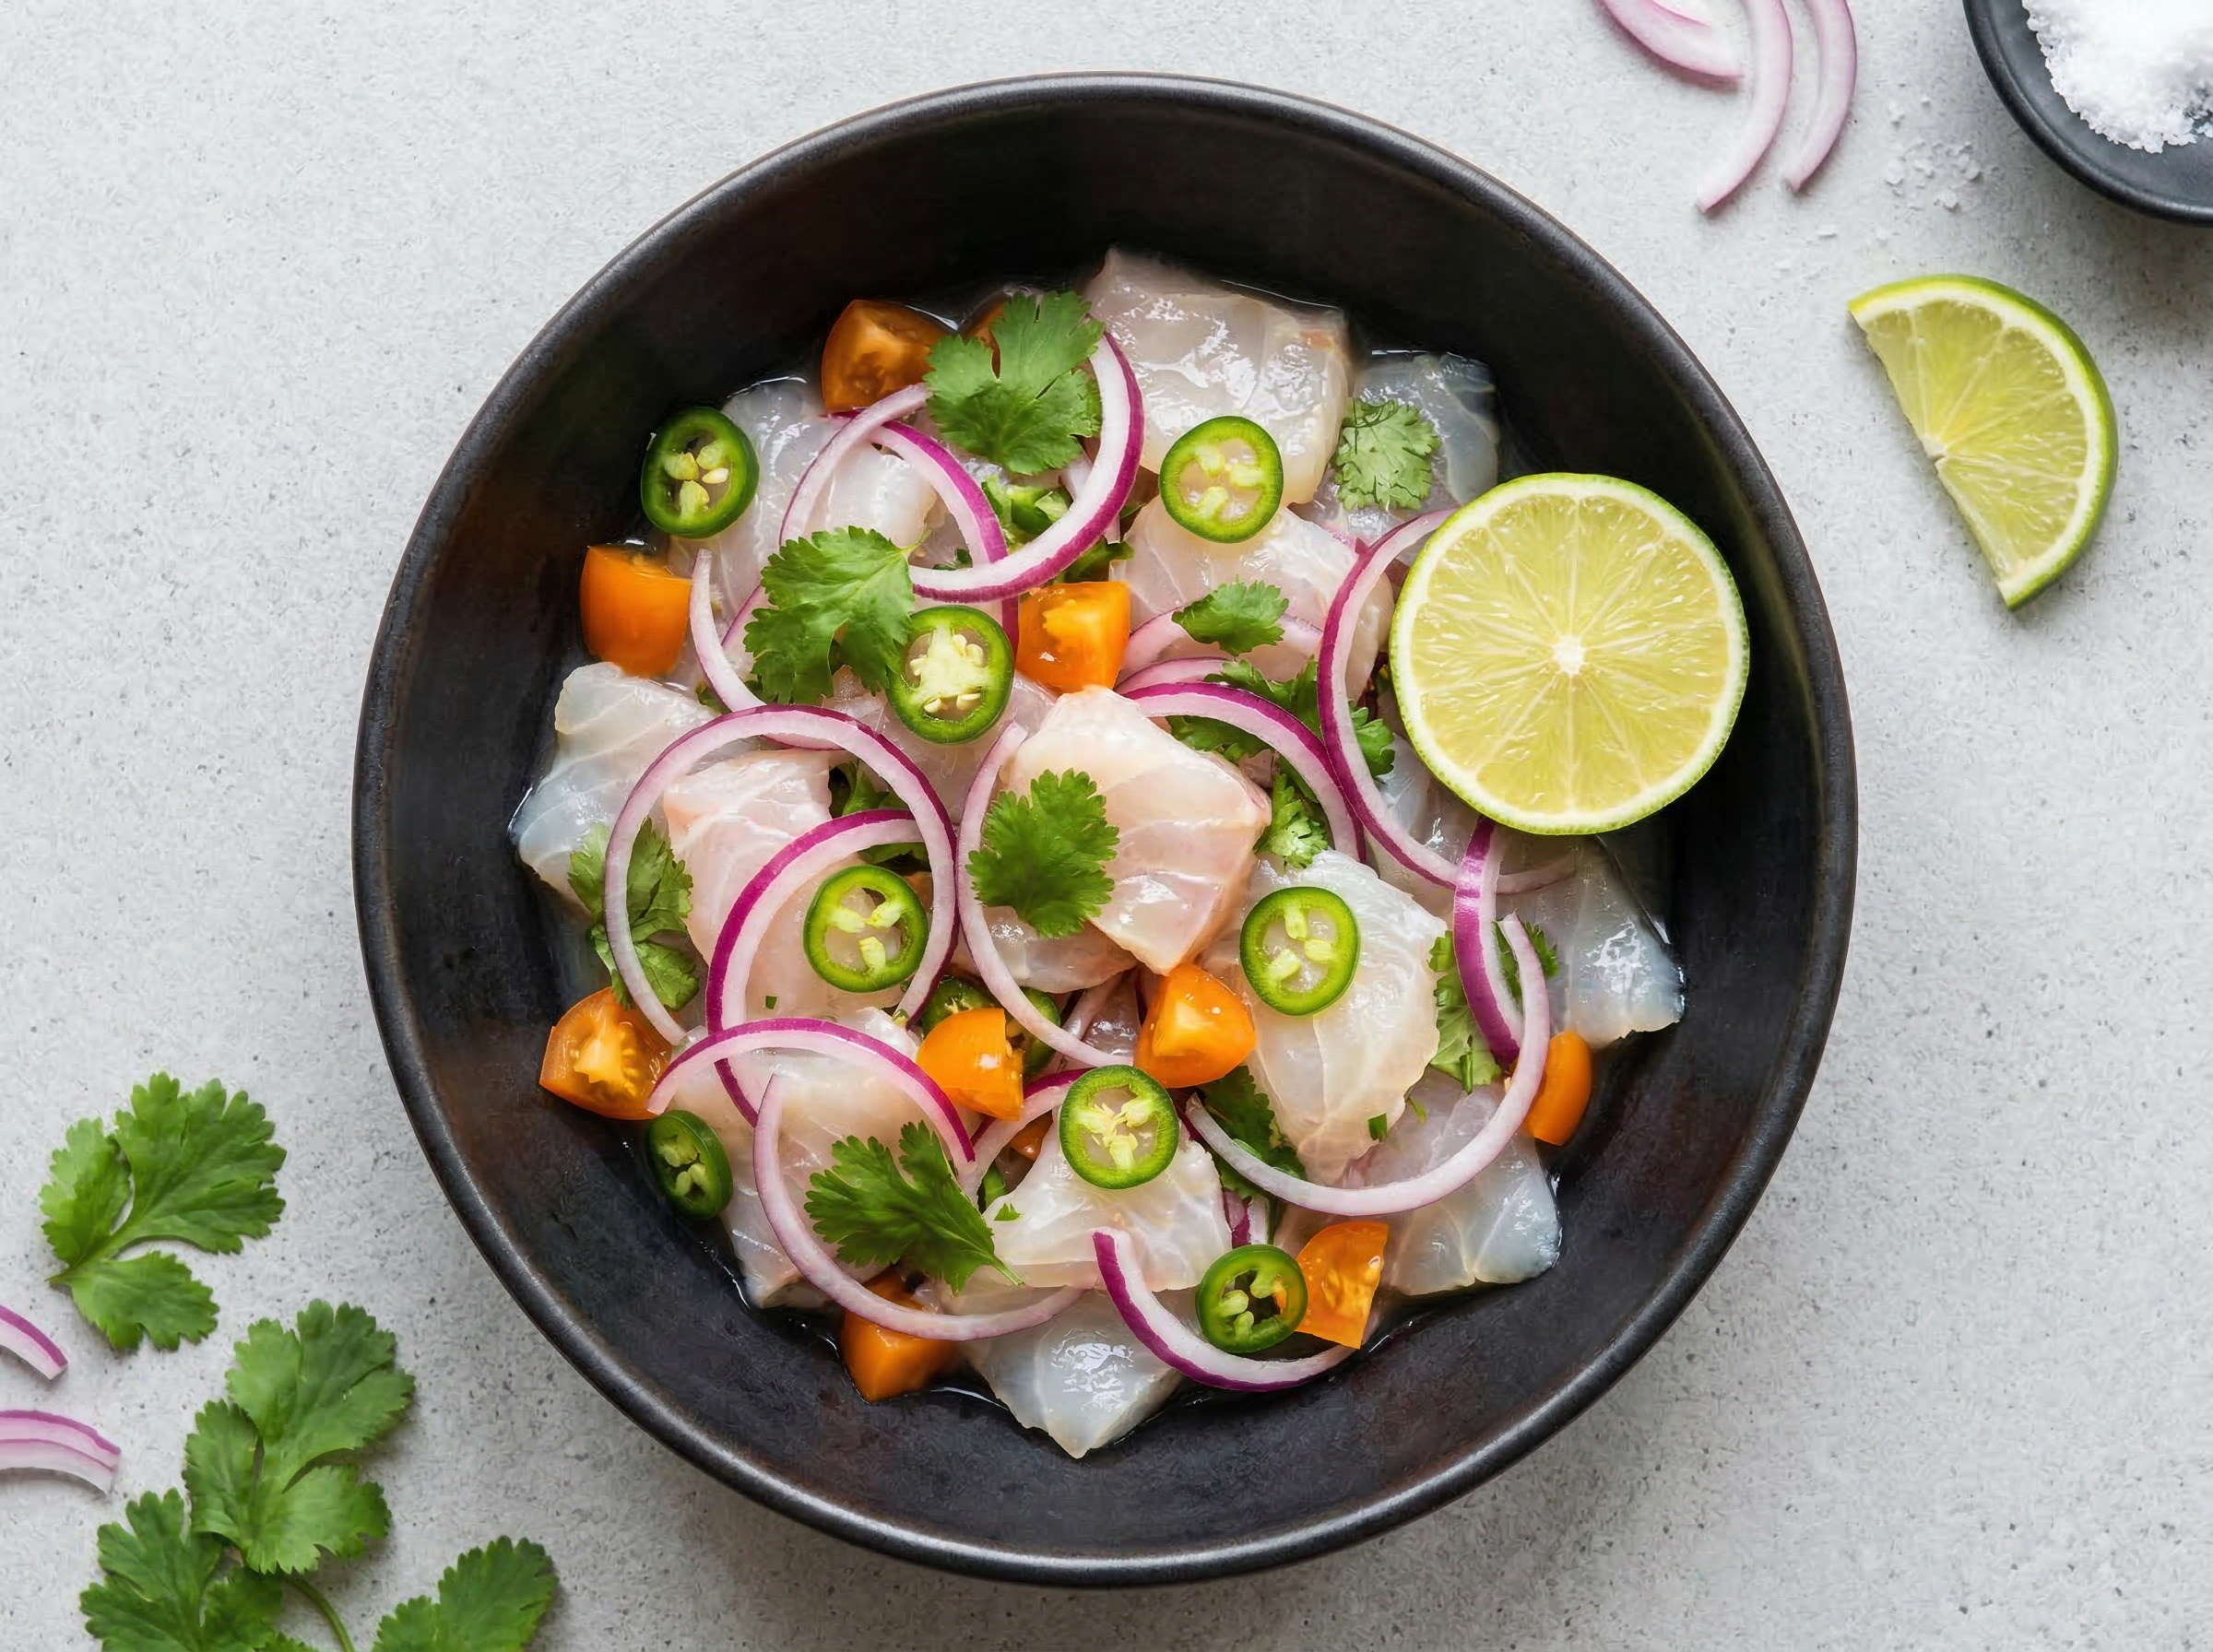
Oyster brine sheen disappears within 5 minutes and ceviche citrus turns fish white fast.
Primary Angle
45-degree
Lighting
Cool-toned natural daylight
Read time
~8 min
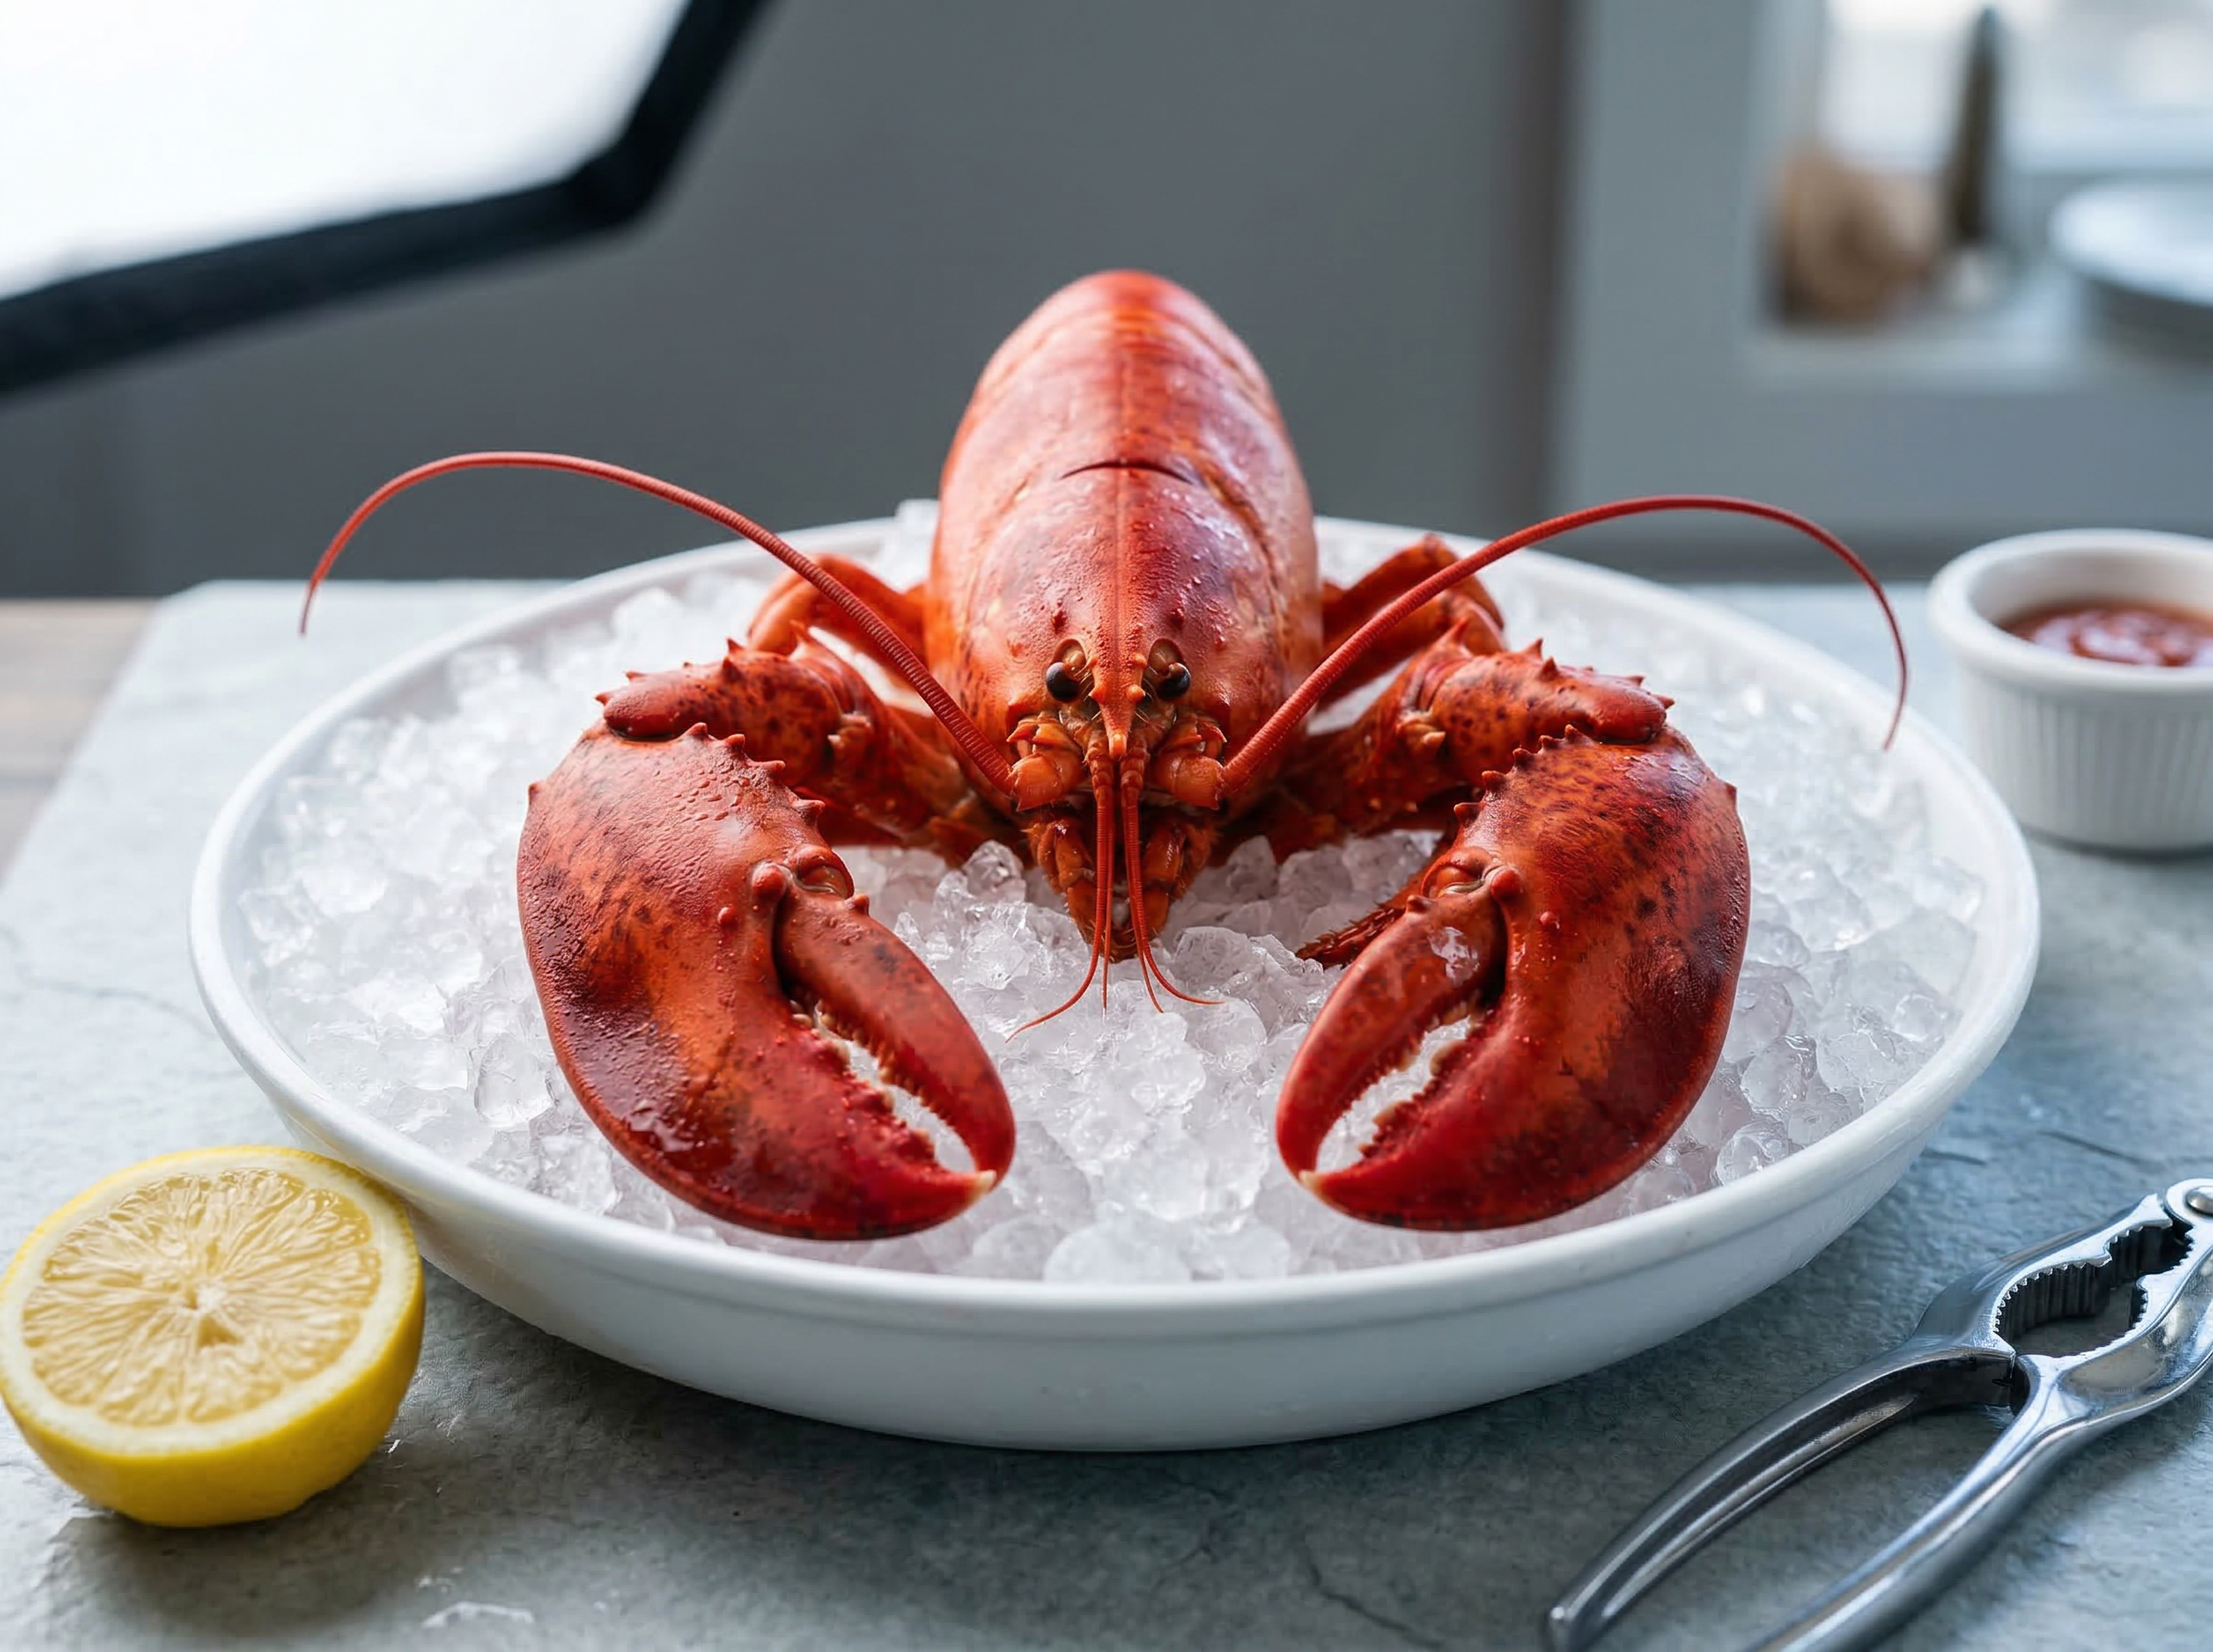
Seafood food photography is a discipline defined by two imperatives: communicating freshness and respecting tight degradation windows. A whole lobster on crushed ice, shell gleaming red-orange with seawater moisture still visible, tells a story of quality that translates instantly to diners. Lose that moisture sheen and the same plate looks like yesterday's catch. Oysters on the half-shell are perhaps the most time-sensitive subject in all of food photography - the brine that pools in the shell and gives the oyster its glossy, ocean-wet appearance evaporates within five minutes of service. Ceviche, where raw fish is "cooked" by citrus acid, continues its chemical reaction after plating, turning translucent fish opaque white if left too long. Seared scallops lose their crust contrast as residual moisture migrates from the interior. Each of these dishes demands preparation, speed, and a lighting setup that enhances the cool, mineral, oceanic freshness that makes seafood so compelling.
What Makes Seafood Challenging to Photograph
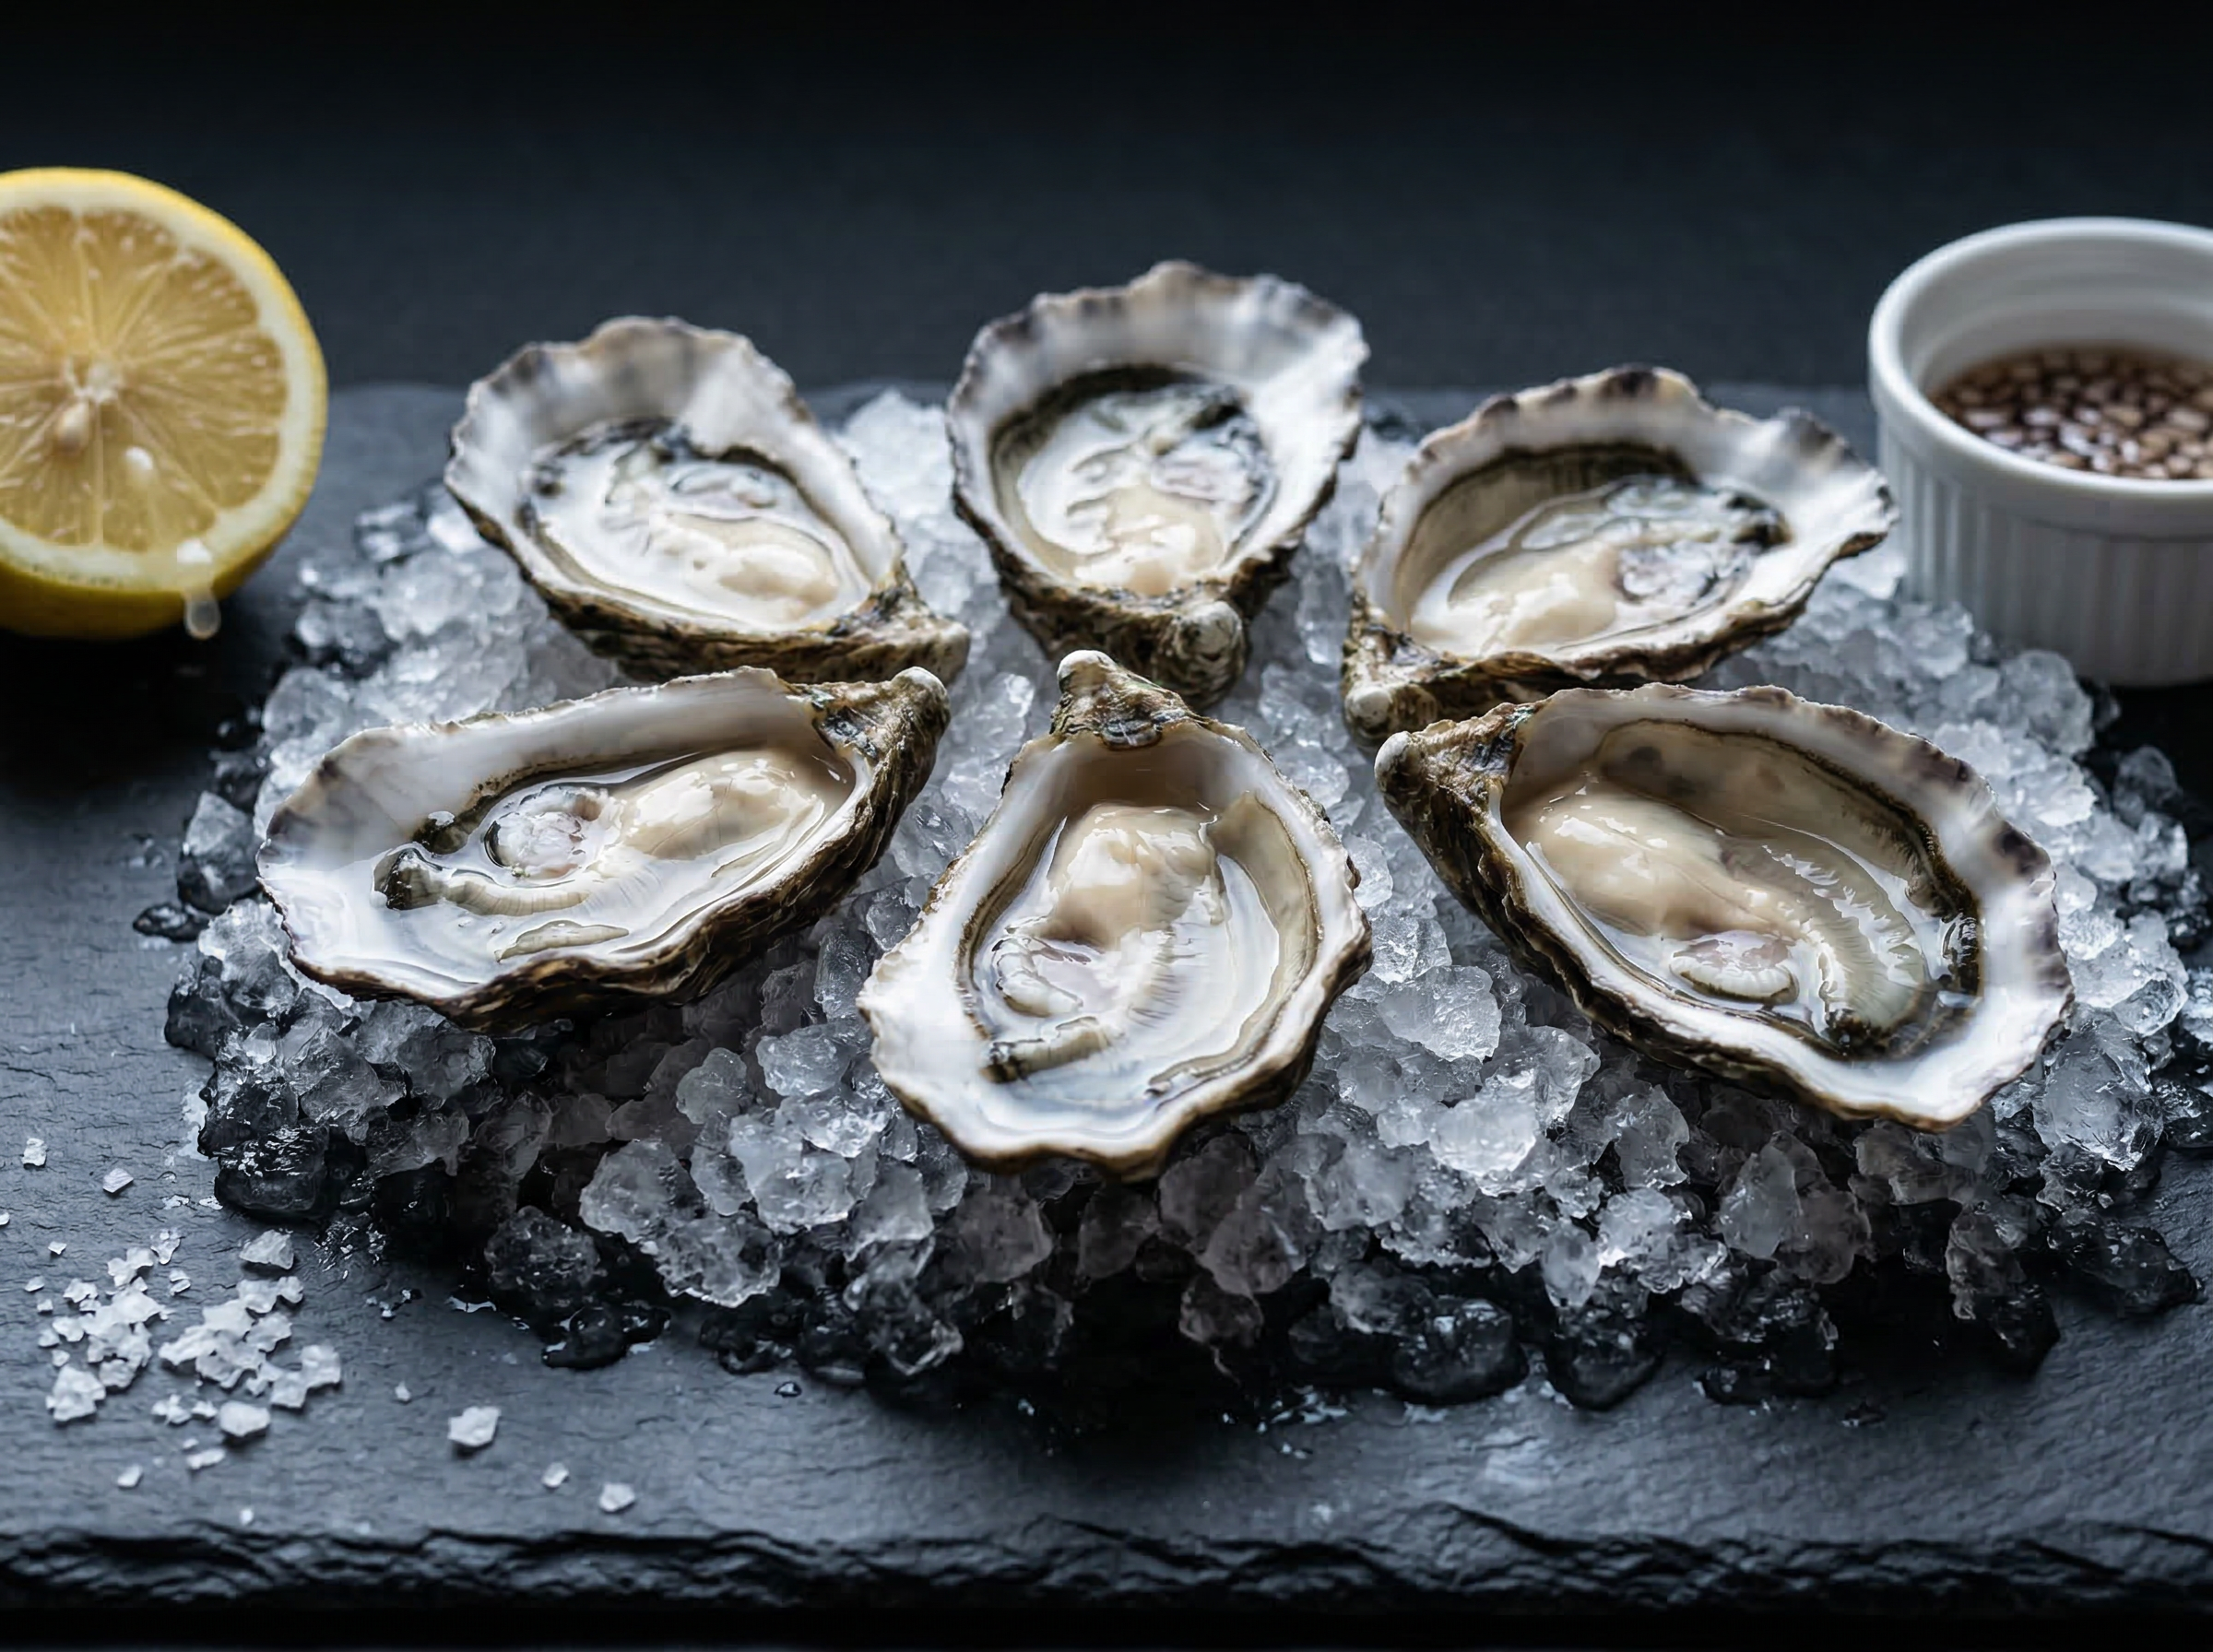
The layered freshness challenge in seafood photography operates on multiple fronts simultaneously. Oysters present the most acute timing issue: the brine pooled in the concave shell gives each oyster its characteristic glossy appearance and proves to the viewer that the shellfish was recently opened. This sheen is entirely gone within five minutes as brine evaporates and the oyster surface dries to a dull, unappetising matte. You must shoot oysters within three minutes of plating, full stop. Whole lobster introduces a different complexity: the color of a cooked lobster shifts dramatically under different light temperatures. Under warm amber light, a lobster shell reads as orange-brown and looks overcooked or old. Under cool daylight, the same shell appears its correct bright cardinal red, signaling freshness and proper cooking. Ceviche presents a chemical timing problem - the citrus marinade continues denaturing the fish protein after the bowl is plated, turning the fish from its photogenic translucent state to an opaque, chalky white. Shoot ceviche within six minutes of plating. Seared scallops develop surface moisture from steaming that softens the Maillard-crust contrast within eight to ten minutes - the defining texture that distinguishes seared from steamed.
Best Lighting for Seafood Photography
Cool-toned natural light is the non-negotiable standard for seafood photography. The reason is rooted in freshness perception: cool light wavelengths (6000–7000K) reinforce the oceanic, mineral quality associated with fresh raw shellfish and fish, while warm amber light (2700–3500K) subconsciously signals warmth, cooking, and age - the opposite of freshness for seafood. For oysters and shrimp cocktail, position the plate near a north-facing window or shade-balanced window where the light is diffuse and cool. Avoid direct sunlight, which creates harsh specular highlights on the wet shell surfaces that blow out detail. A large softbox with a cool daylight bulb (5600–6200K) is the correct studio equivalent. Blue-tinted props - slate serving boards, blue ceramic plates, pale blue linen - reinforce the oceanic narrative without requiring any lighting modification. For grilled salmon and seared scallops, a slight warm accent from a secondary fill light at low power can enhance the orange-pink tones of salmon flesh and the golden crust of scallops, but this should be used sparingly and only as a fill - never as the key light, which must remain cool and directional.

Camera Angles for Seafood
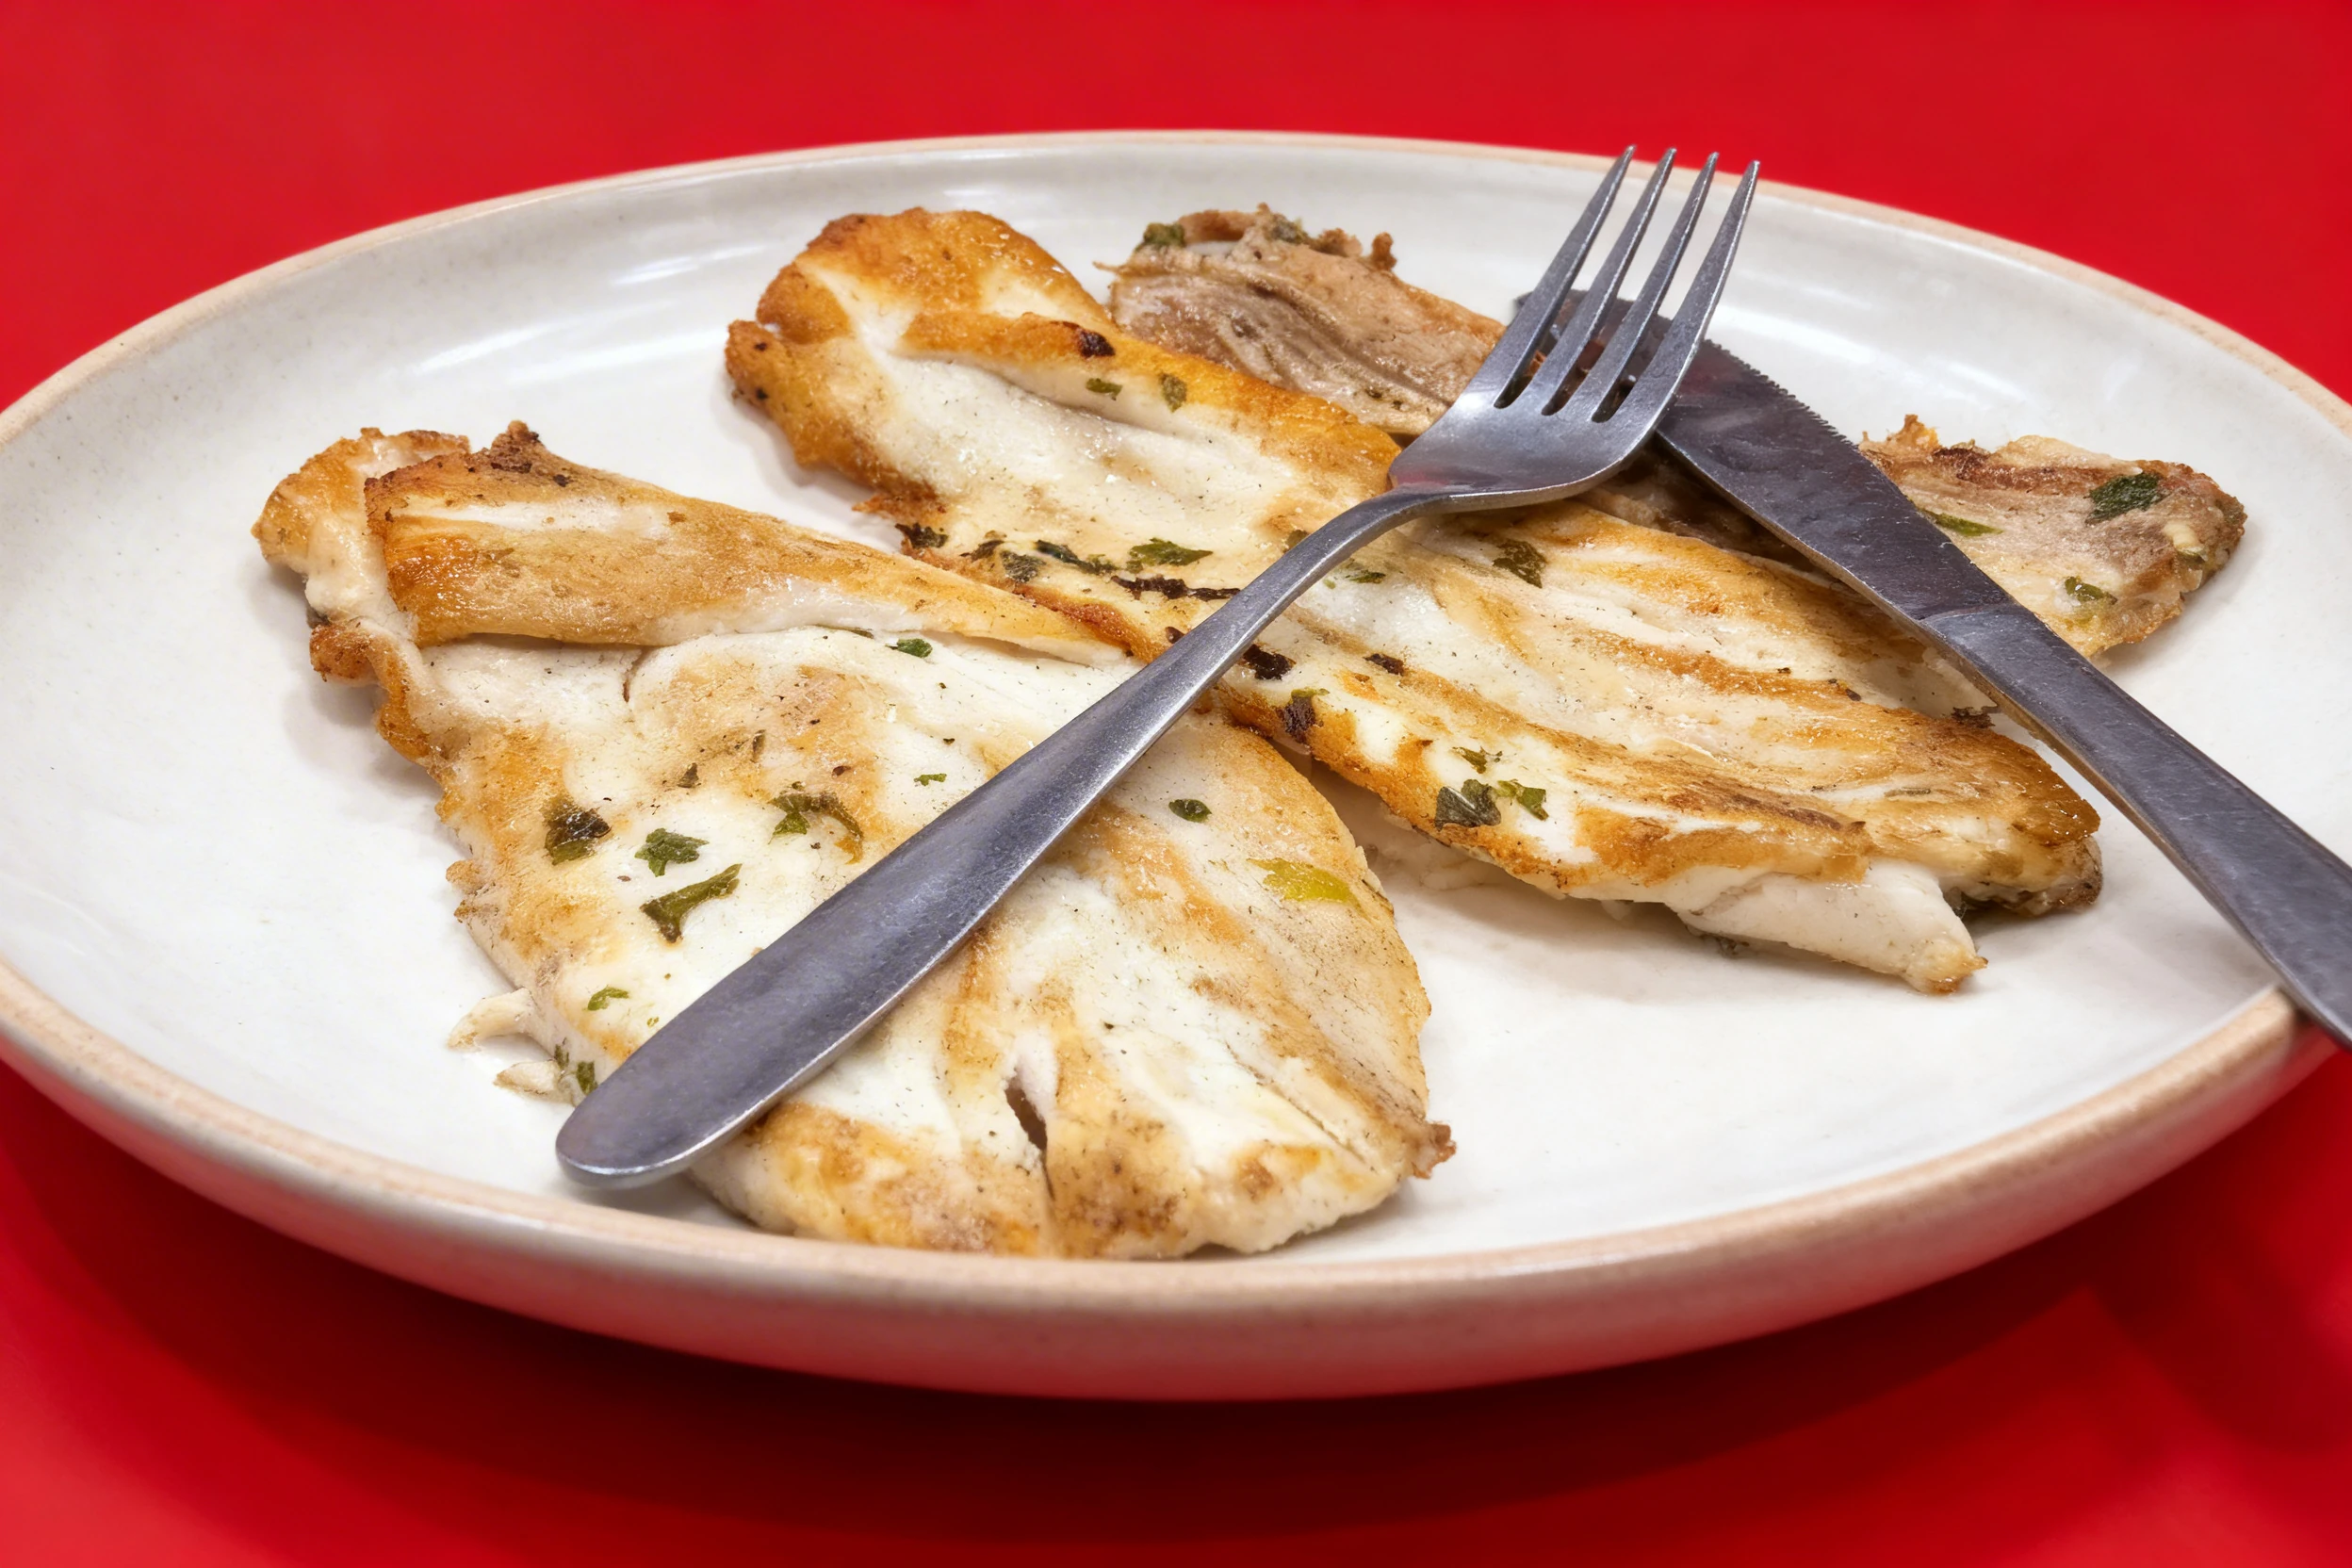
The 45-degree angle is the dominant workhorse for seafood photography because it simultaneously reveals the height, texture, and color of most dishes. For whole lobster, a 45-degree shot from the head end of the plate shows the claws flanking the body, the antenna curling upward, and the full visual drama of the presentation on crushed ice - none of which is visible from overhead. Seared scallops must be photographed at 45 degrees to showcase the Maillard crust on the flat face of each scallop; overhead flattens them entirely. Oysters are the notable exception: a 35-degree angle (slightly lower than standard 45) is most effective, as it reveals the curve of the shell, the glistening brine pooled inside, and the arrangement of the oysters on the ice bed without distorting the shell shapes. Ceviche benefits from a true overhead angle - the color variety of red onion, cilantro, white fish, and chile against a dark ceramic bowl is a flat graphic composition that reads beautifully from above. Fish and chips is a relaxed 45-degree dish: the height of the battered fish and the mound of chips need to be visible, and the accompanying tartar sauce or malt vinegar in a small pot adds foreground interest.
Food Styling and Props
Seafood styling hinges on one principle: every element on the plate must signal freshness. Crushed ice is the most powerful freshness signal in seafood photography - a bed of crushed ice beneath oysters or a shrimp cocktail immediately communicates that the dish is cold, properly handled, and recently prepared. Use crushed ice generously and let it extend slightly beyond the rim of the serving vessel. For whole lobster, leave the body intact and stage the cracked claws with the pick and fork visible at the edge of the frame; this communicates the interactive, celebratory nature of the dish. Oysters should be positioned with the flat hinge side toward the camera, spaced evenly on the ice bed, with a lemon half and a small ramekin of mignonette or cocktail sauce nearby. Never over-arrange oysters into perfect grids - a slight randomness looks more natural and freshly shucked. For ceviche, use a dark ceramic bowl to make the bright colors of the fish, citrus, and herbs pop. Garnish with a whole slice of fresh lime and a single sprig of cilantro placed at the edge of the bowl just before the shot. Seared scallops benefit from a trio arrangement on a long rectangular slate plate with a smear of puree beneath each scallop and a few micro-herb sprigs for vertical accent. Lemon halves, charred side up, add color and context throughout the composition.
Recommended props
Equipment Guide
A macro or short telephoto prime lens - 90mm or 100mm - is the recommended choice for seafood photography. The longer focal length compresses background props elegantly and allows you to isolate a single oyster or a scallop crust detail without physically hovering over the plate, which is critical when working quickly during a five-minute oyster sheen window. For overhead ceviche shots, a 50mm on a boom arm provides sufficient field of view for a full bowl while avoiding the edge distortion of wider lenses. A polarizing filter is a useful but often overlooked tool for seafood: it selectively reduces specular highlights on wet shell surfaces and crushed ice, recovering detail that would otherwise blow out without underexposing the rest of the plate. A small tabletop LED panel with a daylight color temperature dial is essential for controlled studio setups - position it high and at 45 degrees from the plate for a directional key light, and use a white fill card on the opposite side. Keep a fine-mist spray bottle loaded with cold water on the set at all times. A single fine mist over the ice or the lobster shell immediately before the shot restores the moisture sheen that fades under lights.
Skip the photoshoot — enhance the seafood photos you already have
The techniques on this page take time to master. MenuPhotoAI applies the same lighting, color, and texture corrections — automatically — to the smartphone photos you already shot. Studio-quality results in 30 seconds.
Try free — 5 credits, no cardCommon Seafood Photography Mistakes
Shooting oysters after the brine evaporates
The brine pooled inside the shell - the defining freshness signal - is gone within five minutes of the oysters being plated. Shooting after this window produces dull, matte-looking shellfish that communicates age rather than ocean freshness. Stage all props and frame before the oysters arrive, then trigger the shutter within two to three minutes of plating. There is no styling fix for dried oysters.
Using warm amber light on raw shellfish
Warm amber or tungsten light shifts the color of raw oysters, clams, and shrimp cocktail into yellow-gray tones that read as old or improperly stored. Cool daylight (5600–6500K) is the only appropriate light source for raw seafood. If shooting in a warm-lit restaurant environment, correct aggressively in white balance - set a custom white balance to a cool reference target before the dish arrives.
Failing to mist the lobster or ice before shooting
Studio lights dehydrate the surface of a whole lobster and melt the crushed ice within minutes, eliminating the moisture sheen that signals freshness. A single fine-mist spray of cold water over the lobster shell and the ice bed, applied 15–20 seconds before the shot, restores the wet appearance and extends the shooting window. Keep a spray bottle on the set for every seafood session.
Shooting ceviche too late after plating
Citrus acid continues denaturing fish protein after plating, turning translucent, visually appealing raw fish into opaque, chalky-white pieces within six to eight minutes. The translucency of the fish is a critical freshness signal in ceviche photography. Plate, garnish, and shoot within four minutes. If reshoots are needed, prepare fresh ceviche portions rather than re-using the original plate.
Overcrowding a platter shot to show variety
Seafood platters are tempting to overfill, but crowded frames eliminate the negative space that allows individual items - oyster, lobster claw, shrimp - to read distinctly. Leave at least 30% of the frame as clean surface (crushed ice, slate board) to give the eye resting space. The perceived premium quality of a sparse, curated seafood platter far exceeds that of an overloaded one in both print and digital contexts.
Editing Tips
Seafood editing targets clarity, cool tones, and precise highlight management. Begin by setting a cool white balance (add 5–10 points of blue on the tint slider) to reinforce freshness cues. Recover highlights on wet shell surfaces and ice - crushed ice is particularly prone to blowing out under any light. Increase clarity and texture at 15–20 points to reveal the pores of oyster shells, the crust on scallops, and the flake of grilled fish. For salmon, add targeted orange saturation in the HSL panel to deepen the pink-orange flesh tone without shifting other colors. Avoid warming the overall image - seafood that looks warm looks old. A subtle cool split-tone (blue shadows, neutral highlights) reinforces the oceanic freshness narrative throughout.
Platform-Specific Tips
On DoorDash and Uber Eats, seafood photography must communicate premium and freshness at thumbnail scale. A hero shot of a whole lobster or a shrimp cocktail on crushed ice performs strongly as a category banner, but delivery app menu item images work best when the portion size is immediately legible - a close 45-degree shot of seared scallops over puree reads more clearly as a single entree portion than a wide table spread. Use landscape 16:9 crops for category banners, square 1:1 for individual menu items. For Instagram, the color variety of ceviche in a dark bowl photographs extremely well as a feed hero and typically generates high save rates from users who want to recreate it. For Stories and Reels, the live oyster-shuck reveal - camera tight on the knife work and the brine appearing - is high-performing short-form content that communicates premium seafood experience instantly. For print menus, a 45-degree whole-lobster shot on crushed ice printed in full color is the single highest-converting seafood image format - it communicates occasion dining and celebration that drives ordering decisions.
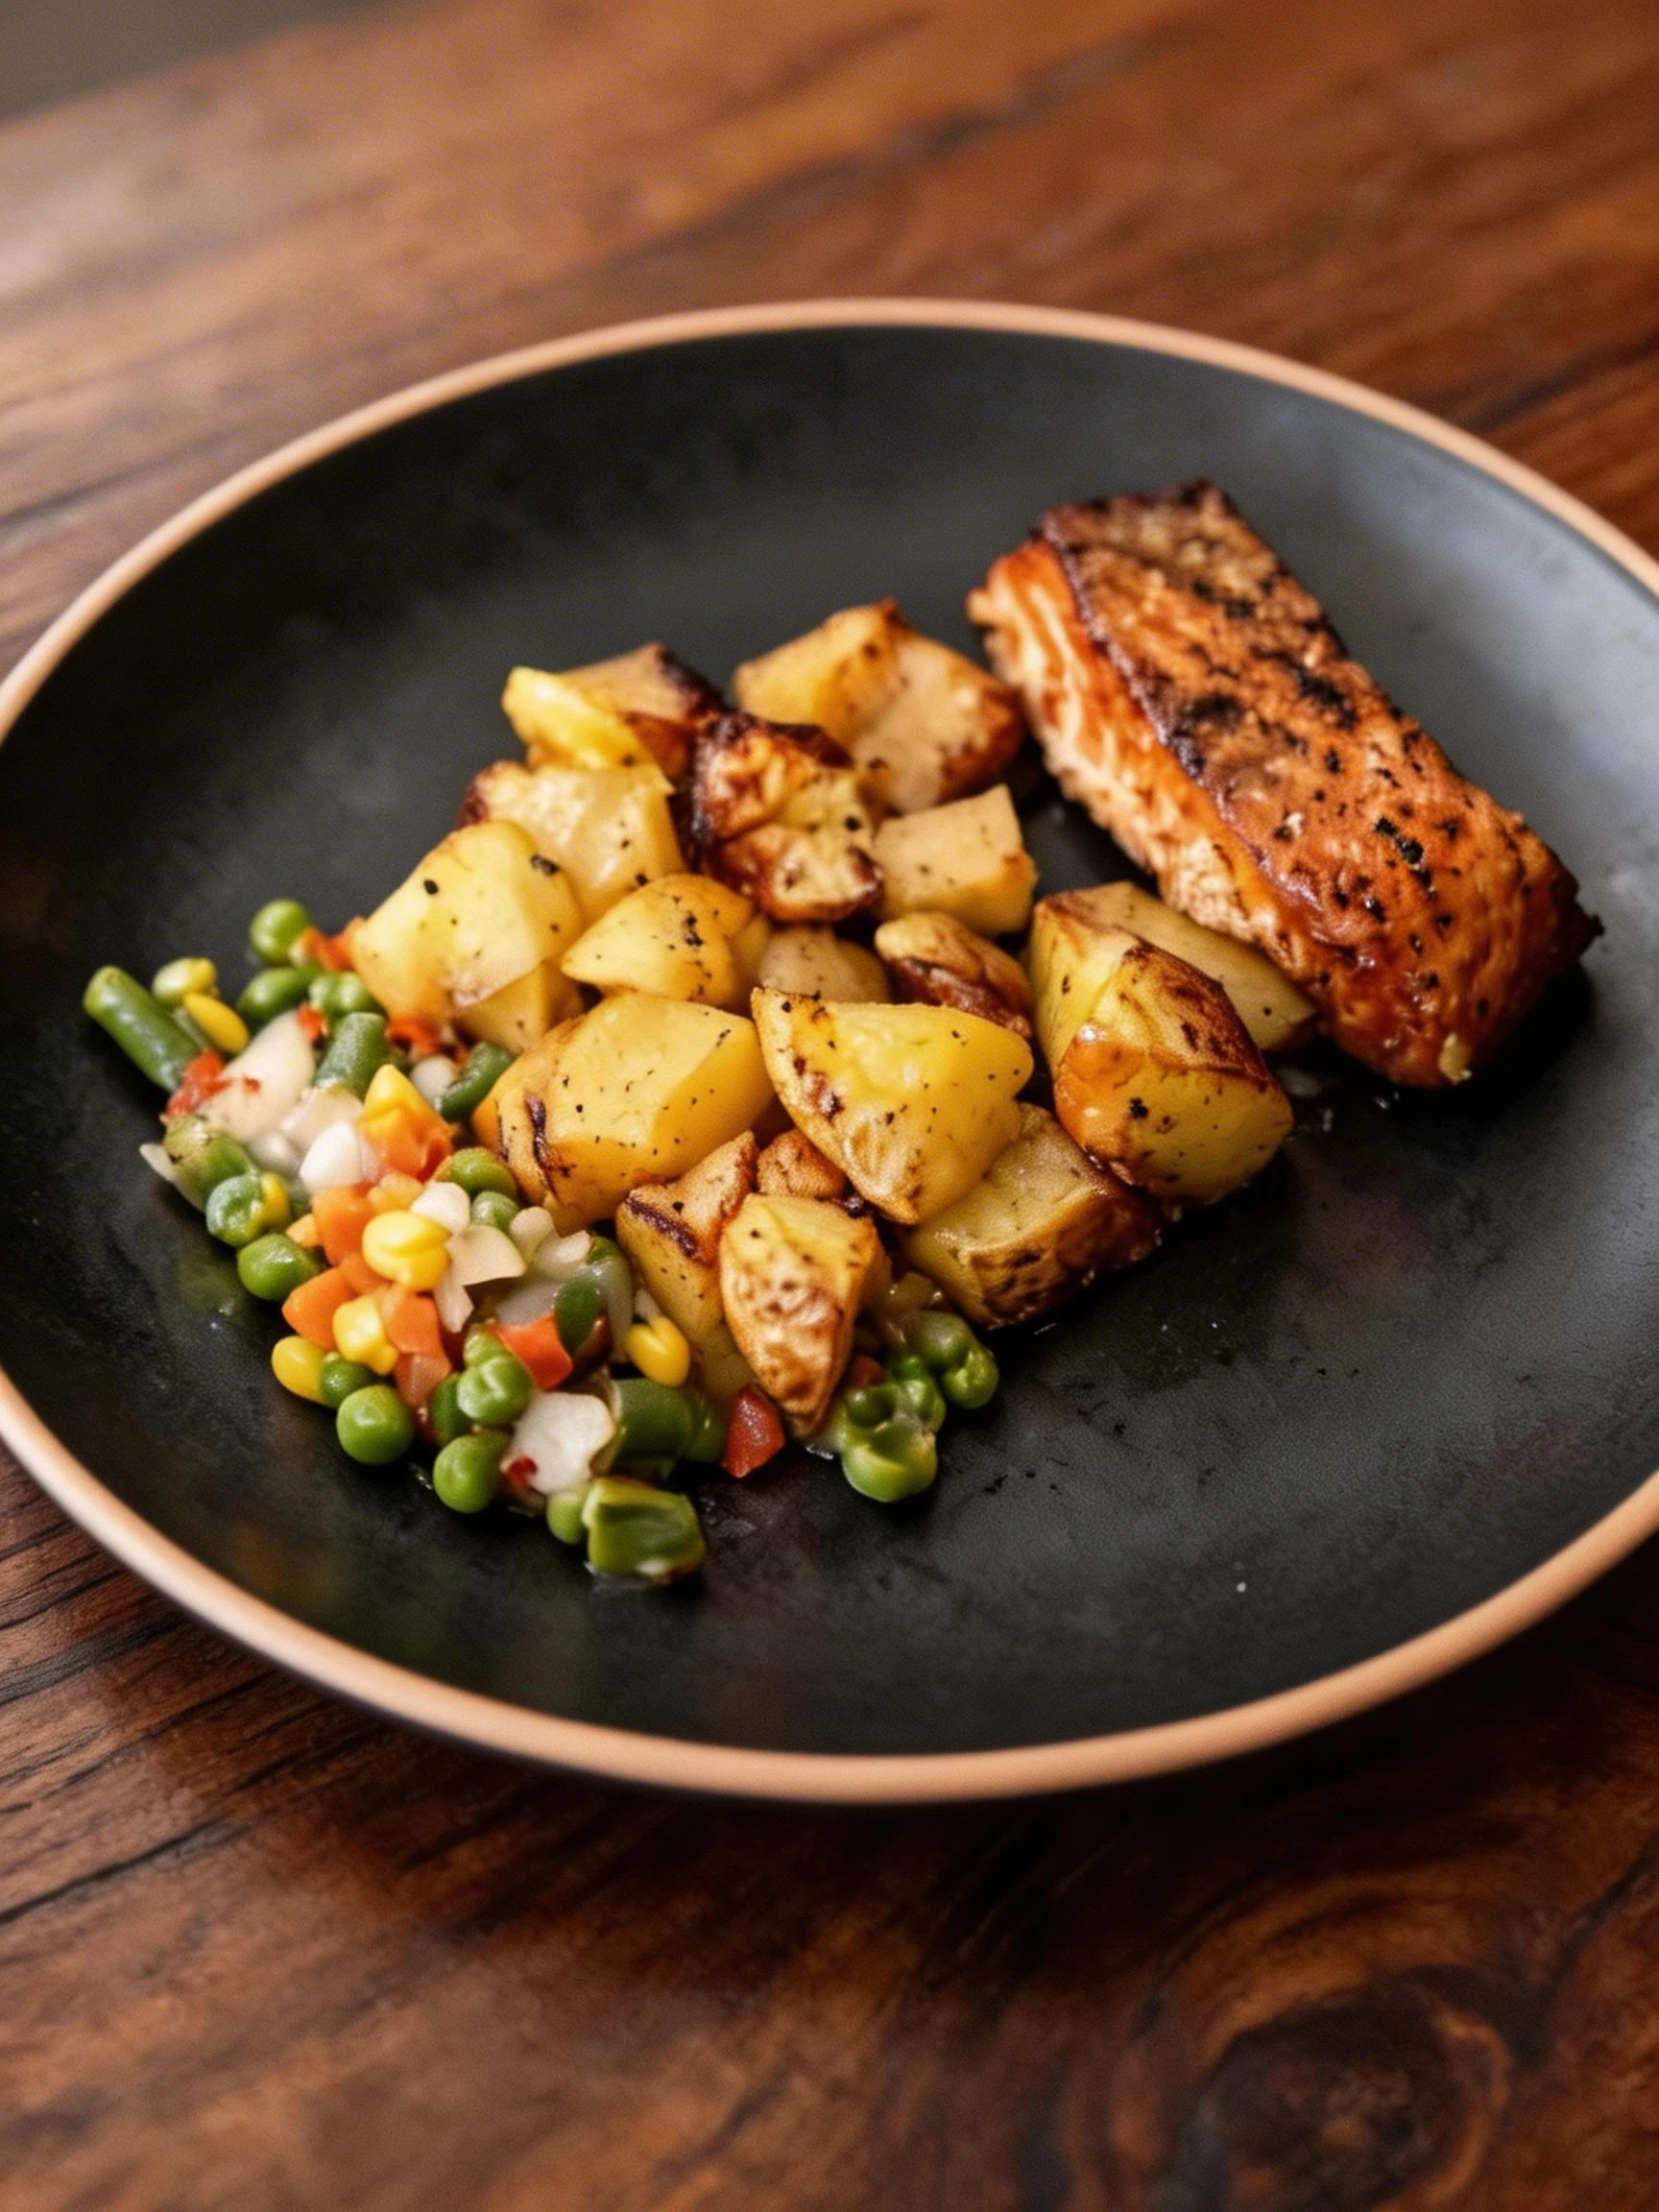
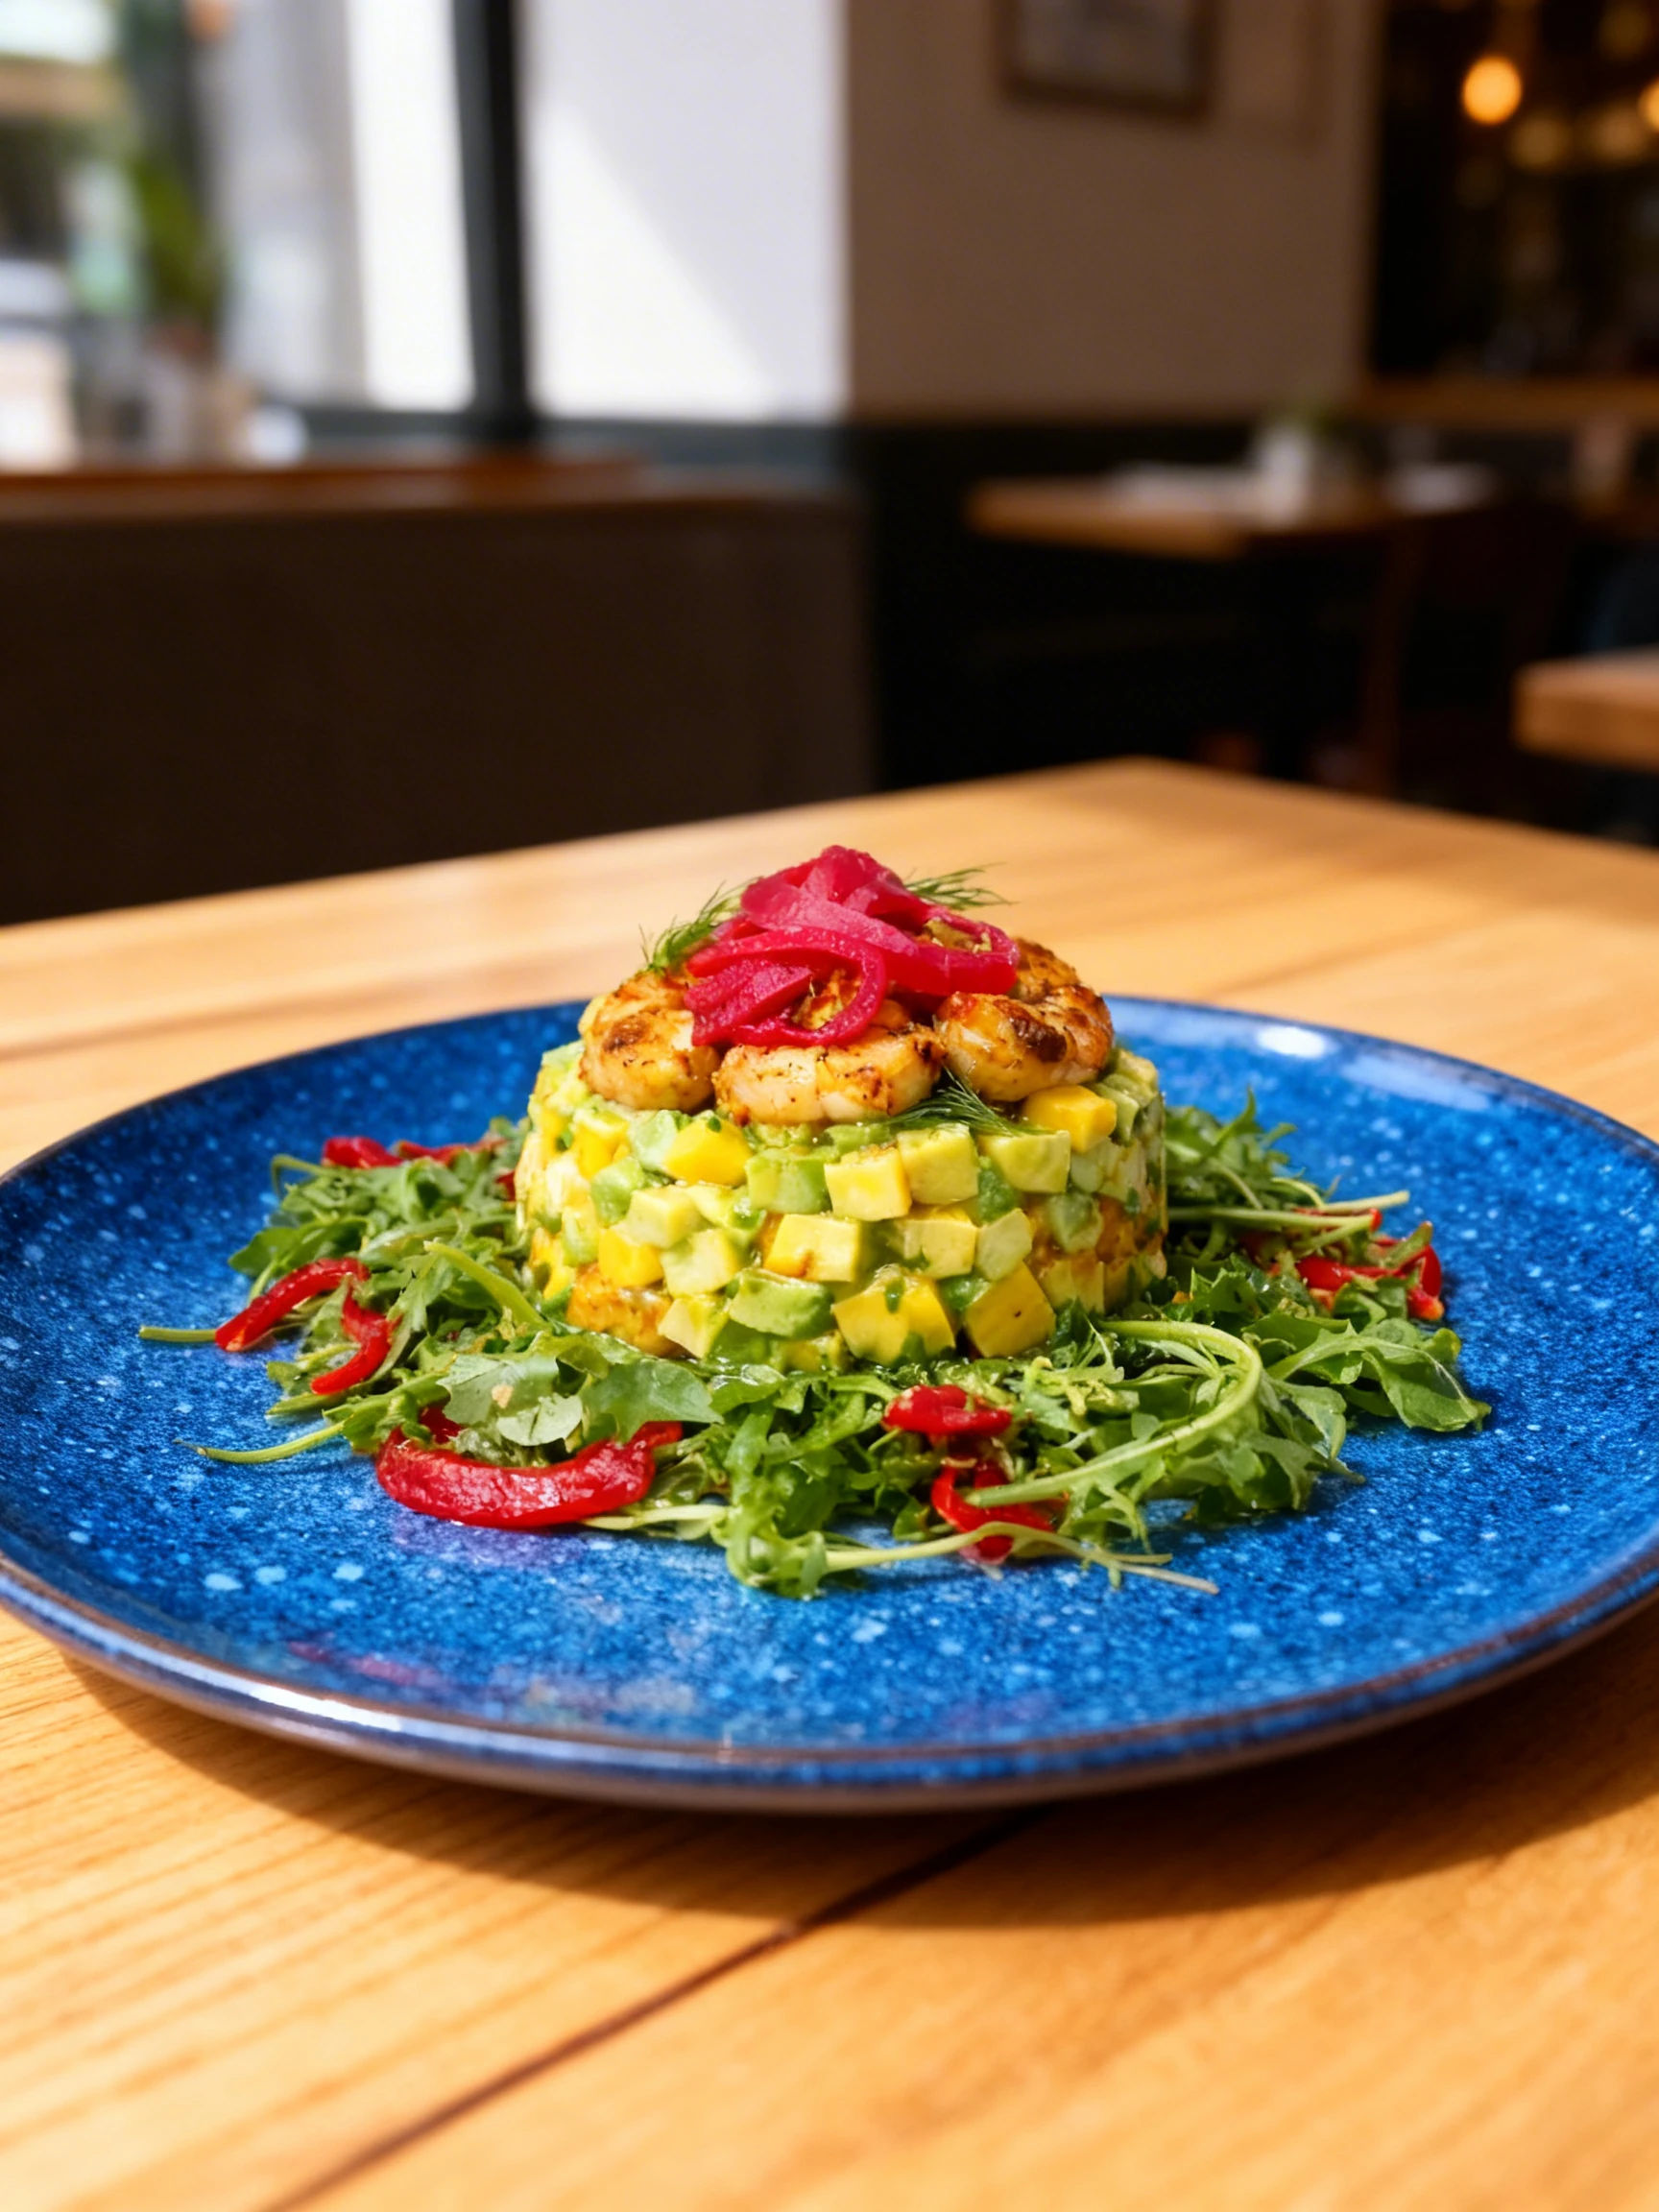
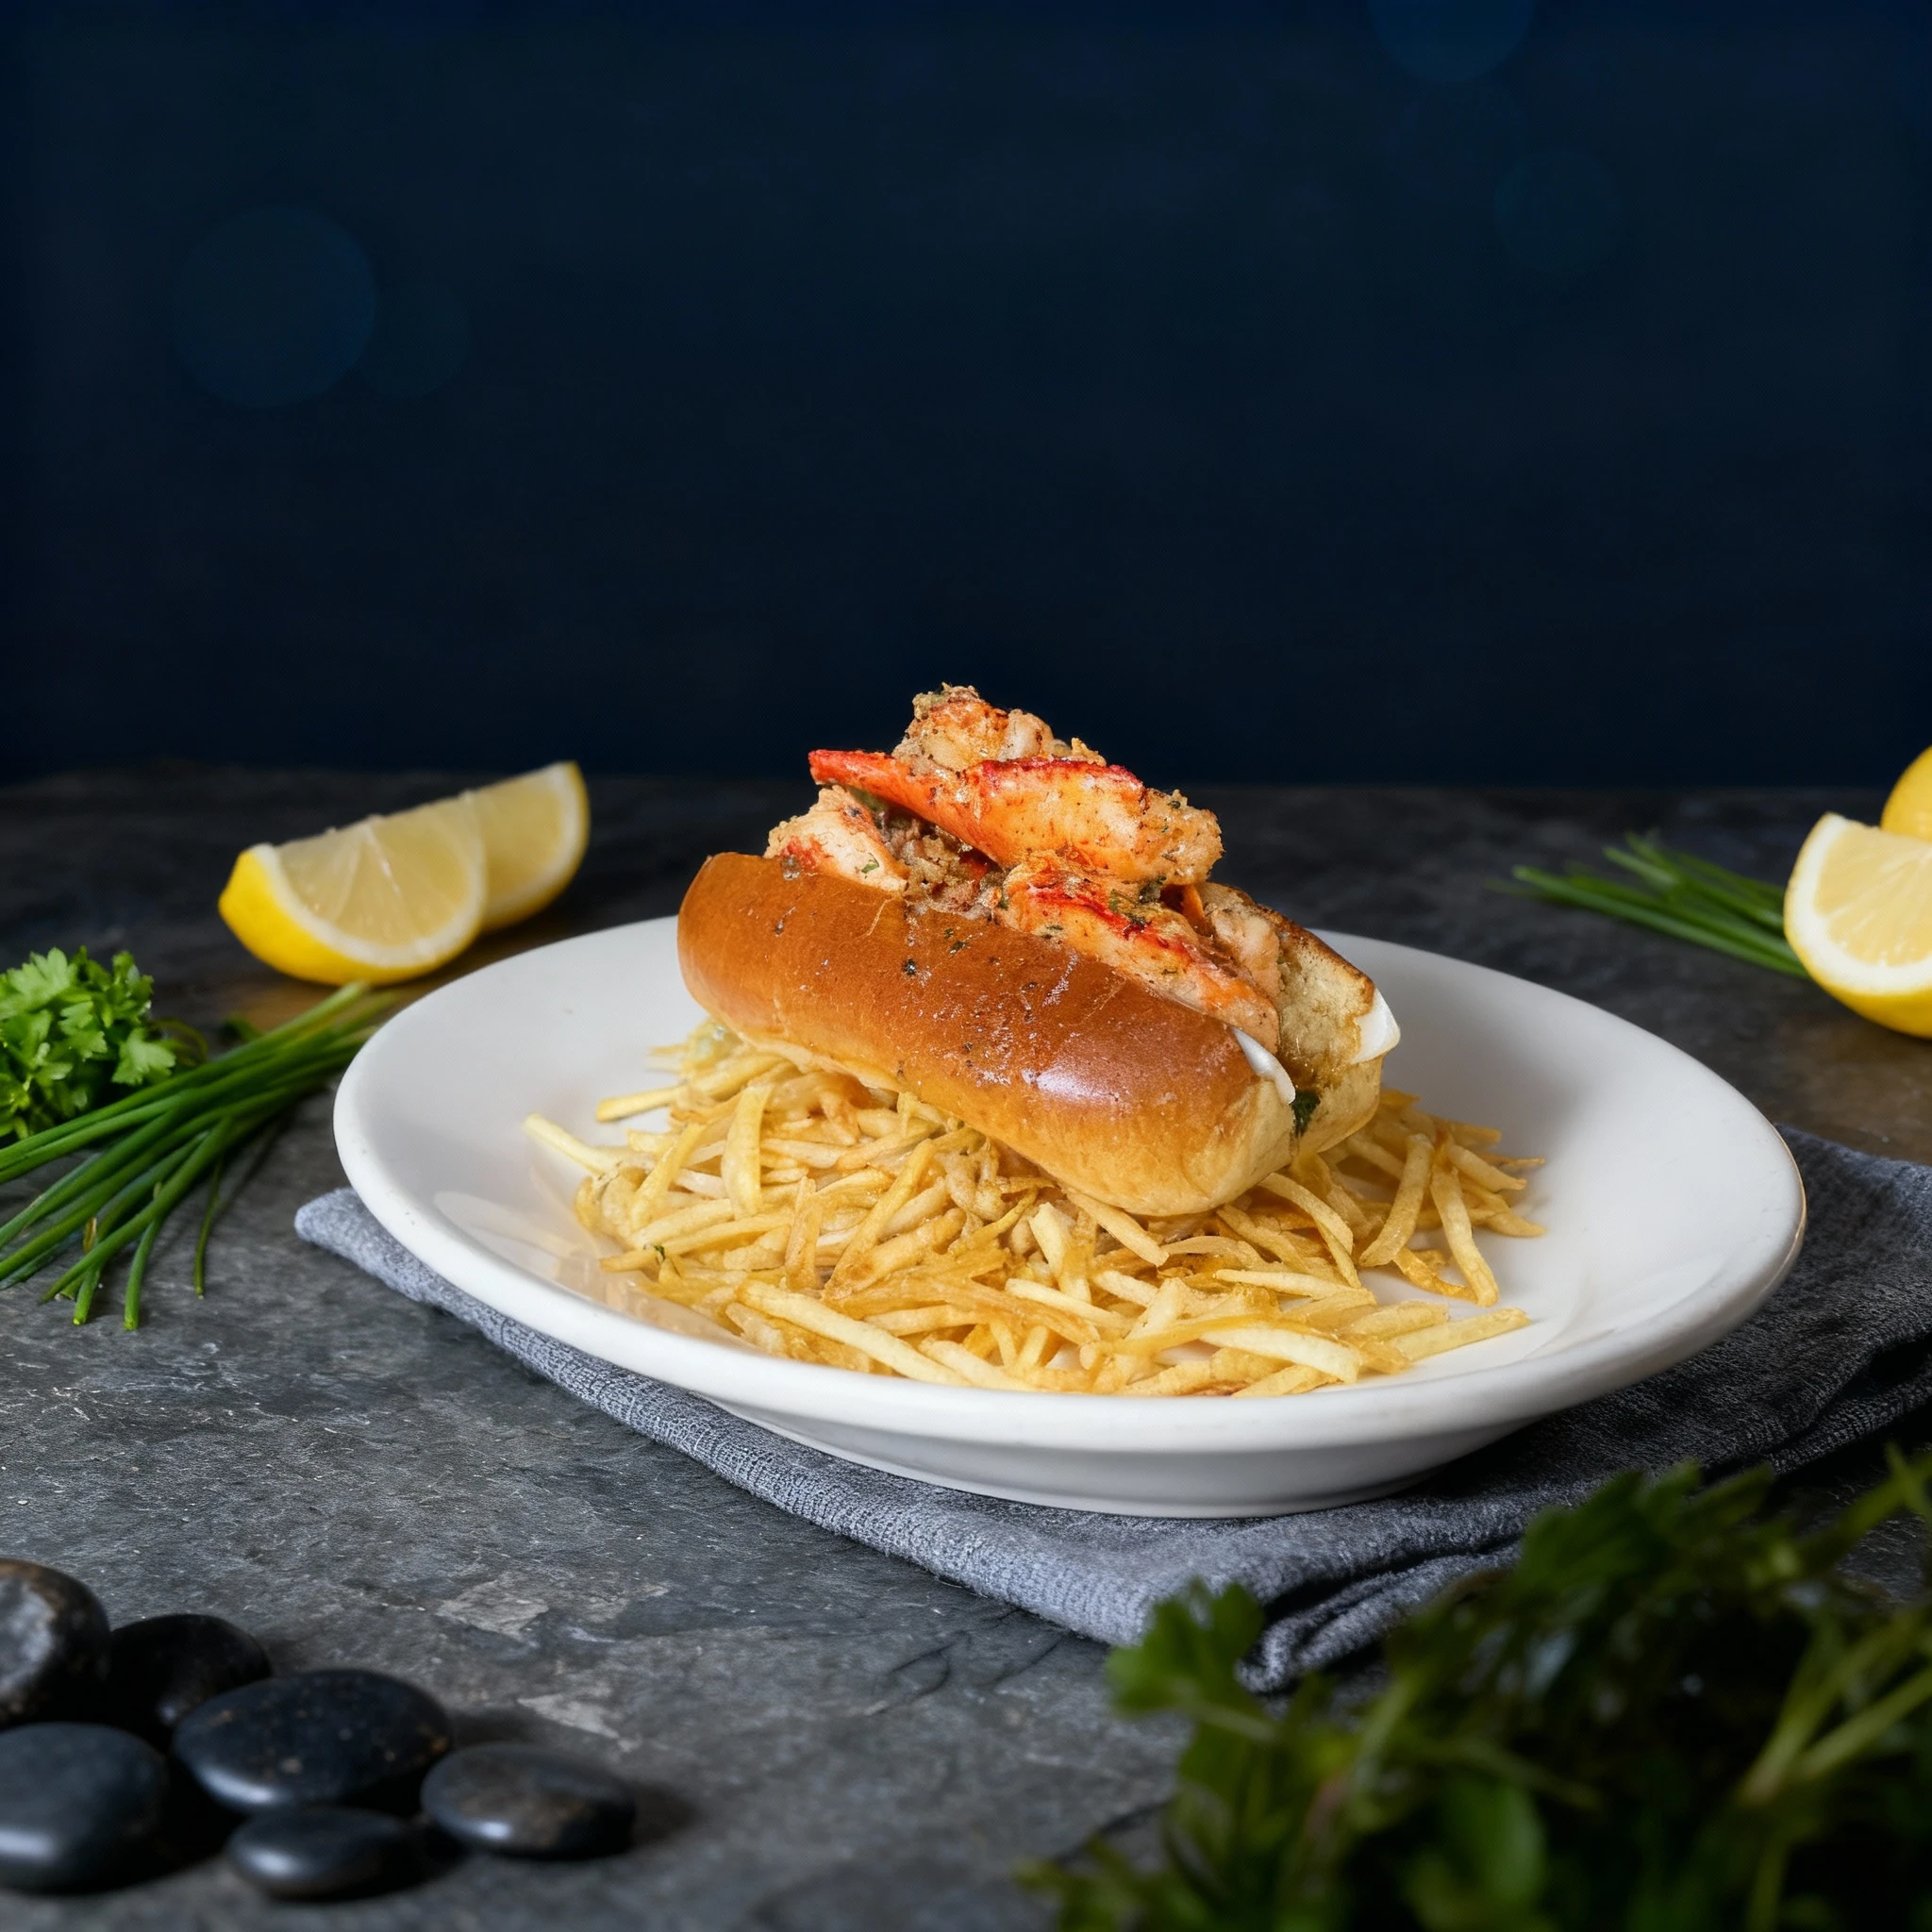
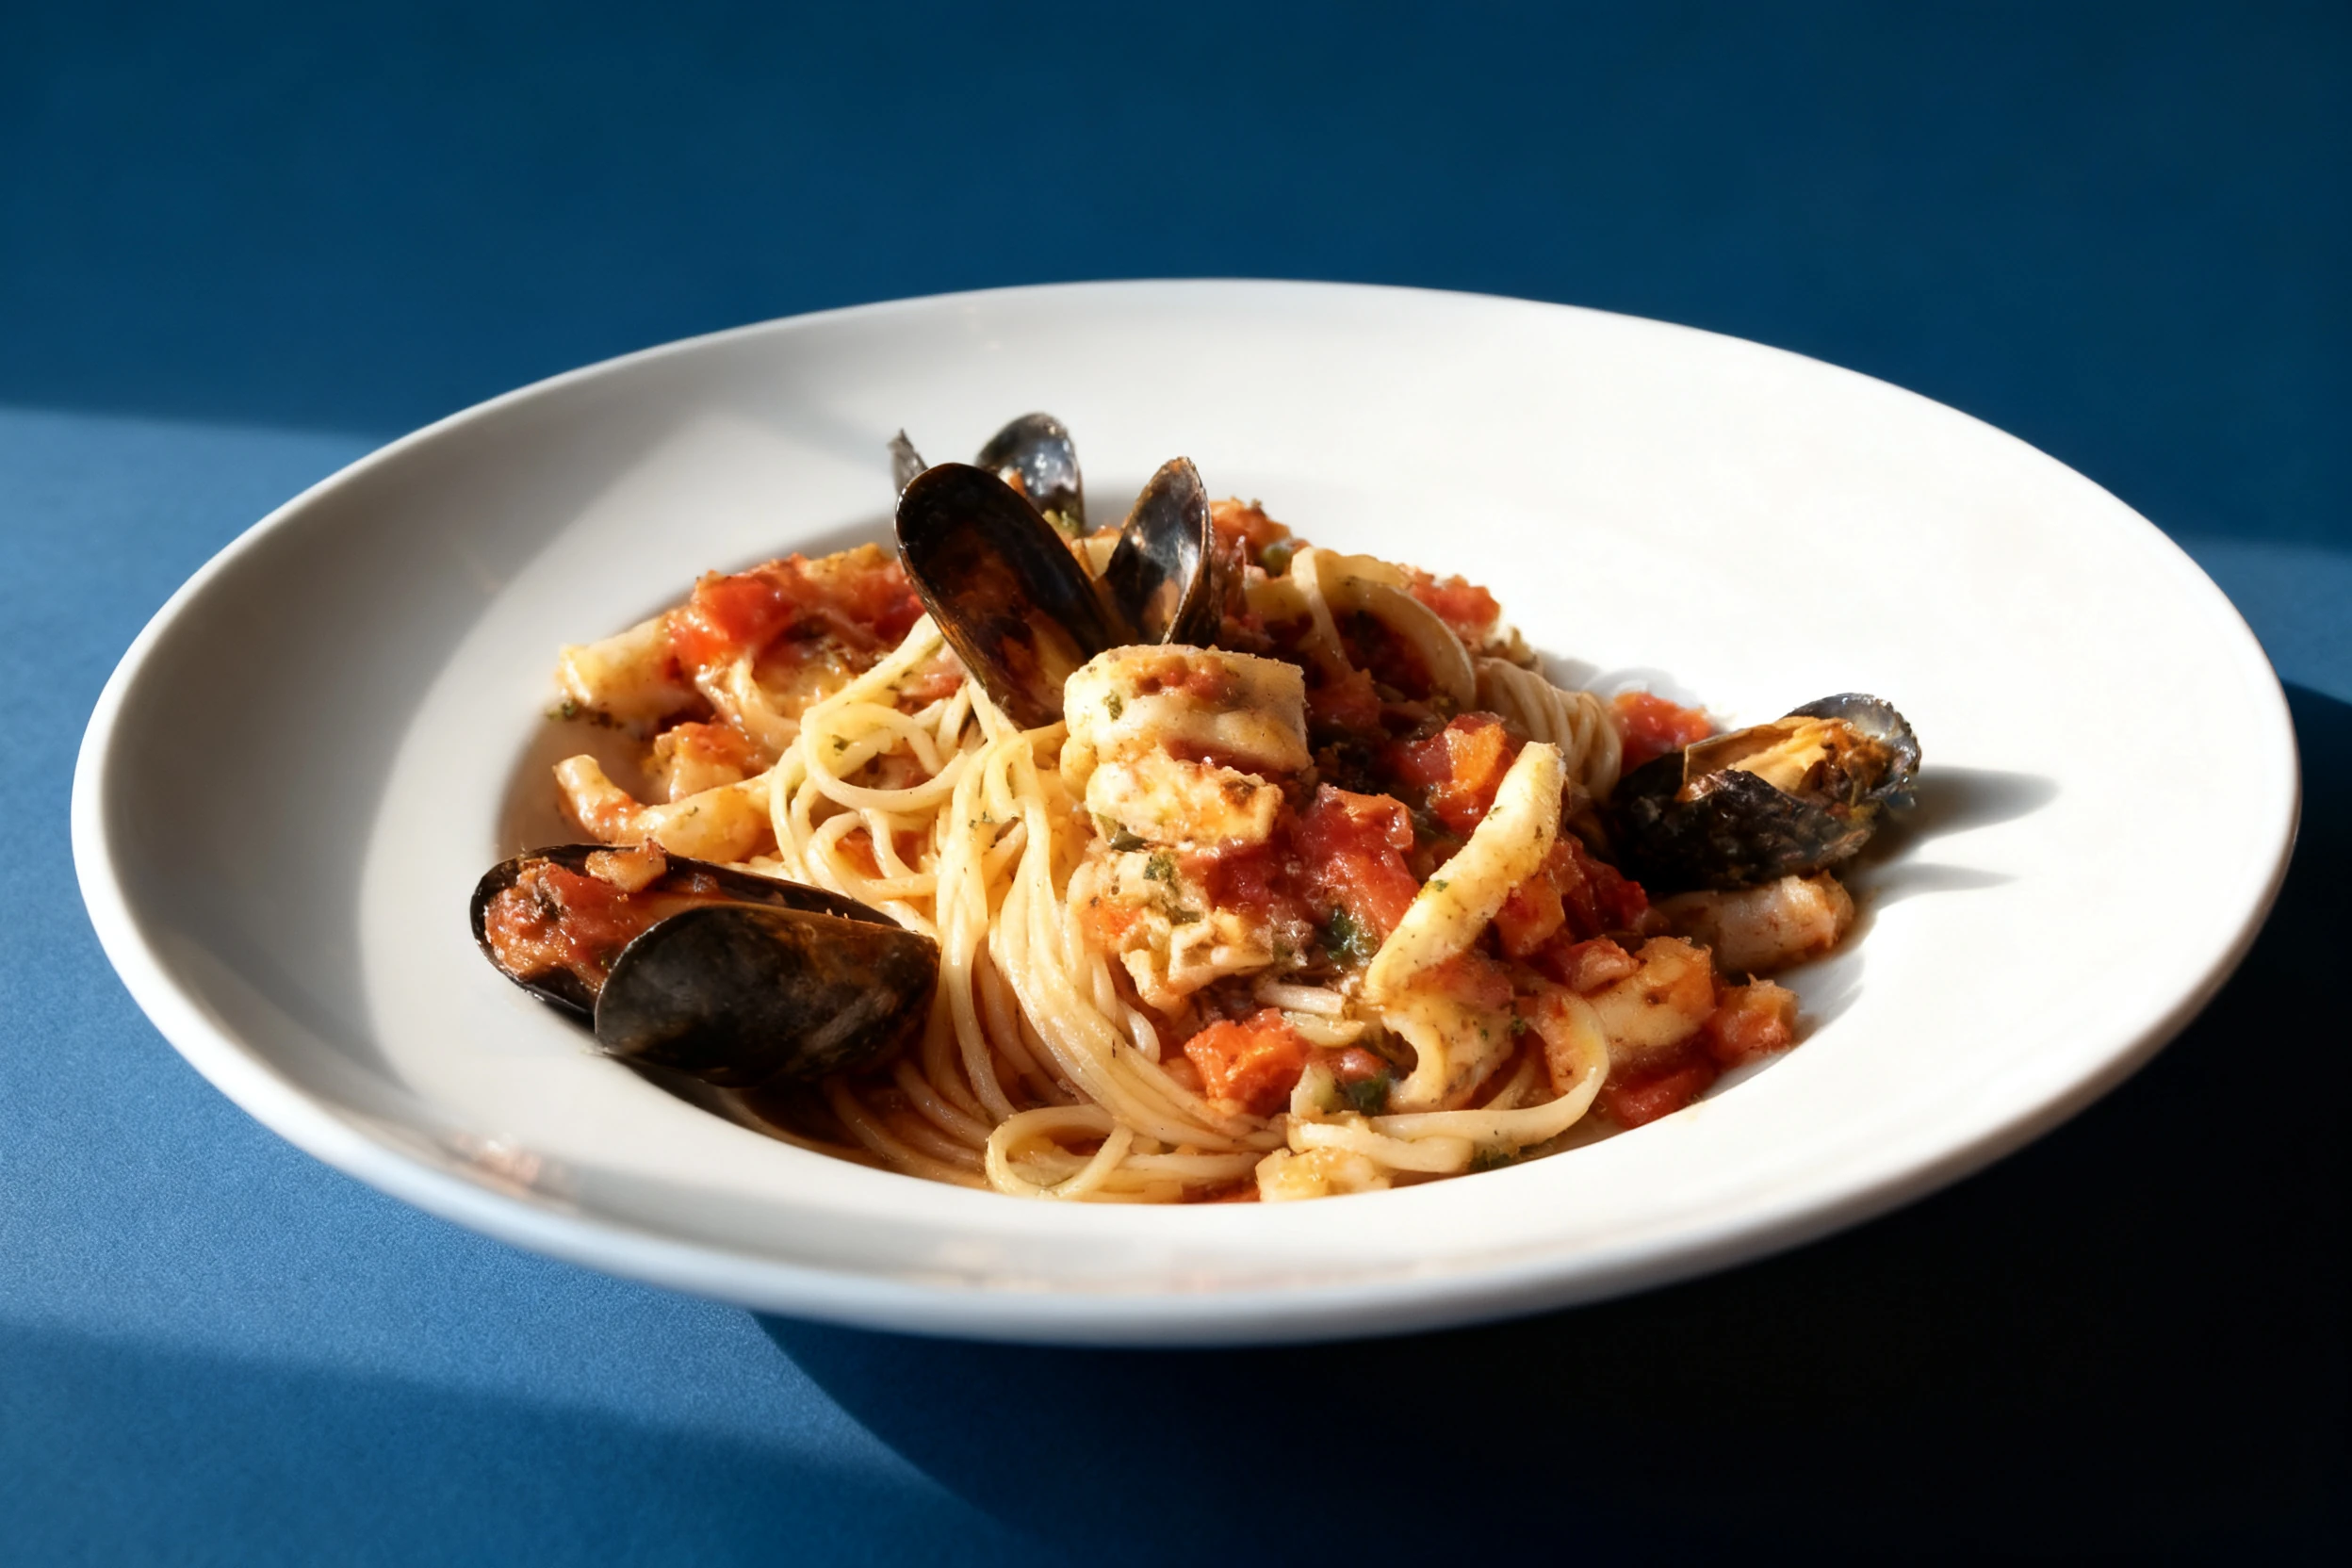
Seafood Photo Examples
Real seafood photos from restaurants using MenuPhotoAI. Tap any category to see the full gallery and the before-and-after view.
Take your Seafood photos further with AI
Once you have a solid shot using the techniques above, MenuPhotoAI can handle the finishing work. Our AI removes distracting backgrounds, corrects exposure and white balance, and applies cuisine-appropriate color grading — turning a good smartphone photo into something you'd be proud to put on your menu or delivery app listing. Start with 5 free photos, no credit card required.
Frequently Asked Questions
Skip the photoshoot — enhance the seafood photos you already have
The techniques on this page take time to master. MenuPhotoAI applies the same lighting, color, and texture corrections — automatically — to the smartphone photos you already shot. Studio-quality results in 30 seconds.
Try free — 5 credits, no cardMore Cuisine Photography Guides
This guide reflects best practices for Seafood food photography as of 2026. Techniques may vary based on specific dishes, equipment, and shooting conditions. MenuPhotoAI is an AI food photo enhancement platform.