Photography Guide
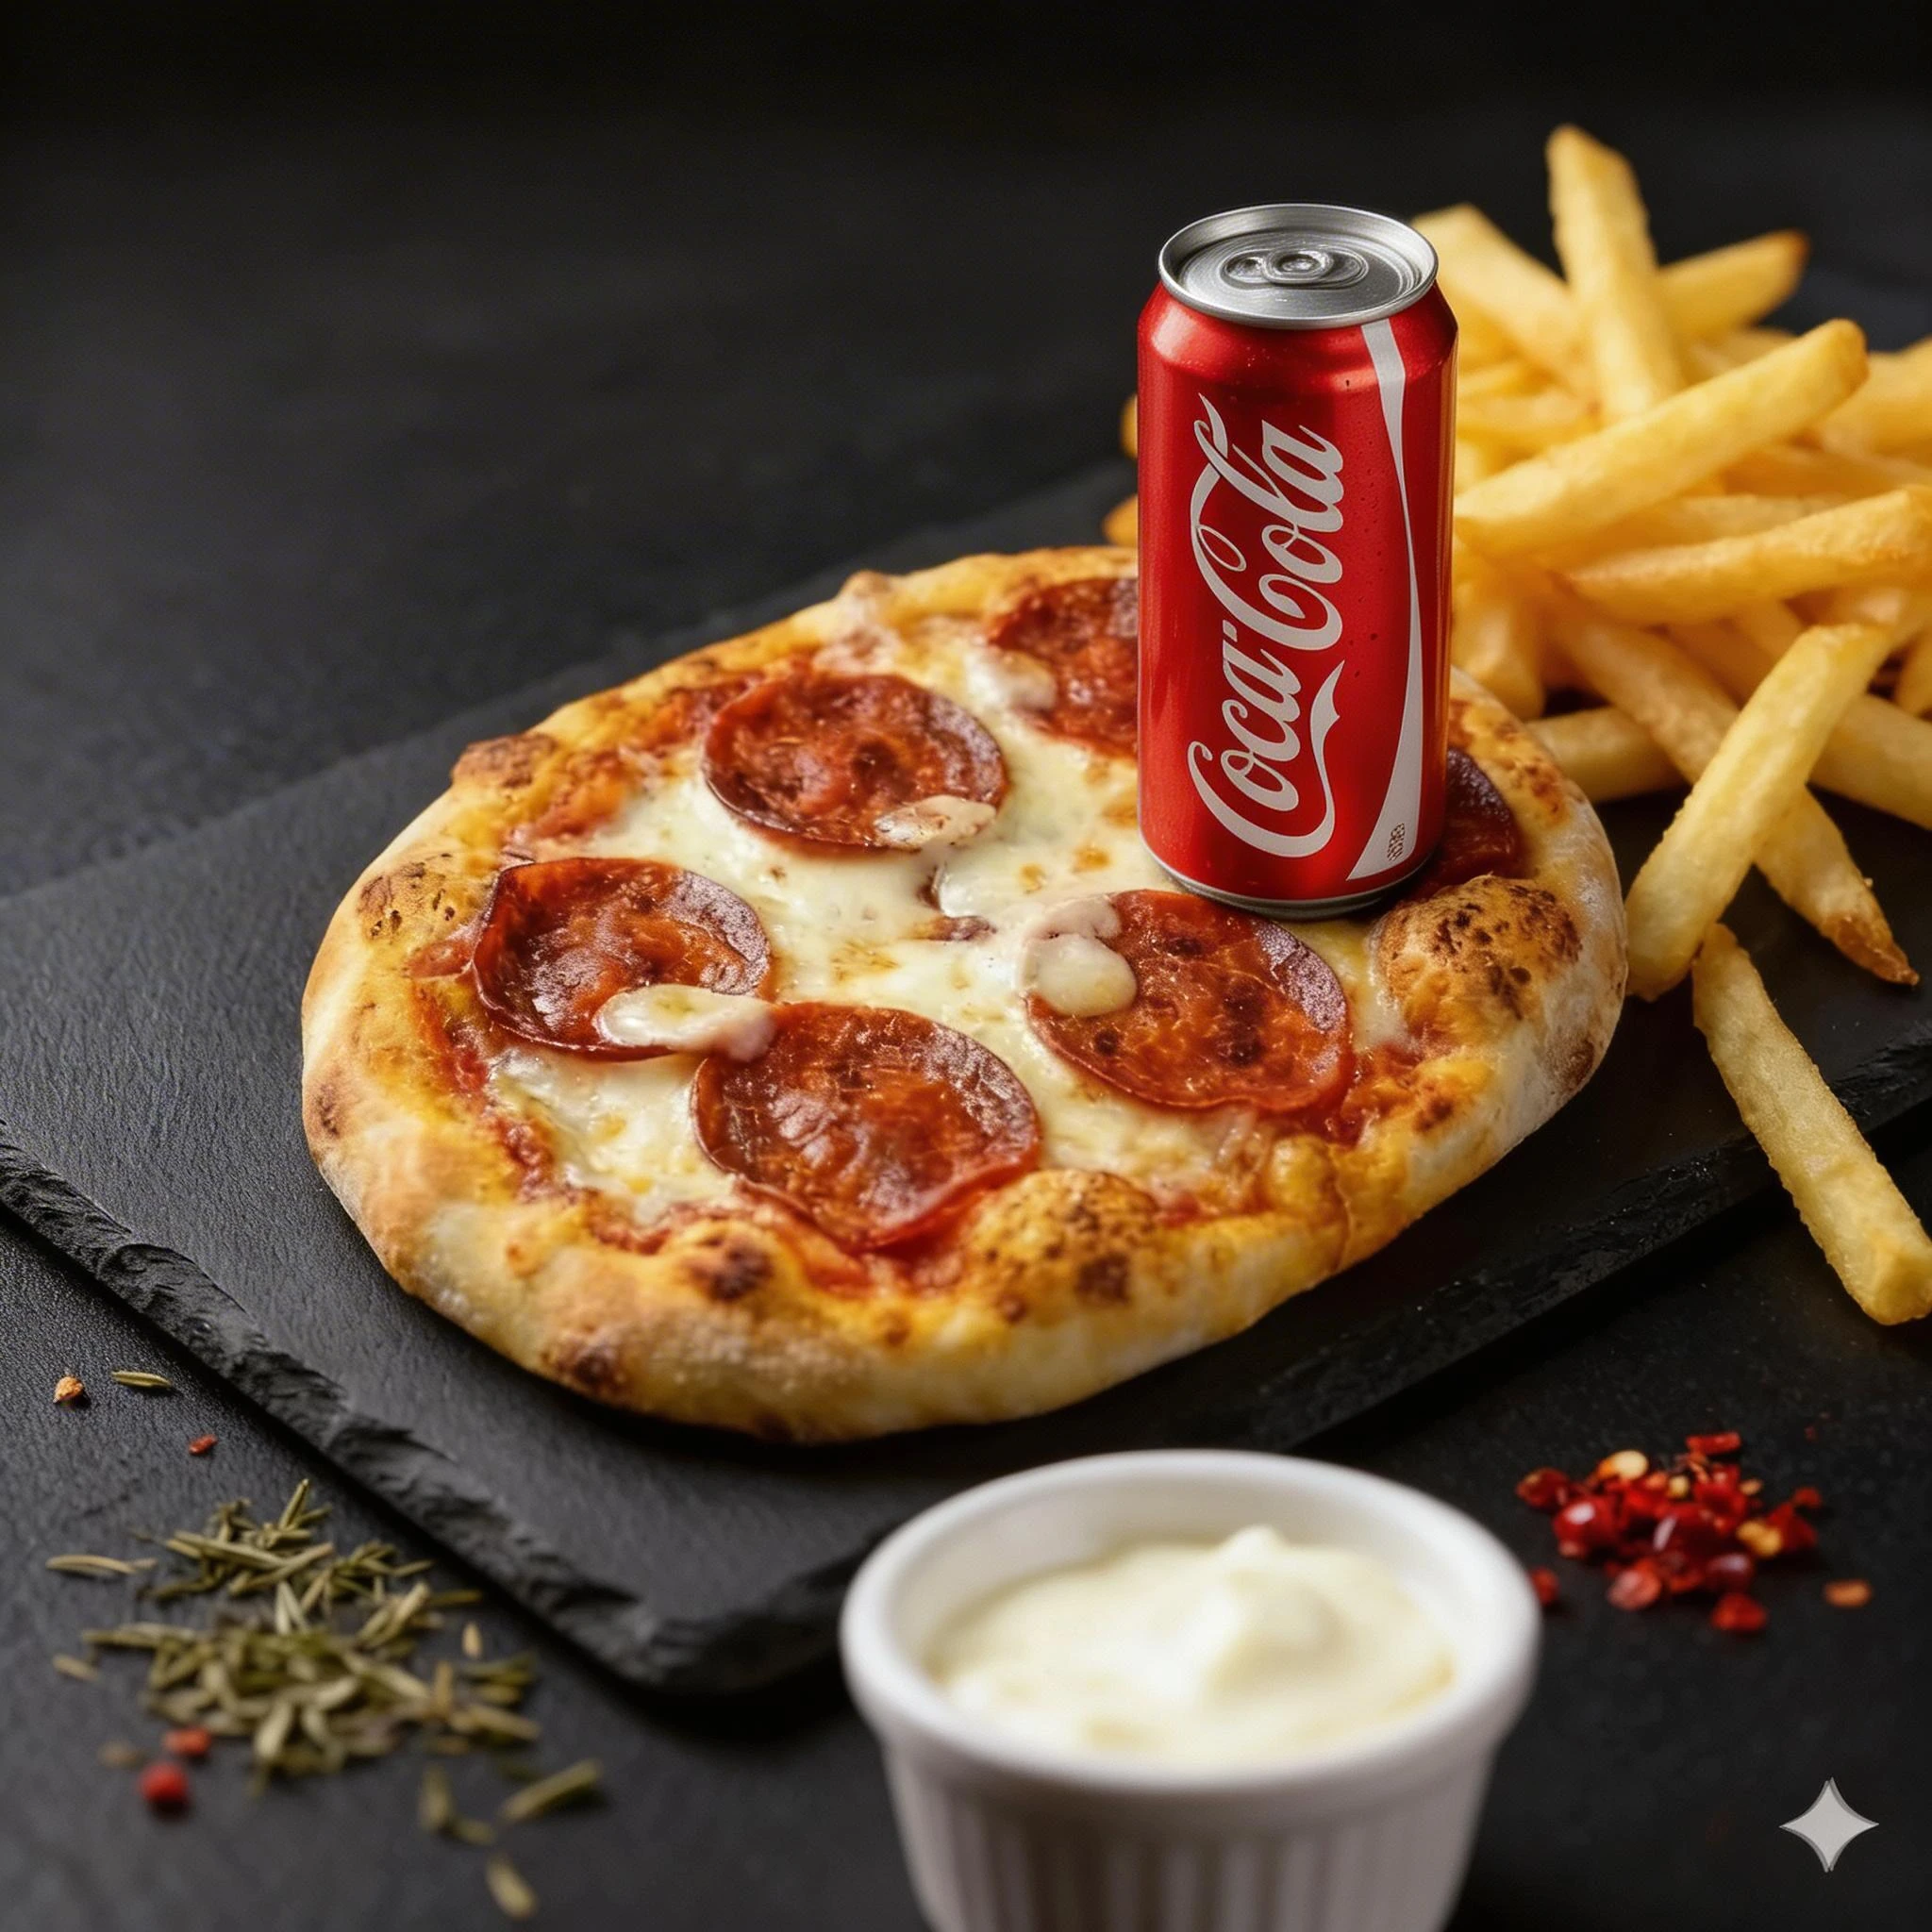
Pizza Food Photography Guide
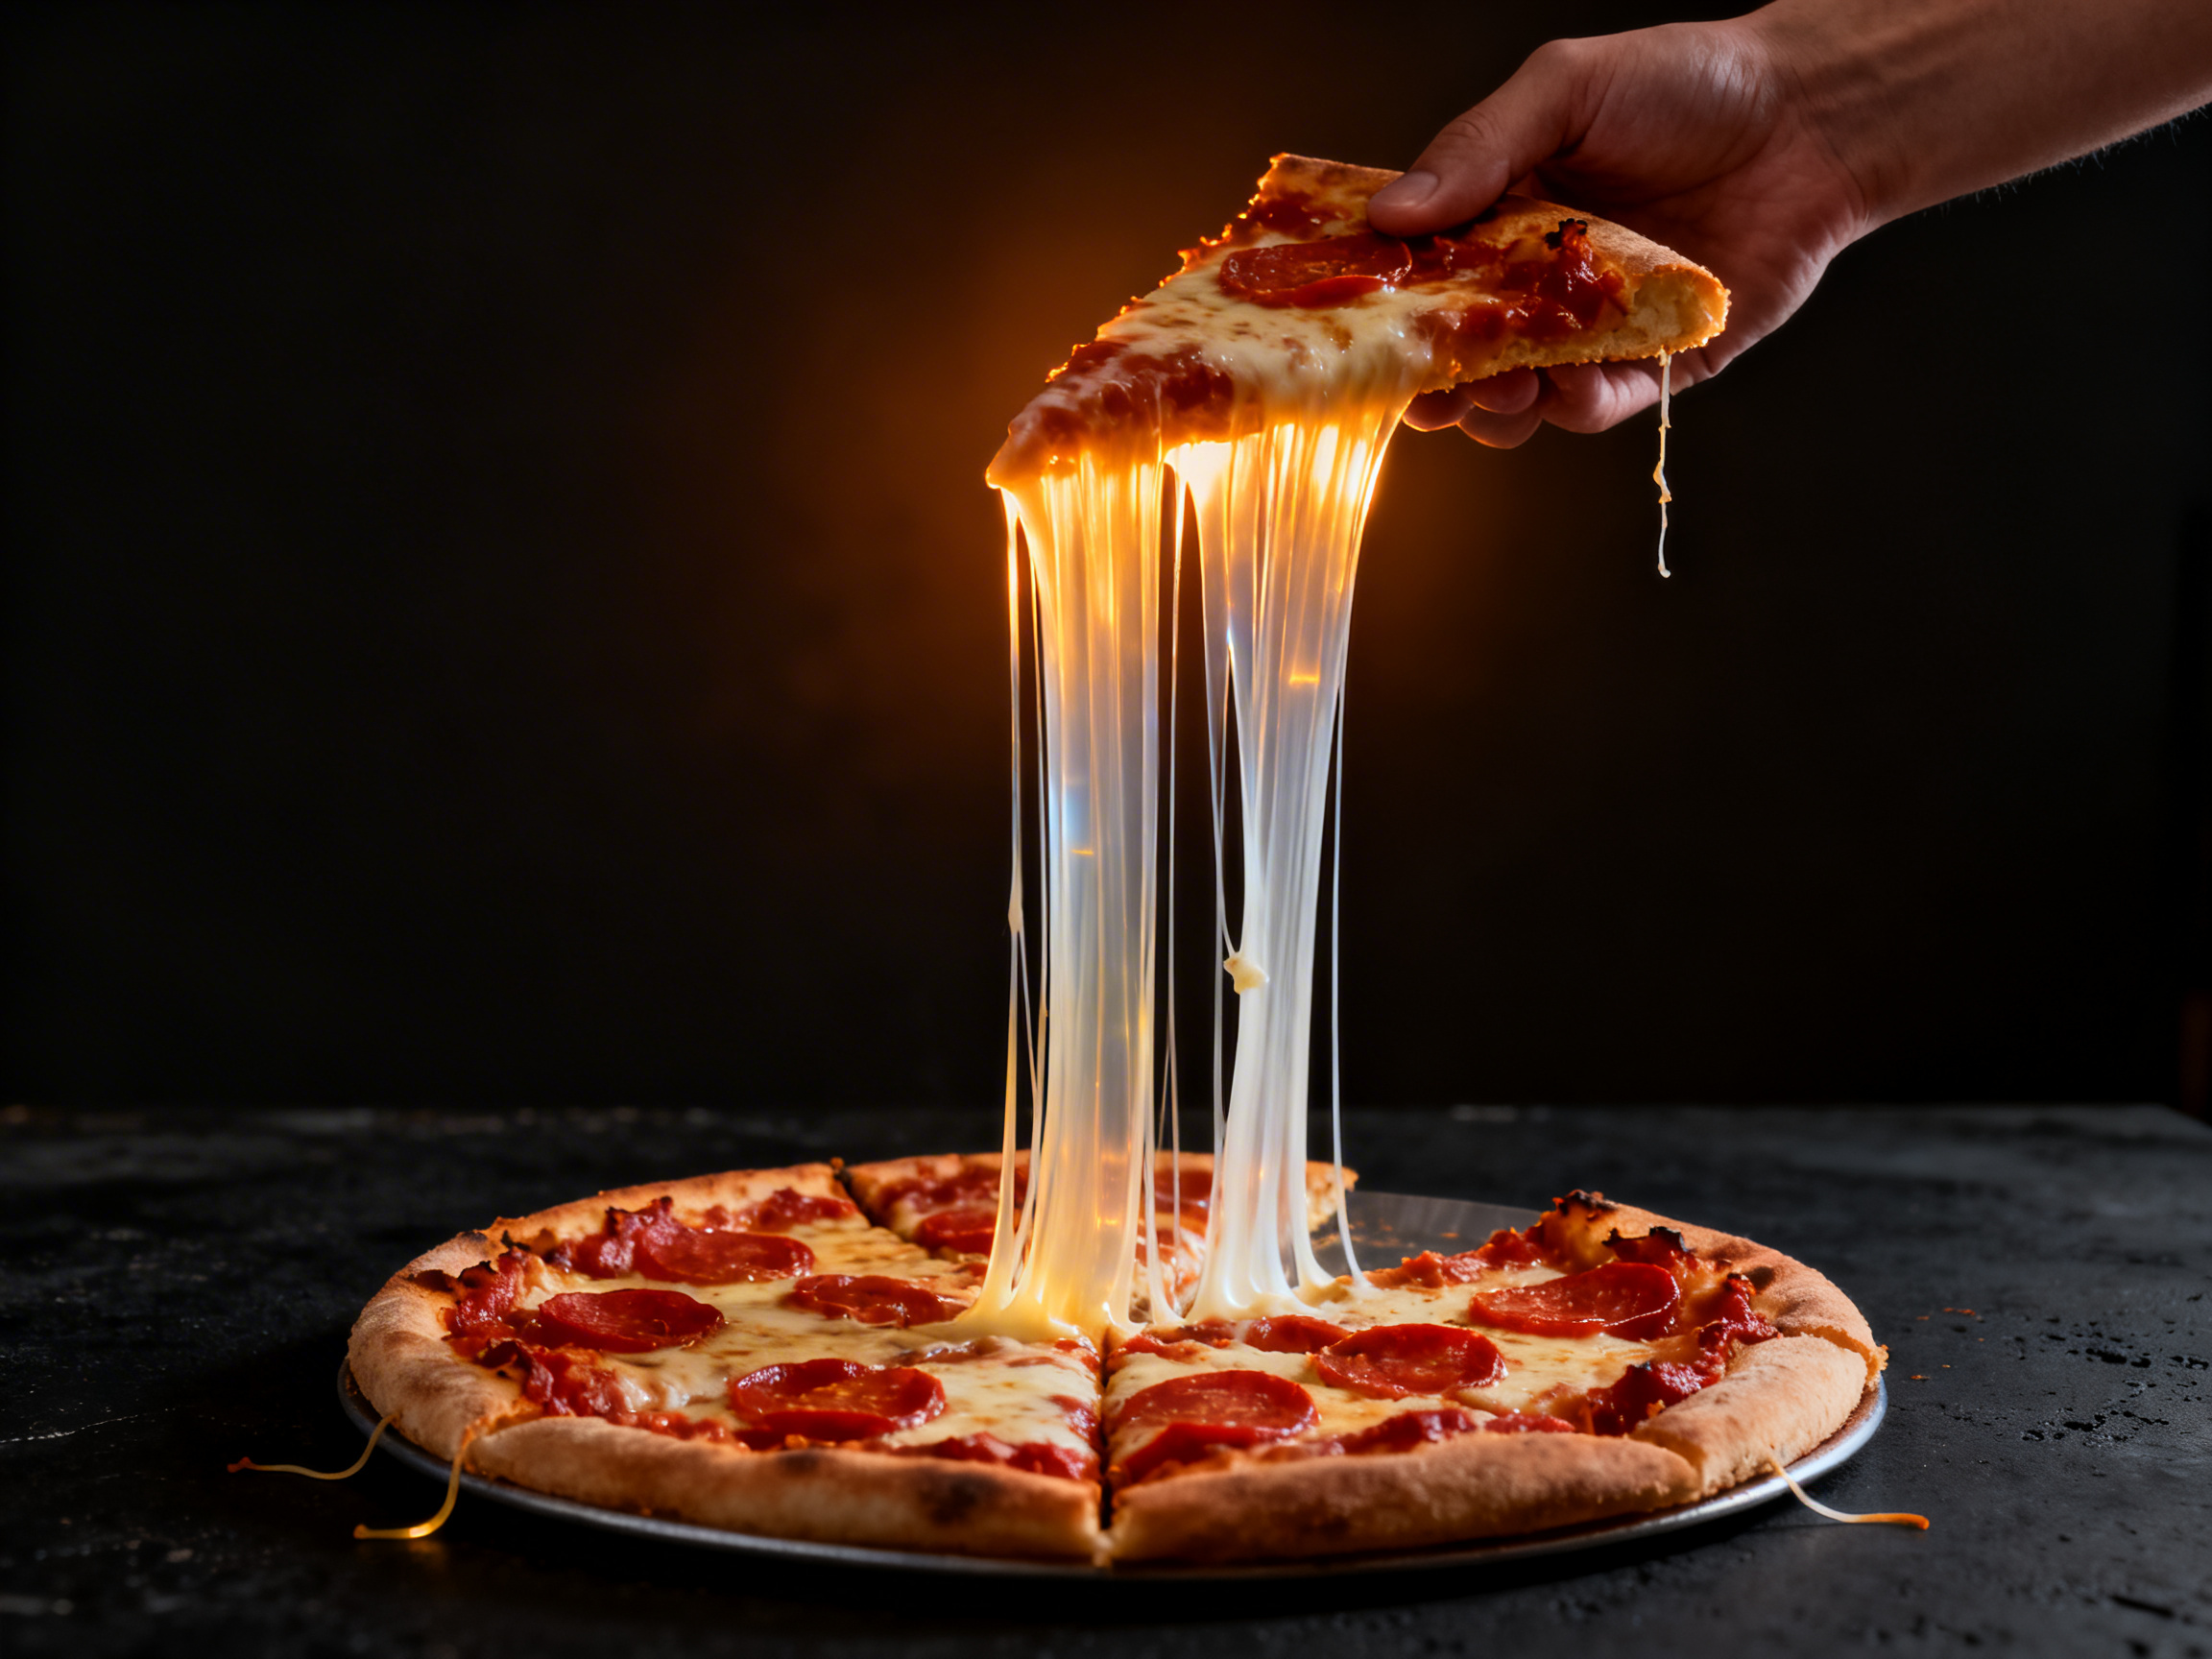
Cheese pull shots must be captured within 90 seconds of cutting - after that the mozzarella sets and snaps rather than stretches.
Primary Angle
Overhead
Lighting
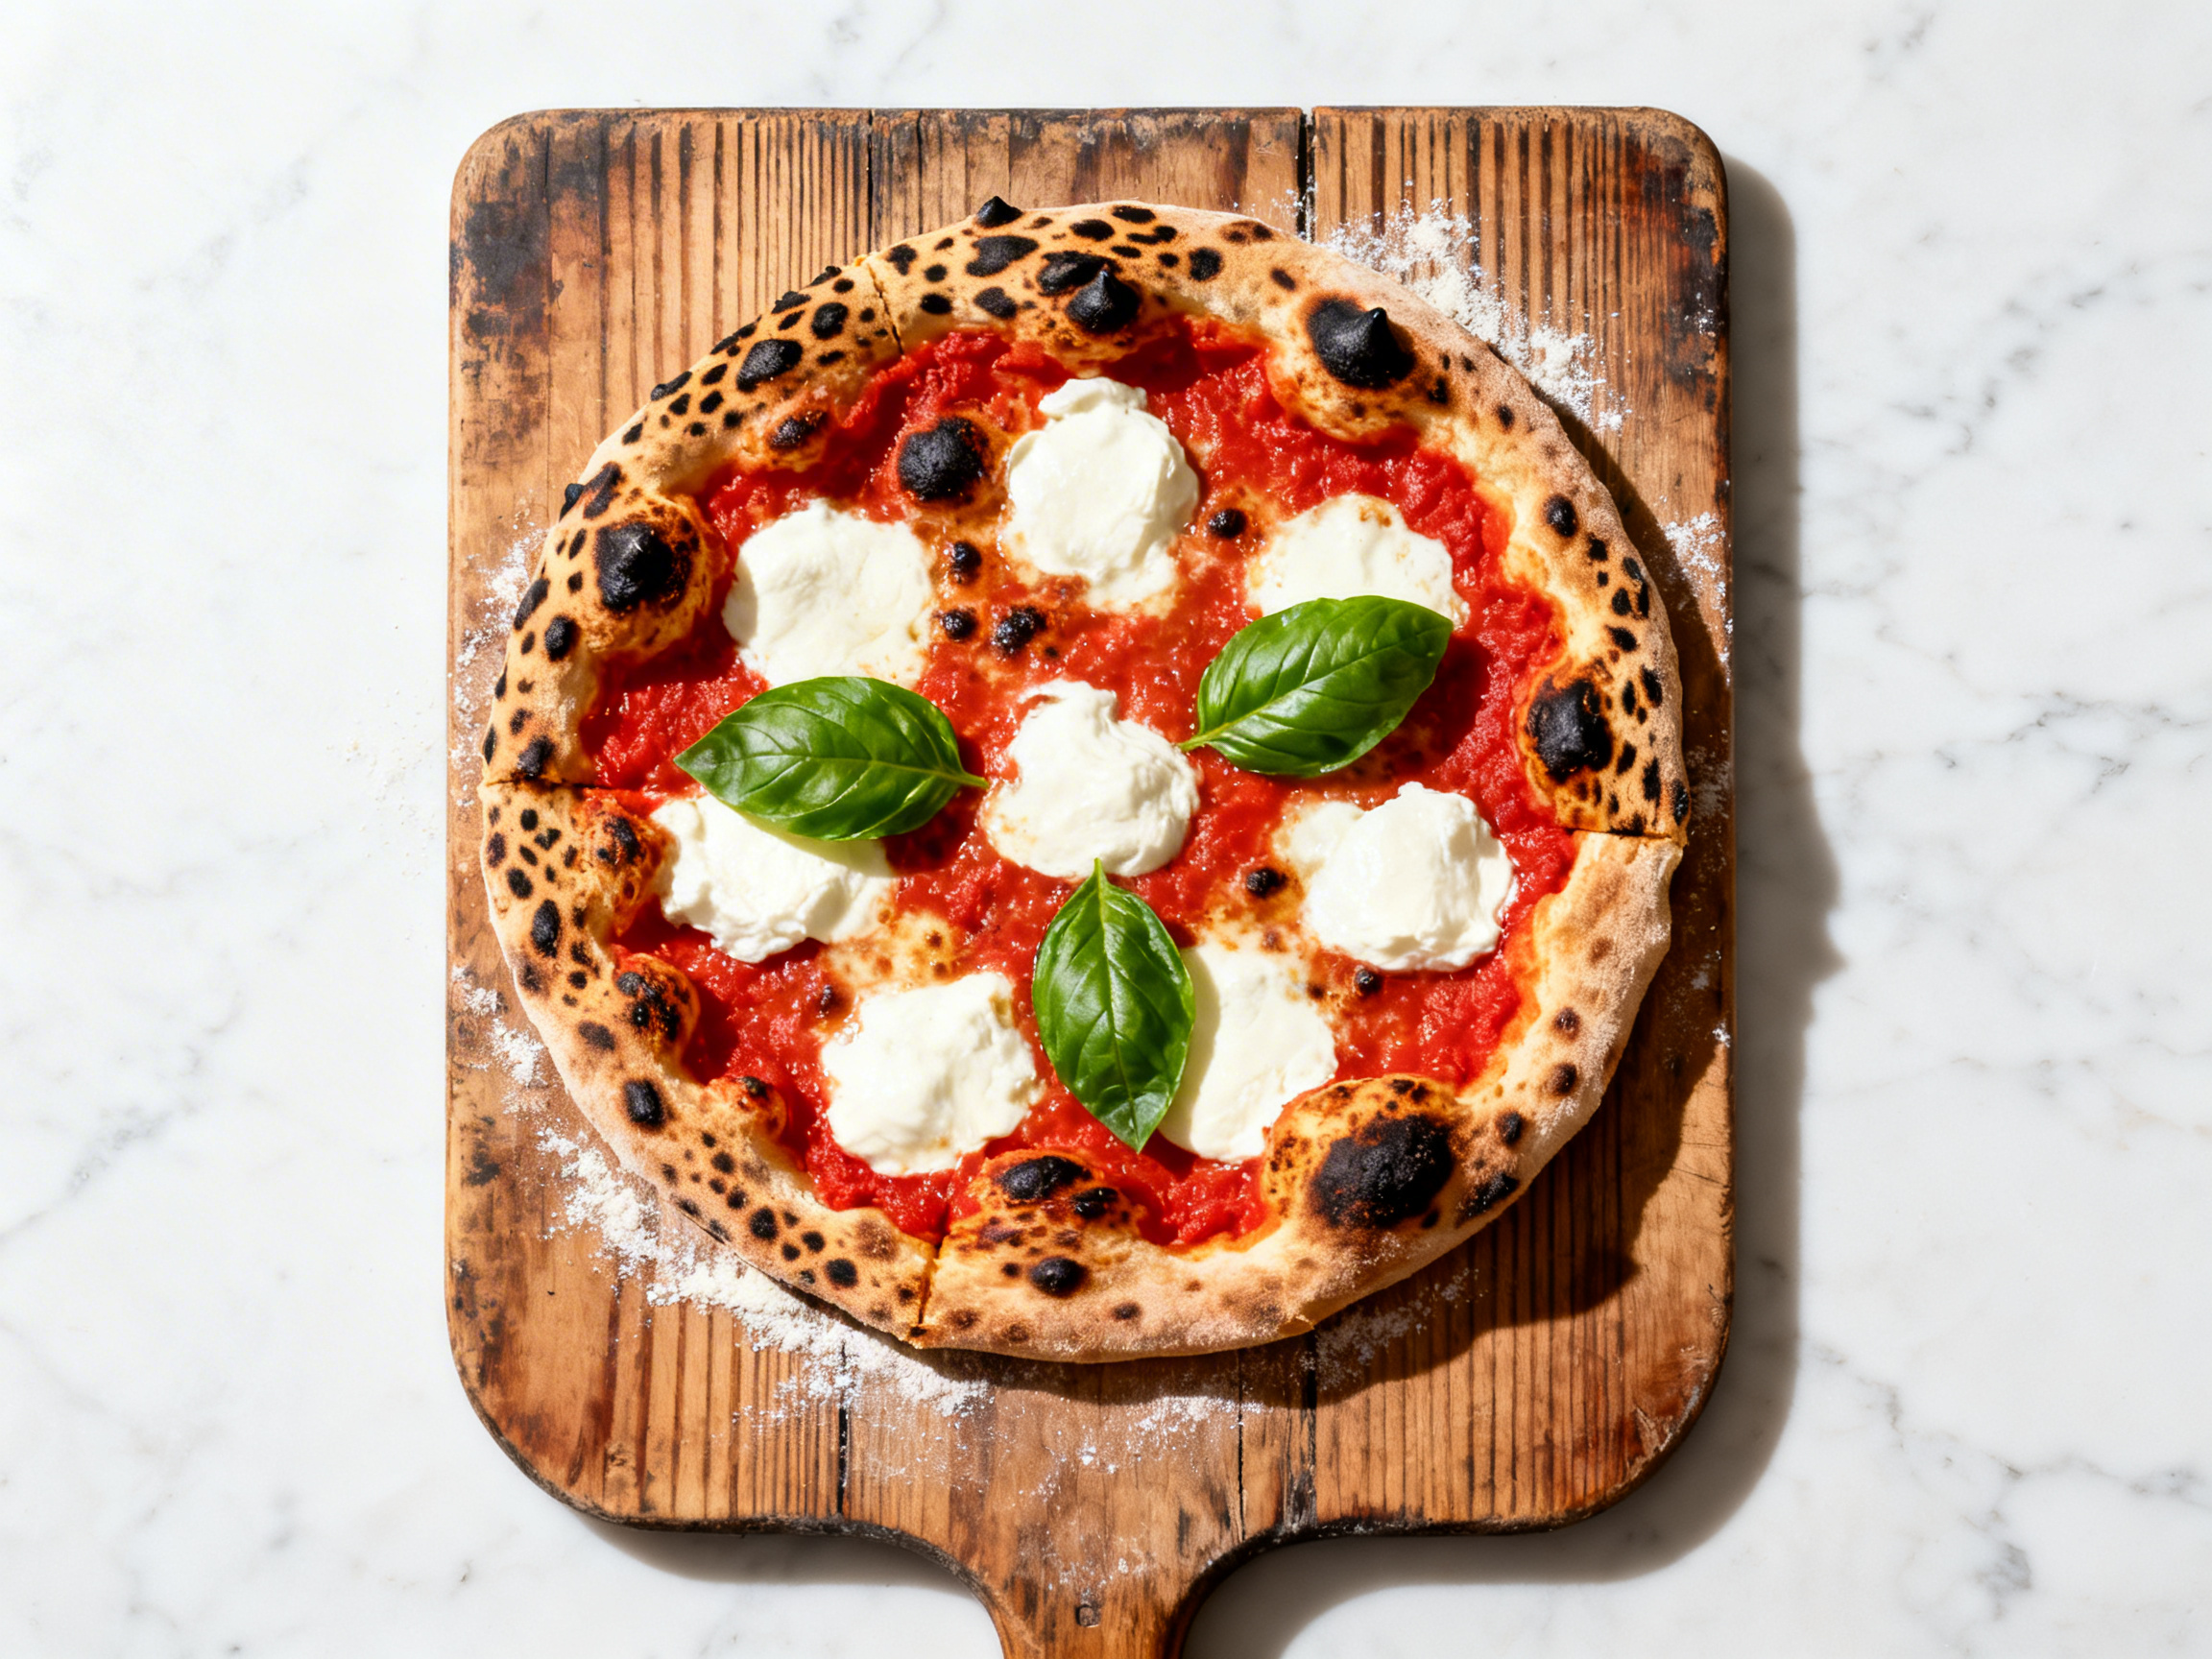
Hard overhead light for char detail; soft window light for artisan Neapolitan shots
Read time
~8 min
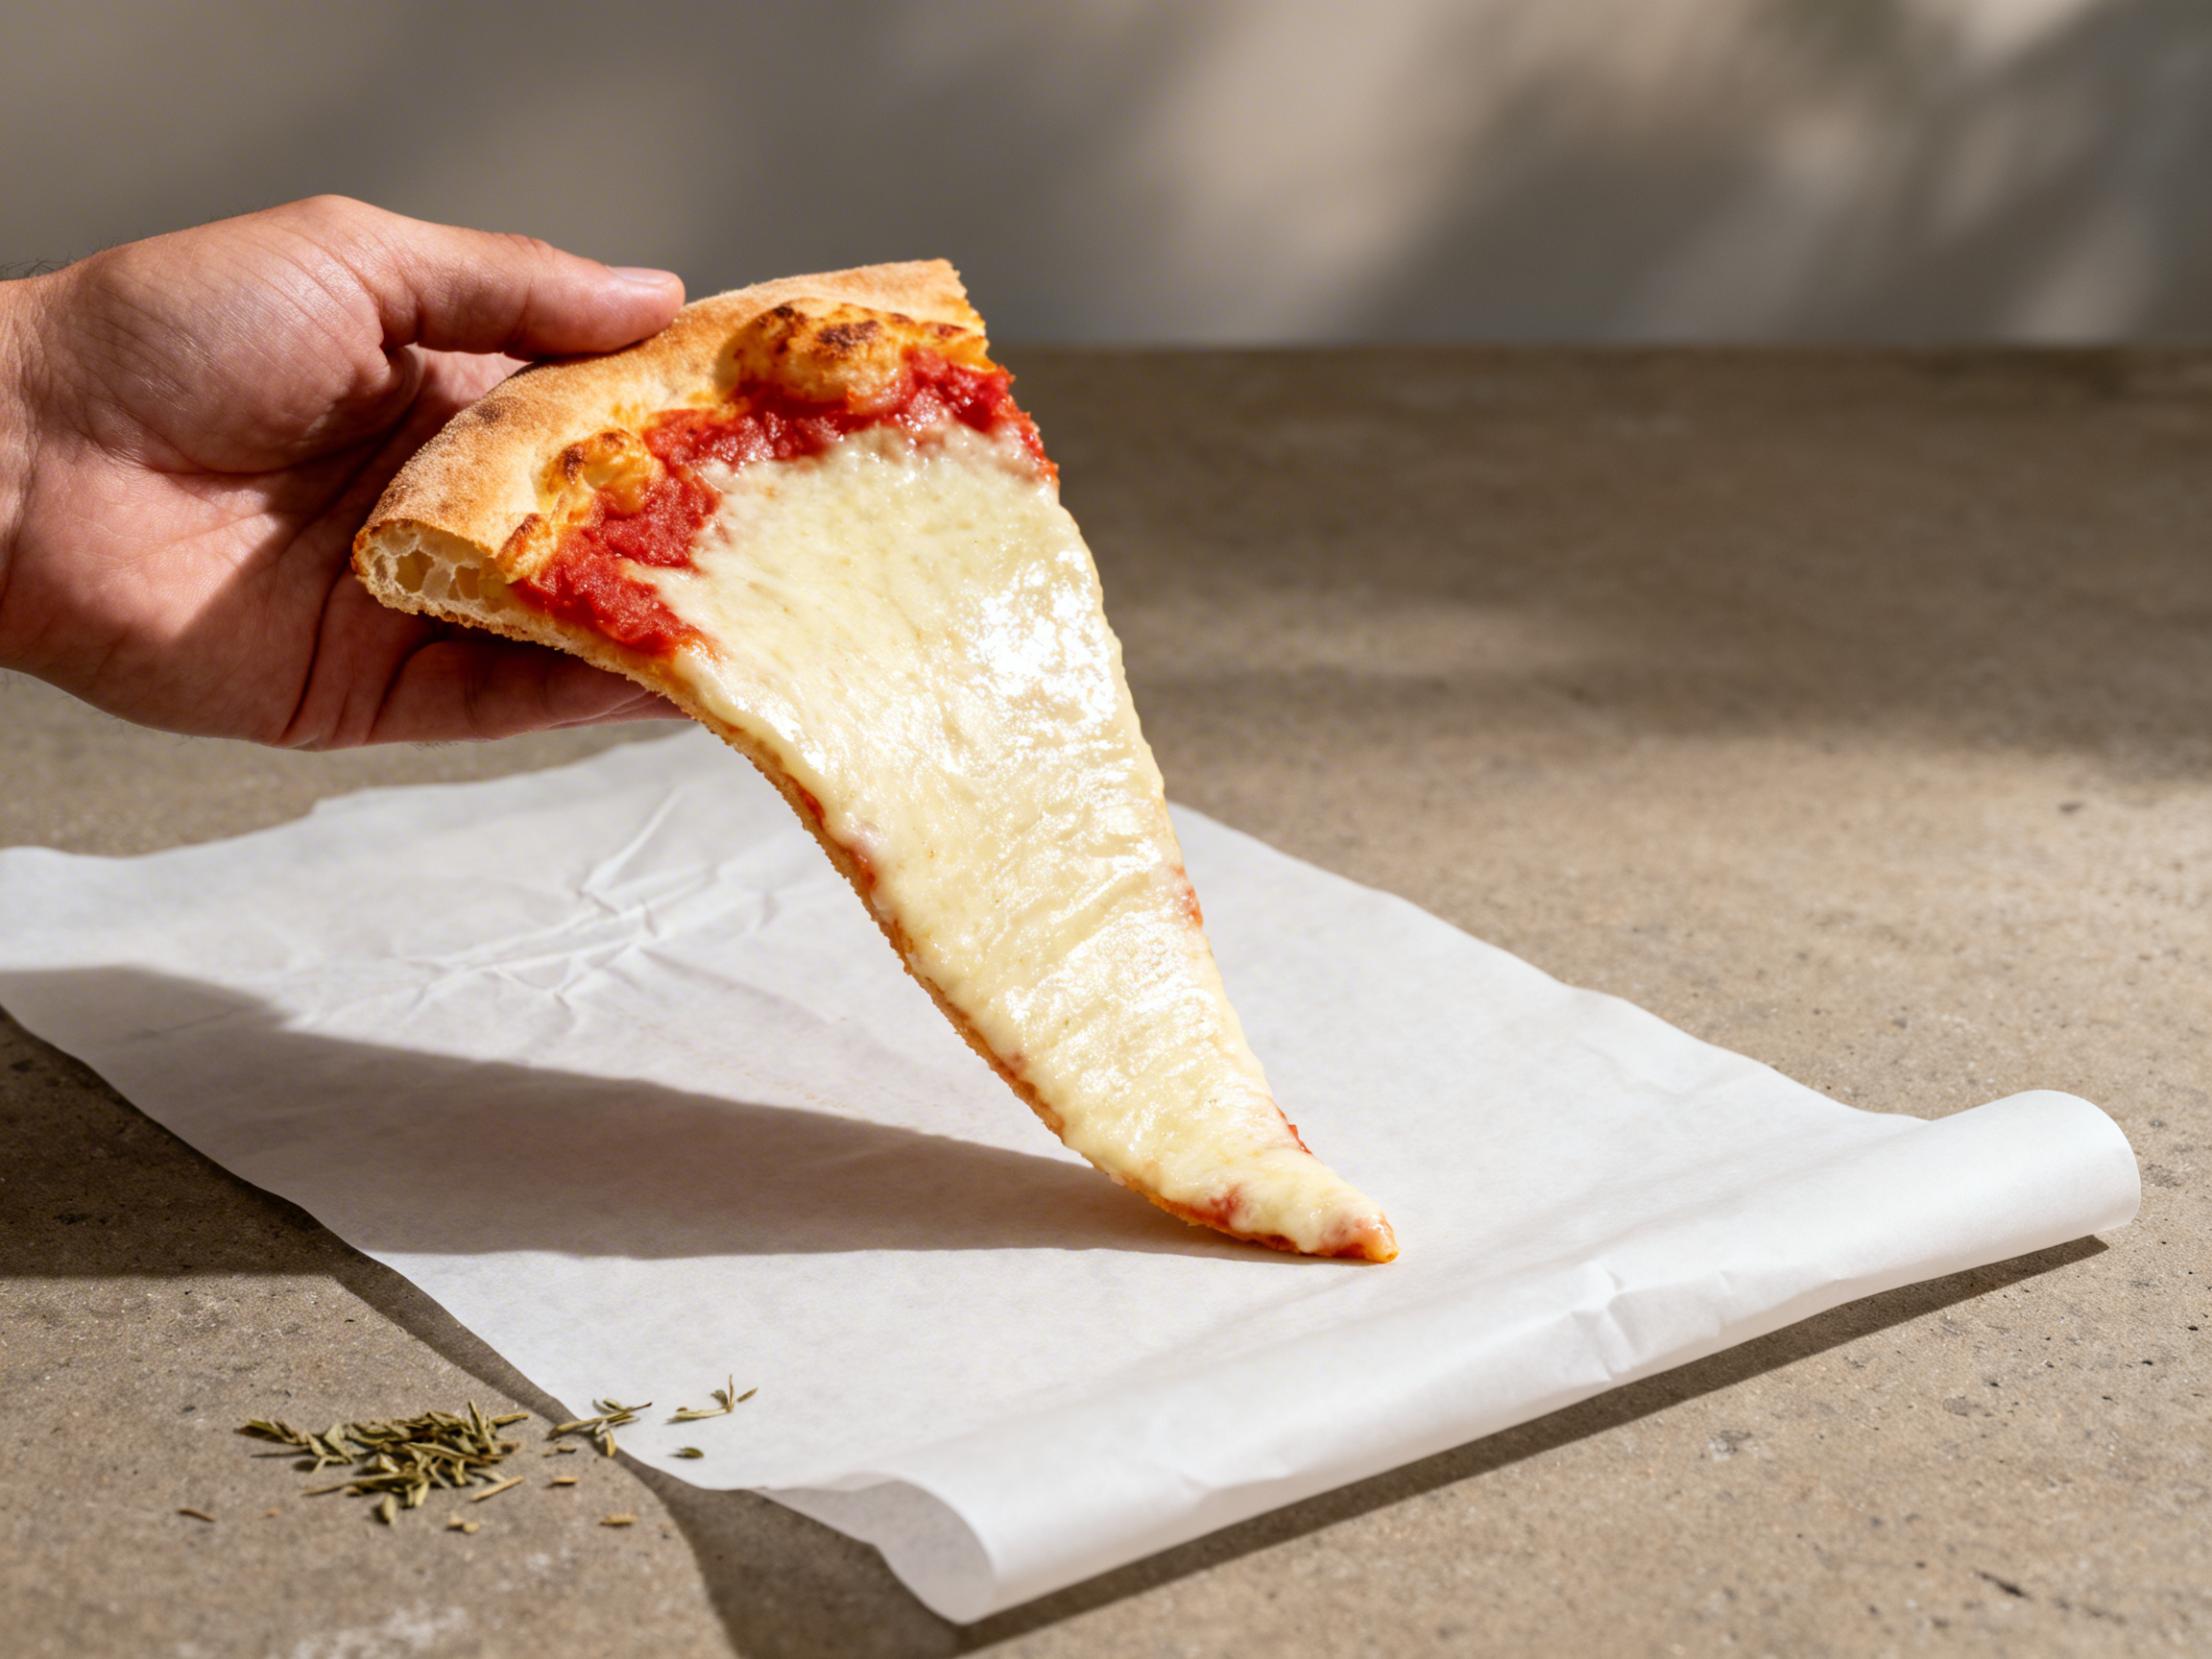
Pizza is one of the most photographed foods on the planet, yet most pizza photos fail to do the dish justice. The difference between a forgettable pizza shot and one that drives delivery orders or Instagram saves comes down to three things: timing, angle, and understanding what each pizza style is actually selling. A Neapolitan margherita sells charred crust leoparding and fresh buffalo mozzarella pools; a New York-style slice sells foldability and the grease-glistening cheese surface; a Chicago deep-dish sells architectural depth and sauce volume. Every angle and lighting decision should serve that visual argument. This guide breaks down the specific techniques for each major pizza style - from setting up the perfect overhead composition for a full pie to capturing the elusive cheese pull shot on a freshly cut NY slice. Follow these techniques and your pizza photography will stop looking like an afterthought and start looking like the reason someone opens the app.
What Makes Pizza Challenging to Photograph
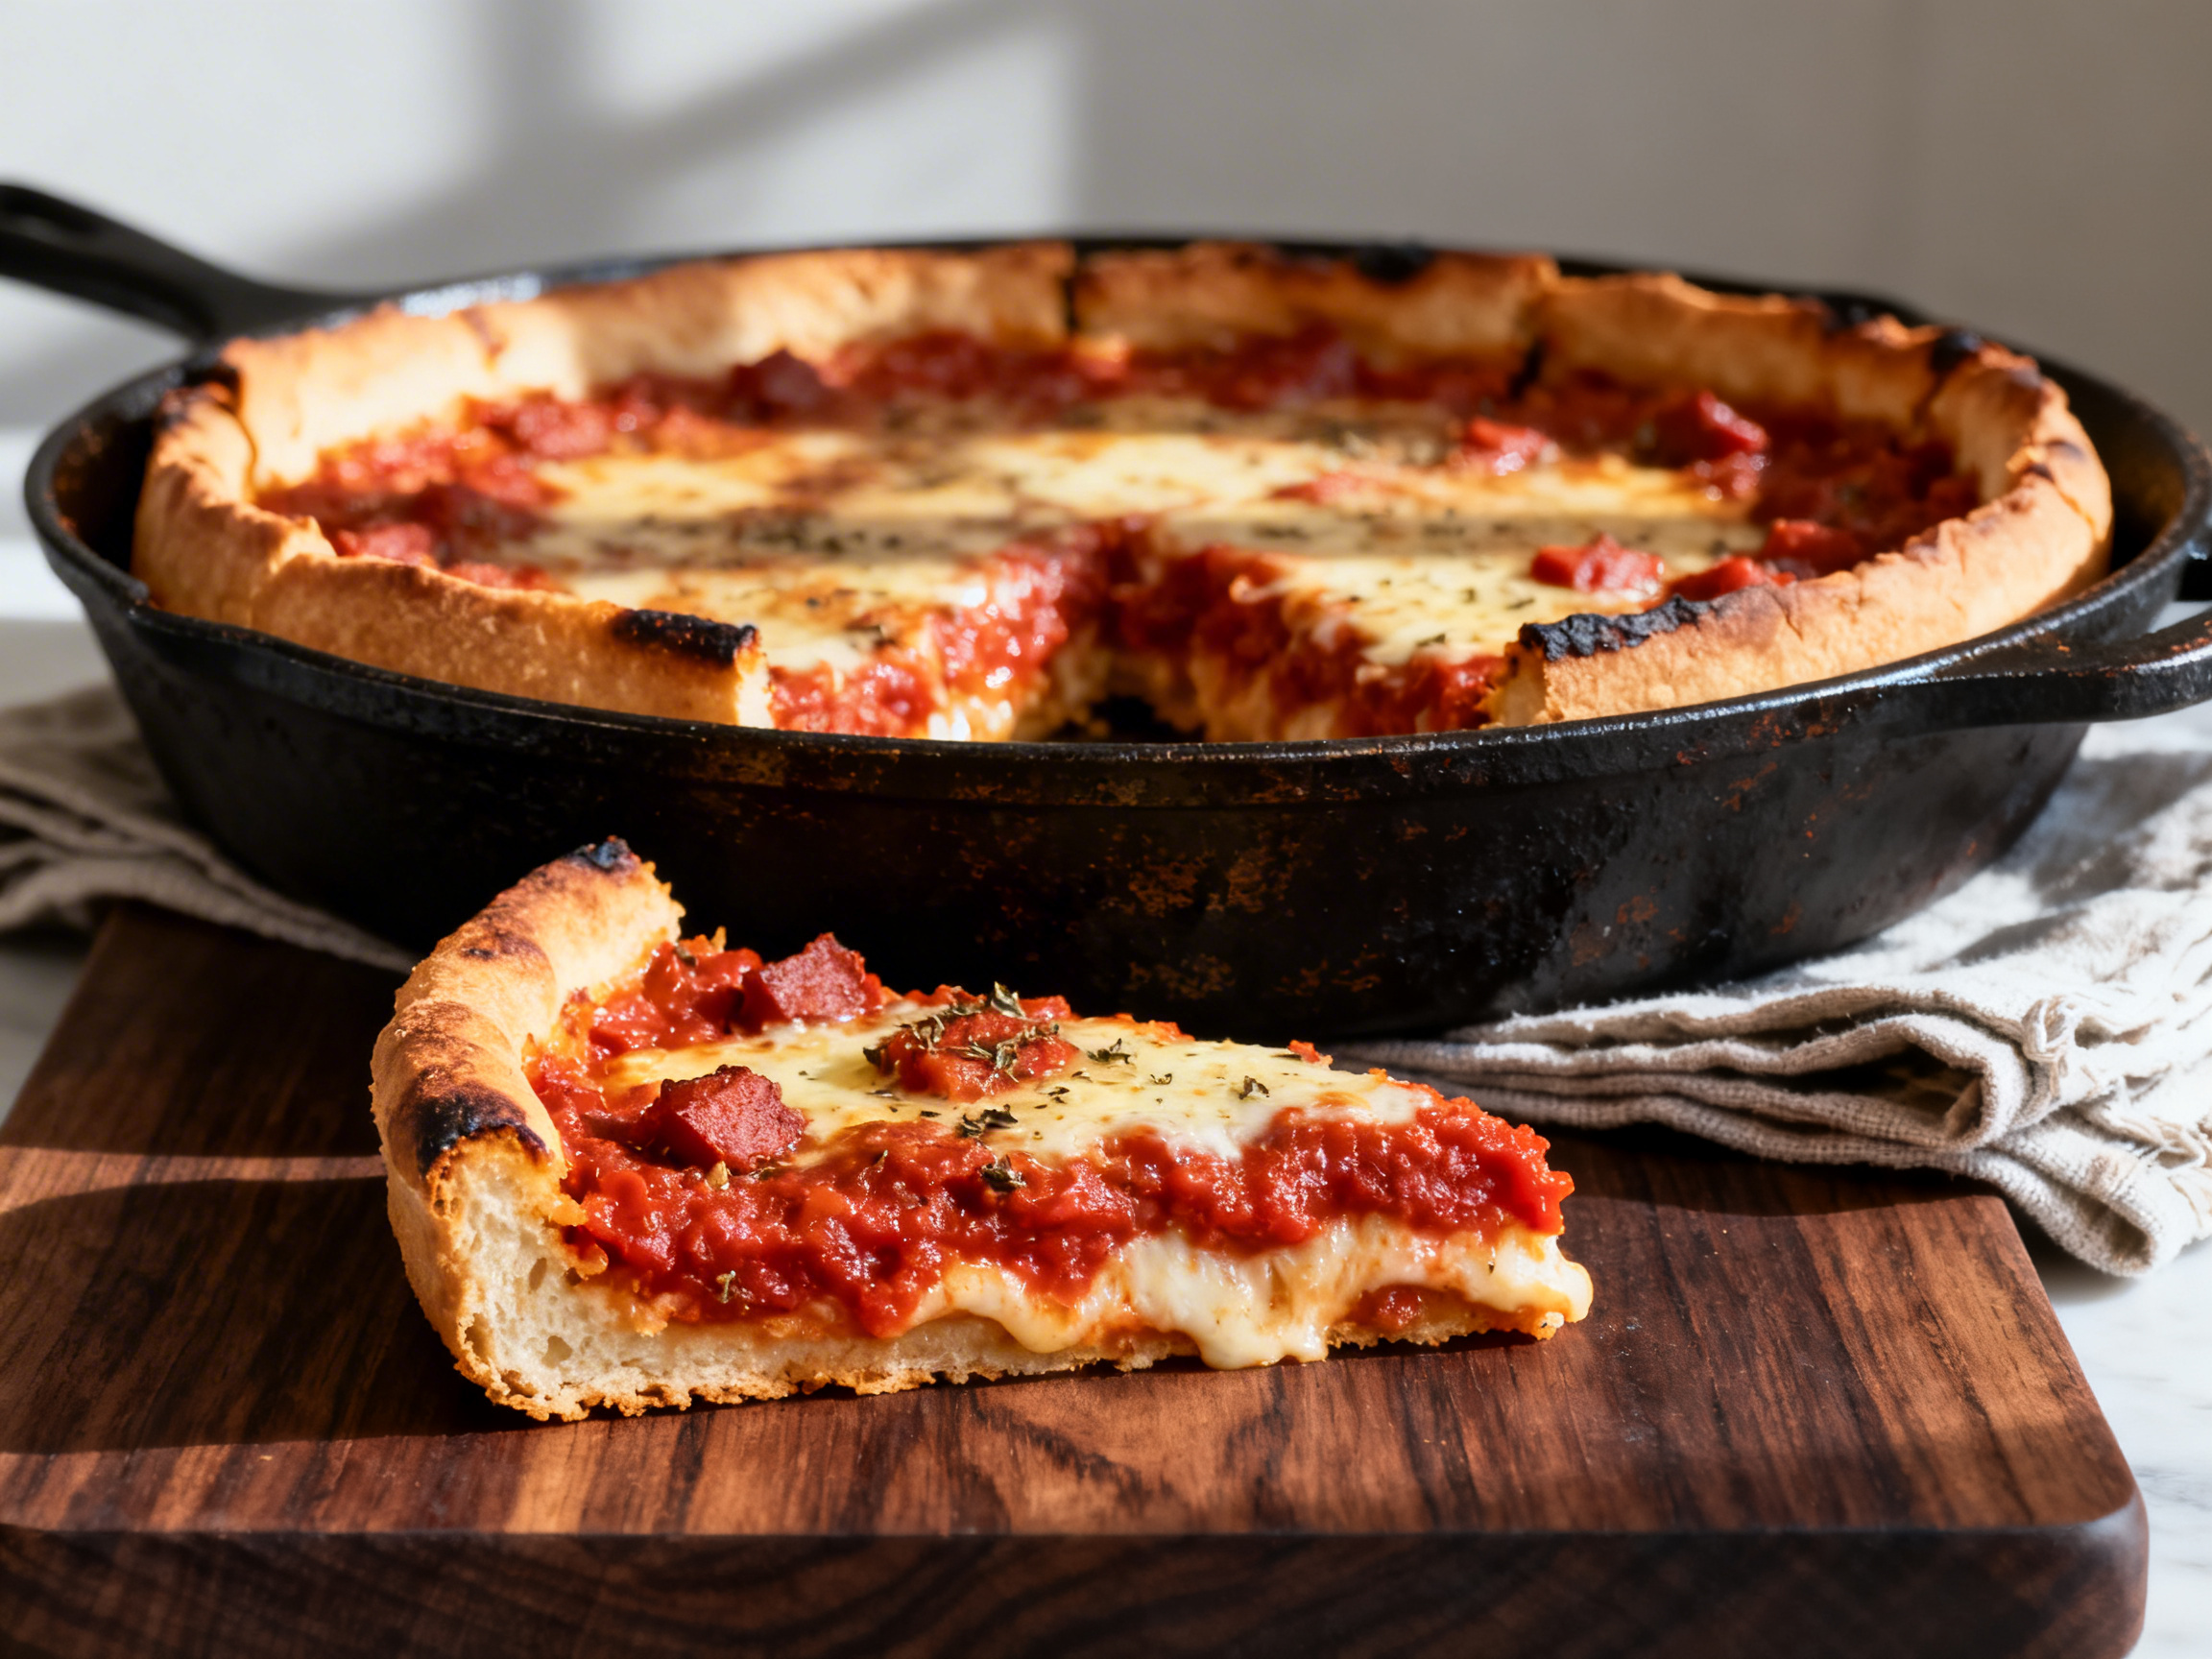
The most technically demanding pizza shot is the cheese pull, and it comes with an unforgiving clock. When you cut into a freshly baked pizza with high-moisture mozzarella - whether Neapolitan fior di latte or a NY-style low-moisture blend - you have approximately 90 seconds before the cheese cools enough to lose elasticity. After that window, separating a slice produces a snap rather than a graceful stretch, and the shot is gone. To hit the window reliably, have a second camera operator or assistant handle the slow, steady slice-pull while you frame and focus. Use a continuous shooting burst at three to five frames per second to capture the peak stretch point. A second challenge specific to wood-fired and Neapolitan pies is managing the dark char. Overexpose even slightly and the leopard-spotted crust blows out to flat black, losing all the texture that signals artisan quality. Shoot with the histogram biased to the left - slightly underexposed - and recover detail in post. Deep-dish presents its own problem: the depth of the pan means standard overhead shots lose the sauce and cheese layers entirely. A 35-to-45-degree angle from the edge of the pan is usually required to show depth.
Best Lighting for Pizza Photography
Pizza lighting strategy depends almost entirely on which style of pizza you are shooting. For Neapolitan and wood-fired pies, the goal is to reveal the texture of the charred crust: the blistered bubbles, the leopard spots, the uneven rise. A hard light source - a bare LED panel or direct window light without diffusion - positioned directly overhead at 90 degrees casts sharp shadows into every crust crevice and makes the char texture leap off the image. This is one of the few food photography scenarios where soft diffused light is the wrong choice: it flattens the very texture you are trying to show. For romantic artisan shots of a margherita on a rustic wooden surface, switch to a large softbox or indirect window light at 45 degrees - this creates the warm, atmospheric feel appropriate for a sit-down restaurant menu. For NY-style and deep-dish, side lighting from the left at 45 degrees creates the cross-shadow pattern that makes the grease sheen on a cheese surface and the layered side of a deep-dish slice read as dimensional and abundant. For cheese pull shots specifically, position a rim light or a small reflector behind and to one side of the pull point to create a halo effect through the translucent stretched mozzarella.
Camera Angles for Pizza
The full pie overhead shot is the foundation of pizza photography because it communicates the full topping map, the crust shape, and the overall scale of the pizza in a single frame. Position the camera directly above the center of the pie with a level horizon - even a few degrees of tilt reads as sloppy in a clean overhead. For a 12-inch Neapolitan, a 50mm equivalent lens from 80 to 90 centimeters above the surface fills the frame perfectly without perspective distortion. The single-slice shot is where angles diversify. For a NY-style slice held at the fold, shoot straight-on at eye level of the slice tip: this is the angle that captures the signature droop and grease sheen that defines the style. For a slice laid on a wooden peel or marble surface showing the cross-section of cheese, sauce, and crust layers, use 35 to 45 degrees from the side. For the cheese pull - the most social-media-optimized pizza shot - position the camera at the same height as the pull, slightly below center, with the stretched cheese lit from behind. Deep-dish slices almost always require a 30-to-45-degree angle looking into the pan edge to show depth; overhead conceals the sauce-to-cheese-to-crust layering entirely.
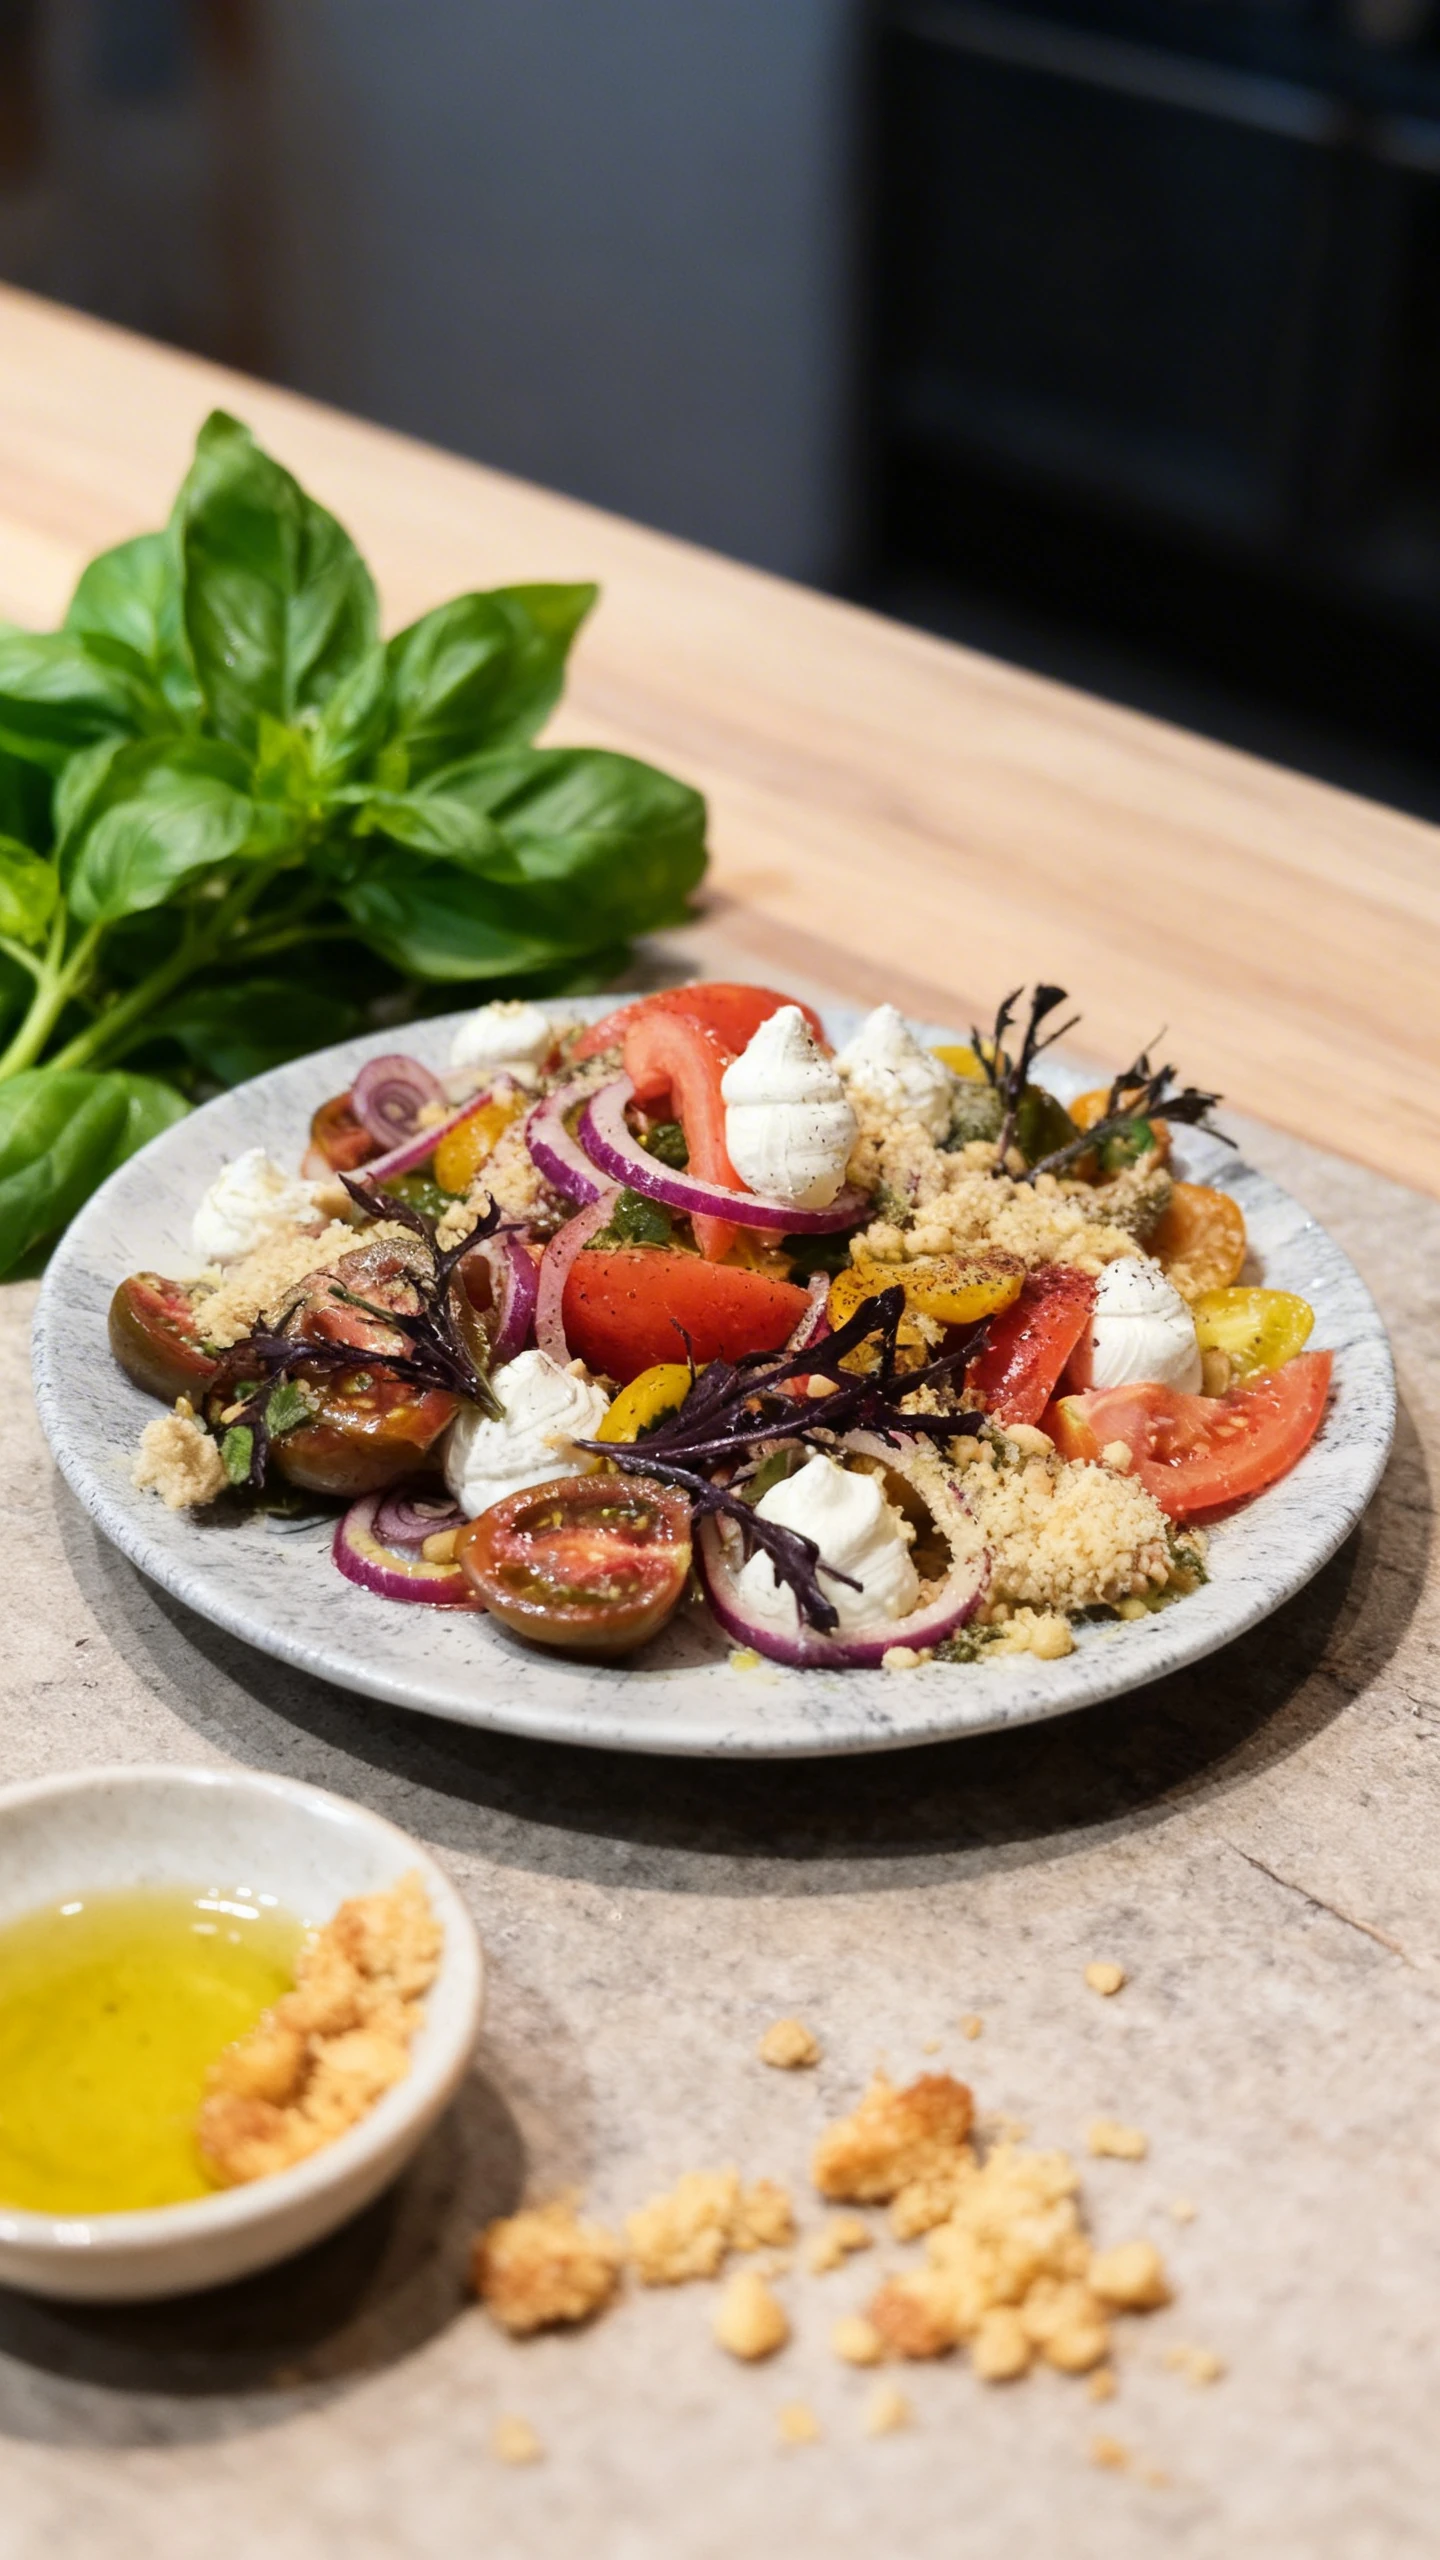
Food Styling and Props
Pizza styling begins before the pizza arrives: your surface, background, and props must already be set. For Neapolitan and artisan pies, a wooden pizza peel on a marble or concrete surface is the canonical prop setup - it signals craft and tradition. Place the full pie slightly off-center on the peel, leaving room in the negative space for a small bowl of fresh basil, a drizzle of extra-virgin olive oil, and a light dusting of flour on the peel surface. The flour dusting is crucial: use a fine-mesh sieve to apply it before the pizza arrives, as applying it around a hot pizza creates clumps. For NY-style slice shots, place the slice on wax paper or directly on a matte concrete surface. A small pool of chili flakes and a shaker bottle add authenticity. For deep-dish, the cast-iron or dark pan it came in is the best surface - do not transfer it. If you need the cheese pull shot, have a second identical pizza on standby: the hero pie is for overheads, the second is for the destructive slice-and-pull sequence. For garnish, fresh basil leaves placed after the pizza is on set (not during baking) stay vibrant and green rather than wilted and dark. A drizzle of olive oil applied with a pastry brush immediately before the shot adds sheen to cheese surfaces that have cooled and gone matte.
Recommended props
Equipment Guide
For overhead pizza shots, you need a way to get the camera directly above the pie with a level horizon, which means either a boom arm, a C-stand with horizontal arm, or shooting from a step ladder with a level indicator in your viewfinder. A 24-to-70mm zoom lens at the 35-to-50mm range works well for full pie overheads at a comfortable working height. For cheese pull shots, switch to a 50mm or 85mm prime to eliminate the distortion that makes stretched cheese look thicker or thinner than it actually is. A fast lens aperture - f/2.8 to f/4 - gives you enough depth of field to keep the full cheese pull in focus while softening the background crust. Use continuous burst shooting (3 to 5 fps) for the pull shot so you can select the precise peak-stretch frame in post. For lighting, a 60-by-90-centimeter softbox handles most Neapolitan and artisan setups; a bare LED panel positioned overhead handles crust-texture shots. A small wireless LED panel on a low stand behind the pizza during cheese pulls creates the rim lighting that makes mozzarella translucent and glowing.
Skip the photoshoot — enhance the pizza photos you already have
The techniques on this page take time to master. MenuPhotoAI applies the same lighting, color, and texture corrections — automatically — to the smartphone photos you already shot. Studio-quality results in 30 seconds.
Try free — 5 credits, no cardCommon Pizza Photography Mistakes
Missing the cheese pull window
Photographers often set up the cheese pull shot after the overhead shots are done, but by then the pizza has cooled for three to five minutes and the mozzarella has already set. Plan the shoot sequence in reverse: cheese pull first within 90 seconds of cutting, then overhead of the full pie, then styled detail shots. Have a second pizza on standby for the hero overhead if the pull shot damages the presentation.
Shooting deep-dish from directly overhead
Deep-dish is a dish defined by its layered depth - cornmeal crust, cheese, chunky tomato, toppings. An overhead shot collapses all of that information into a flat tomato-red disc. Drop the camera to 35 to 45 degrees above the pan's edge and shoot into the cross-section to show the full architectural depth that makes Chicago-style pizza visually distinctive.
Applying fresh basil before baking or reheating
Fresh basil wilts and turns dark brown within seconds of contact with a hot pizza surface. Always add fresh basil leaves as a styling element after the pizza has been placed on set and is ready to shoot. If you need the basil to look like it was always there, use slightly misted leaves placed with tweezers in the final 30 seconds before the shot.
Using the wrong light for crust texture
Soft, diffused window light is flattering for most food, but for charred Neapolitan crust it eliminates the shadows that reveal leopard spots and bubble texture. A harder light source - bare LED panel or undiffused window - is correct for crust-texture shots. Reserve soft light for the full-pie overview shots where you want a more atmospheric, less clinical look.
Grease pooling on the cheese surface going unaddressed
On NY-style and deep-dish pizzas, orange grease pools on the cheese surface within two minutes of leaving the oven. A light blot with a paper towel on specific pooling spots - not a full dab across the whole surface - reduces the most distracting pools while keeping the overall sheen that signals richness. Never blot Neapolitan pizza; the uneven moisture is part of its visual identity.
Editing Tips
Pizza editing should preserve the authentic color contrast between tomato sauce red, mozzarella white, and char black without pushing any channel to saturation. Pull highlights down to recover detail in bright mozzarella surfaces. Lift shadows slightly to reveal texture in charred crust. In the HSL panel, boost red and orange saturation by 10 to 15 points to make tomato sauce pop; decrease yellow slightly if the cheese looks greenish. Apply clarity at plus 15 to 20 specifically for crust texture shots where you want every bubble and char spot to read with maximum definition. For overhead shots, apply a slight radial burn to the corners to keep the eye on the pizza. MenuPhotoAI's AI enhancement handles pizza color profiles with food-trained models that distinguish mozzarella white from background white, keeping toppings vivid without blowing cheese detail.
Platform-Specific Tips
On Instagram and TikTok, the cheese pull video or boomerang is the single highest-performing pizza content format - it consistently outperforms static images by two to three times on engagement rate. If you are producing only still images, a close-crop overhead of a Neapolitan with visible char spots performs better than a full lifestyle shot because it fills the mobile frame with texture. For DoorDash and Uber Eats listings, use a clean overhead of the full pie against a neutral background for the hero listing image, then use a 45-degree slice shot as the secondary image to show cross-section. Delivery platforms penalize images with cluttered backgrounds in their algorithmic ranking, so remove all props and styling elements from delivery app images. For print menus, a full-bleed overhead of the pie with natural wood-peel staging works as a full-page hero; use 300 DPI at CMYK for accurate tomato-red reproduction. For Google Business profile photos, a bright, slightly overhead close-crop of the pie shows best in the small thumbnail format and drives the most direct calls and orders.
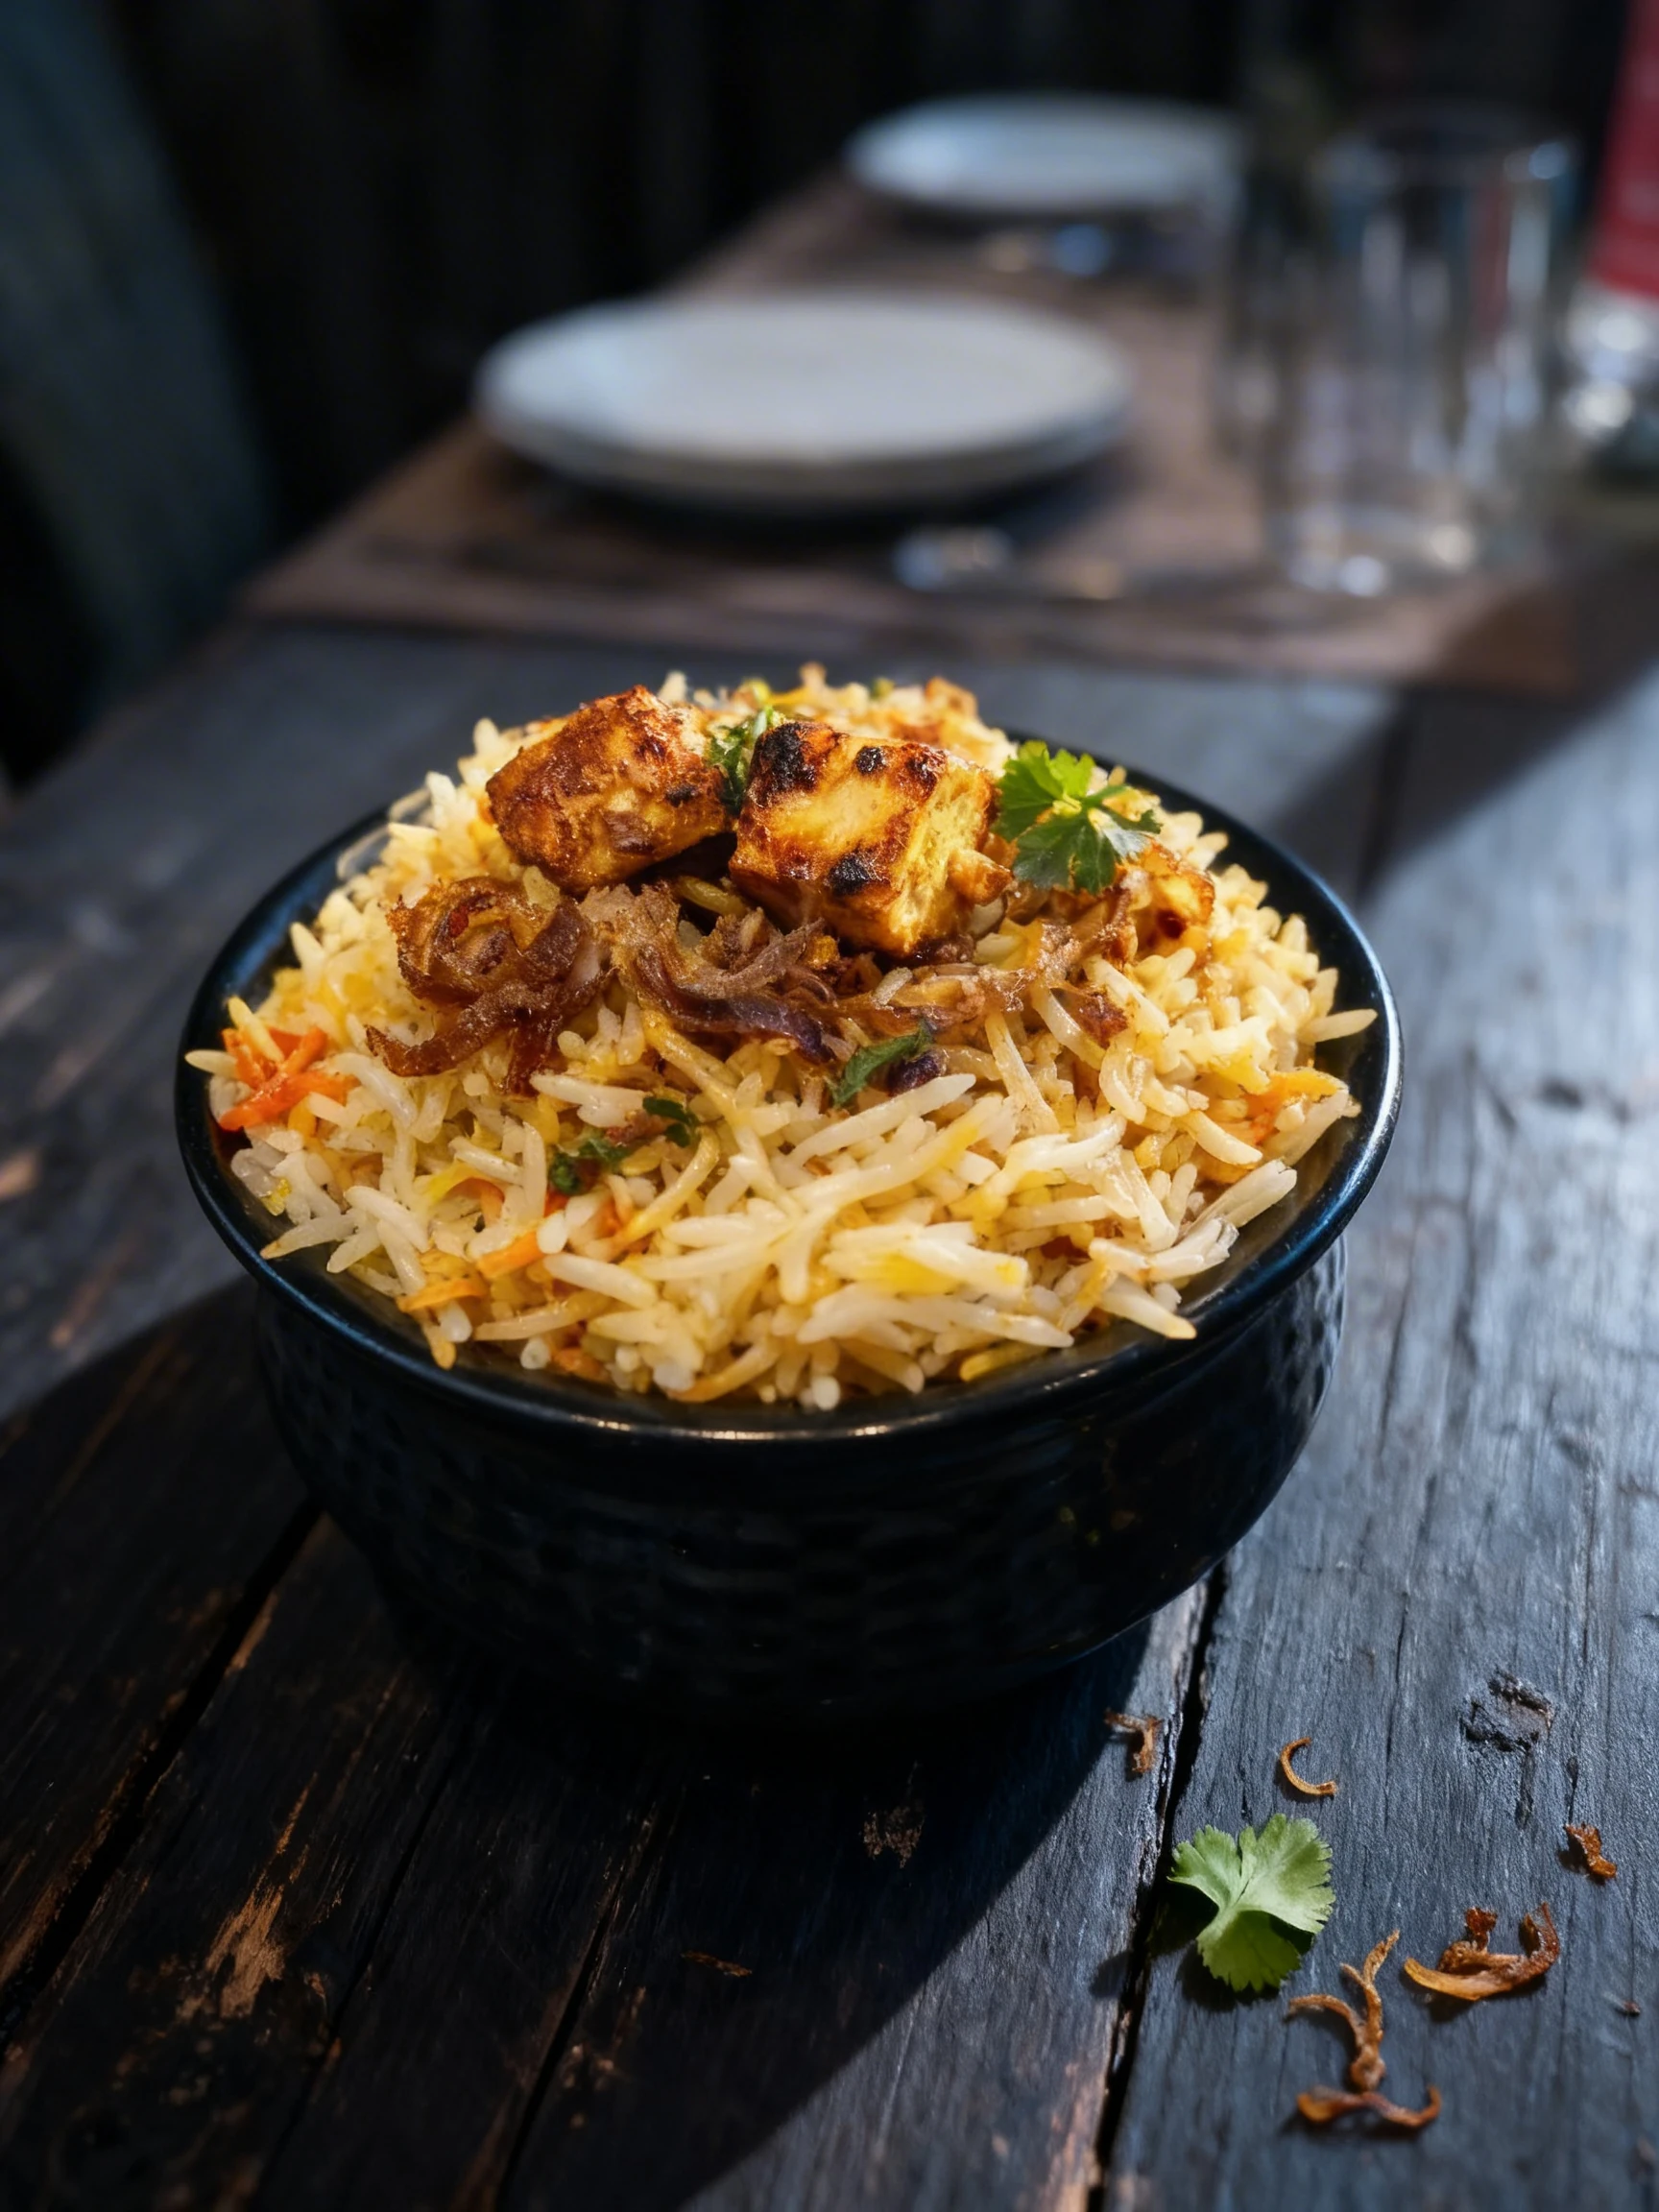
Pizza Photo Examples
Real pizza photos from restaurants using MenuPhotoAI. Tap any category to see the full gallery and the before-and-after view.

Take your Pizza photos further with AI
Once you have a solid shot using the techniques above, MenuPhotoAI can handle the finishing work. Our AI removes distracting backgrounds, corrects exposure and white balance, and applies cuisine-appropriate color grading — turning a good smartphone photo into something you'd be proud to put on your menu or delivery app listing. Start with 5 free photos, no credit card required.
Frequently Asked Questions
Skip the photoshoot — enhance the pizza photos you already have
The techniques on this page take time to master. MenuPhotoAI applies the same lighting, color, and texture corrections — automatically — to the smartphone photos you already shot. Studio-quality results in 30 seconds.
Try free — 5 credits, no cardMore Cuisine Photography Guides
This guide reflects best practices for Pizza food photography as of 2026. Techniques may vary based on specific dishes, equipment, and shooting conditions. MenuPhotoAI is an AI food photo enhancement platform.