Photography Guide
Burgers Food Photography Guide
You have roughly three minutes before bun steam softens the top crown and the stack loses structural height.
Primary Angle
Eye-level
Lighting
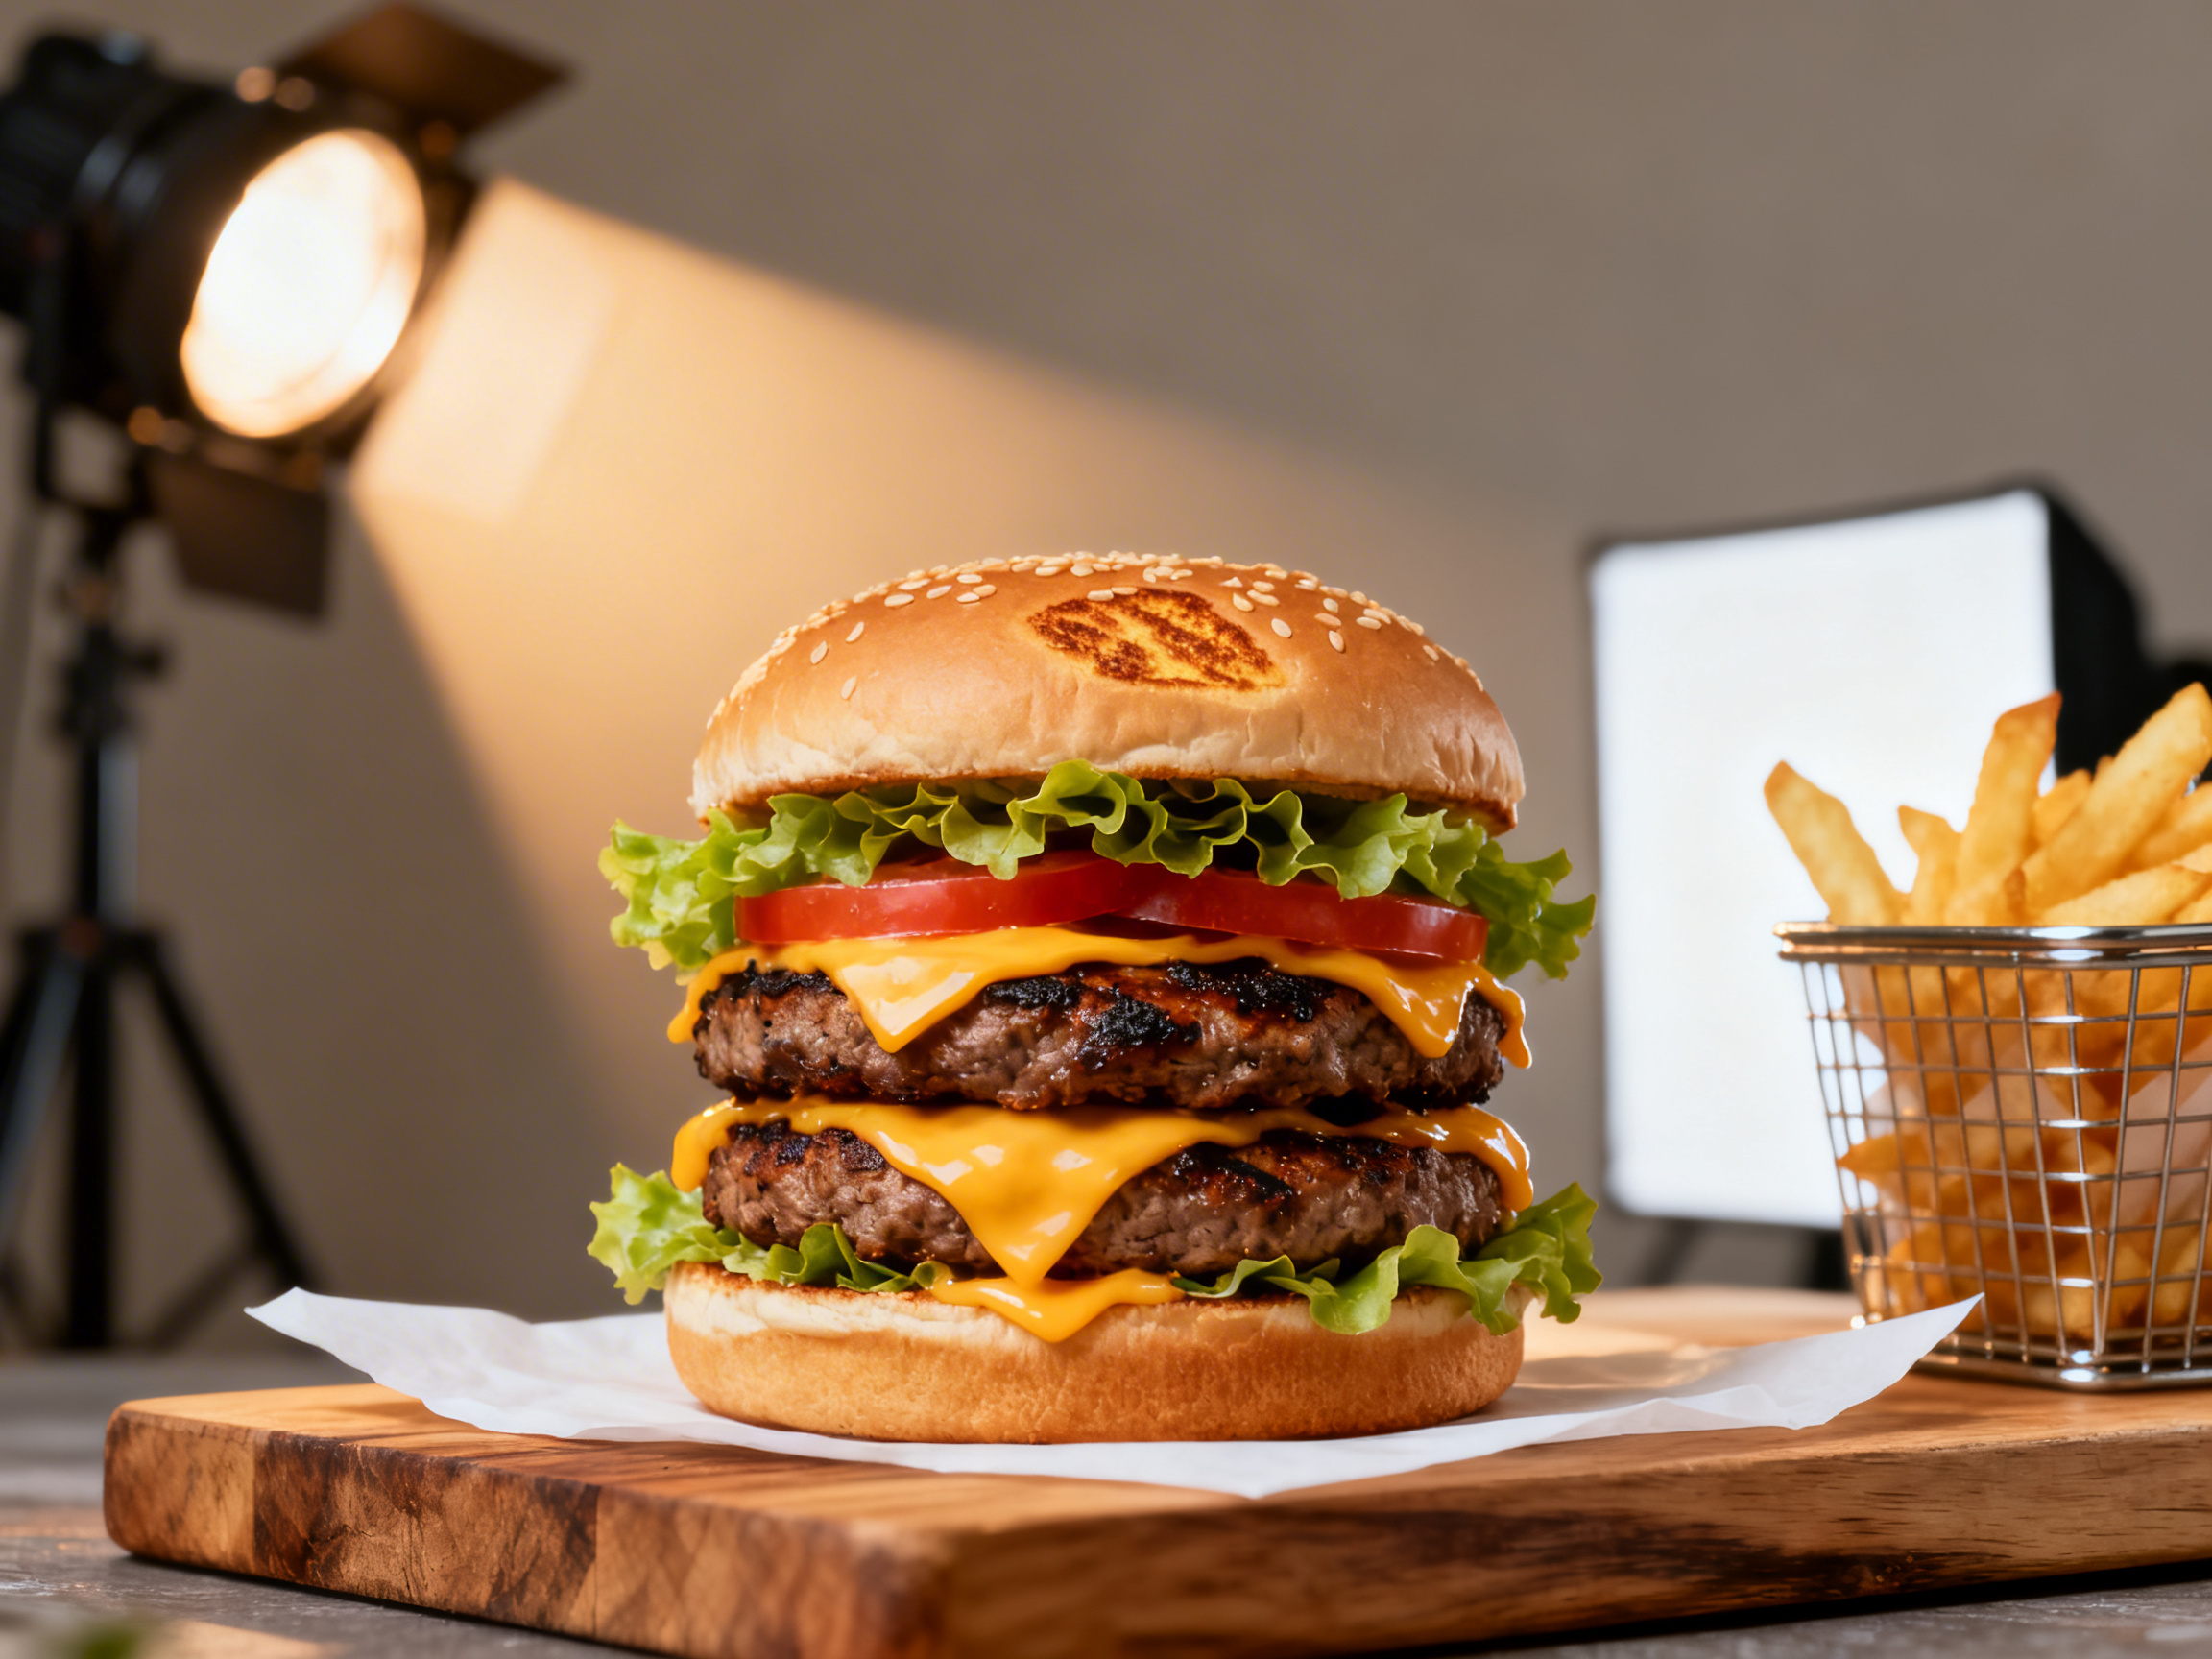
Side light at 45° to create layer shadows and reveal stack height
Read time
~8 min
Burger photography lives and dies by timing and angle. Unlike most dishes, a burger begins deteriorating the moment it leaves the kitchen - the bun top absorbs steam, the cheese cools and loses its pull, and a double cheeseburger can visibly lean within five minutes. The upside is that burgers are among the most visually compelling foods in existence: toasted bun crests, glossy cheese sheets, visible beef texture, and colorful condiment layers all reward a well-placed camera. Whether you are shooting a minimalist smash burger for a fast-casual brand, a towering wagyu double for a premium steakhouse, or a plant-based patty for a vegan menu, the core rules stay the same - move fast, light from the side, and shoot at eye level. This guide walks through every decision point, from cheese pull timing to brioche close-ups to delivery-app crop ratios.
What Makes Burgers Challenging to Photograph
The bun steam window is the defining constraint of burger photography. When a freshly cooked patty is placed on the bottom bun and the crown is set on top, trapped steam immediately begins softening the inside of the bun. Within three minutes, a brioche crown that looked perfectly domed will start to compress under its own weight. Simultaneously, the cheese melt is at peak visual appeal for only about ninety seconds - long enough to drape over the patty edges but still fluid enough to catch a pull shot. For a double cheeseburger, both cheese layers need to be photographed before the lower slice re-solidifies against the patty. Burger stack collapse is the third hazard: tall builds with multiple patties, thick tomato slices, and large lettuce fronds are structurally unstable. Toothpicks hidden through the stack hold it upright for the camera, but must be removed or disguised before the hero shot. Planning your shot list before the burger arrives - angle, focal length, cheese pull setup - is not optional; it is the difference between a publishable image and a soft, flat disappointment.
Best Lighting for Burgers Photography
Side lighting at 45 degrees is the definitive setup for burger photography because it does one thing nothing else can: it casts shadows between each layer. When light skims across the face of a double cheeseburger from the side, you can see the bottom bun, patty edge, cheese drape, tomato slice, lettuce ruffle, and crown as clearly distinct horizontal bands. Front-on flat lighting collapses all of that information into a single bright wall, and overhead lighting turns the crown into a blank circle with no context. Use a large diffuser - a white foam board or a shoot-through umbrella - to soften the side key light so the shadows read as shape rather than harsh black lines. A small white reflector card on the opposite side fills in shadow detail without eliminating it. For a wagyu burger with a dark, caramelized crust, a slight warm gel on the key light brings out the Maillard browning without making the cheese look orange. Avoid cold blue-tinted light sources for beef; they make the meat look grey and unappetizing.
Camera Angles for Burgers
Eye-level dead-on is the definitive burger shot. Camera lens at the same height as the burger's equator - not the top of the bun, but the midpoint between bun base and crown - reveals the full layer stack in a single frame. This angle is why burger photography is so immediately recognizable as a genre. A slight upward tilt of 3 to 5 degrees can make the crown look more imposing for premium builds. A 15-degree downward angle works well for delivery apps, where the thumbnail crop needs to communicate "burger" instantly and a faint view of the top surface confirms freshness of toppings. For a smash burger specifically, overhead is the correct choice: the appeal of a smash burger is the lacy, crisp-edged patty and the tight melt, both of which are invisible at eye level but compelling from directly above. For a brioche bun close-up macro shot, position the camera at a 30-degree angle to capture the sesame seed texture and the golden toast line.
Food Styling and Props
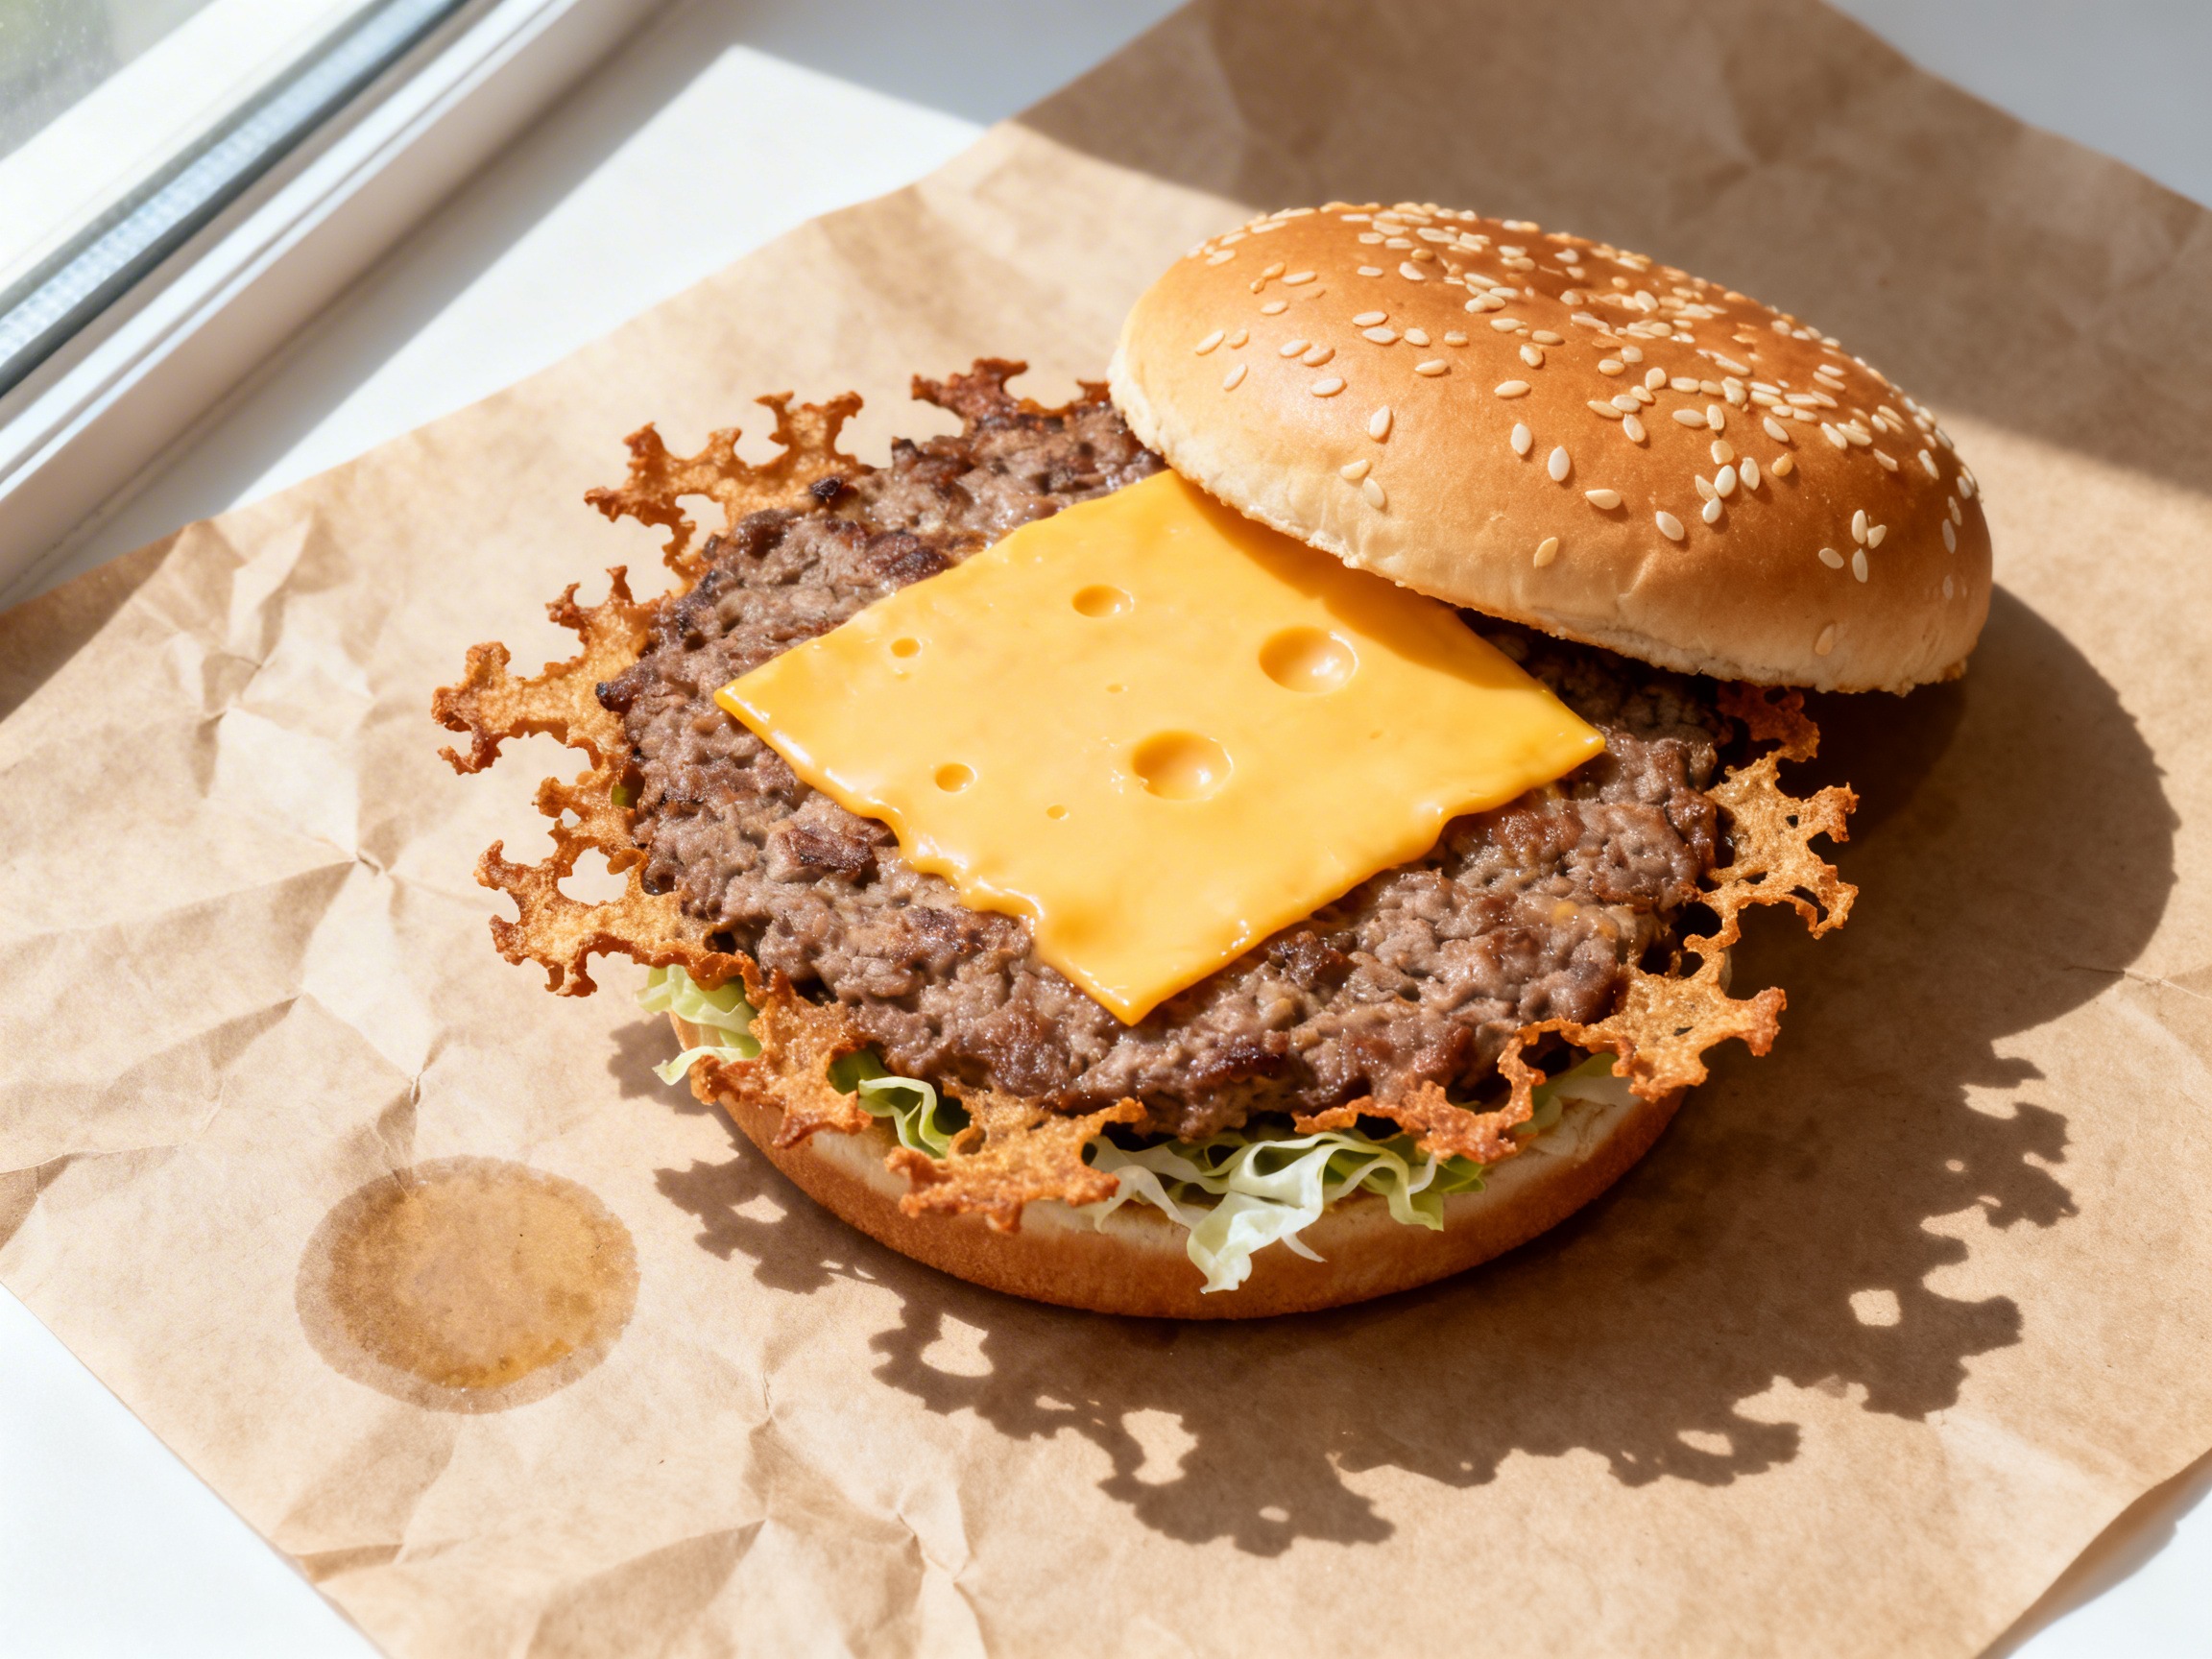
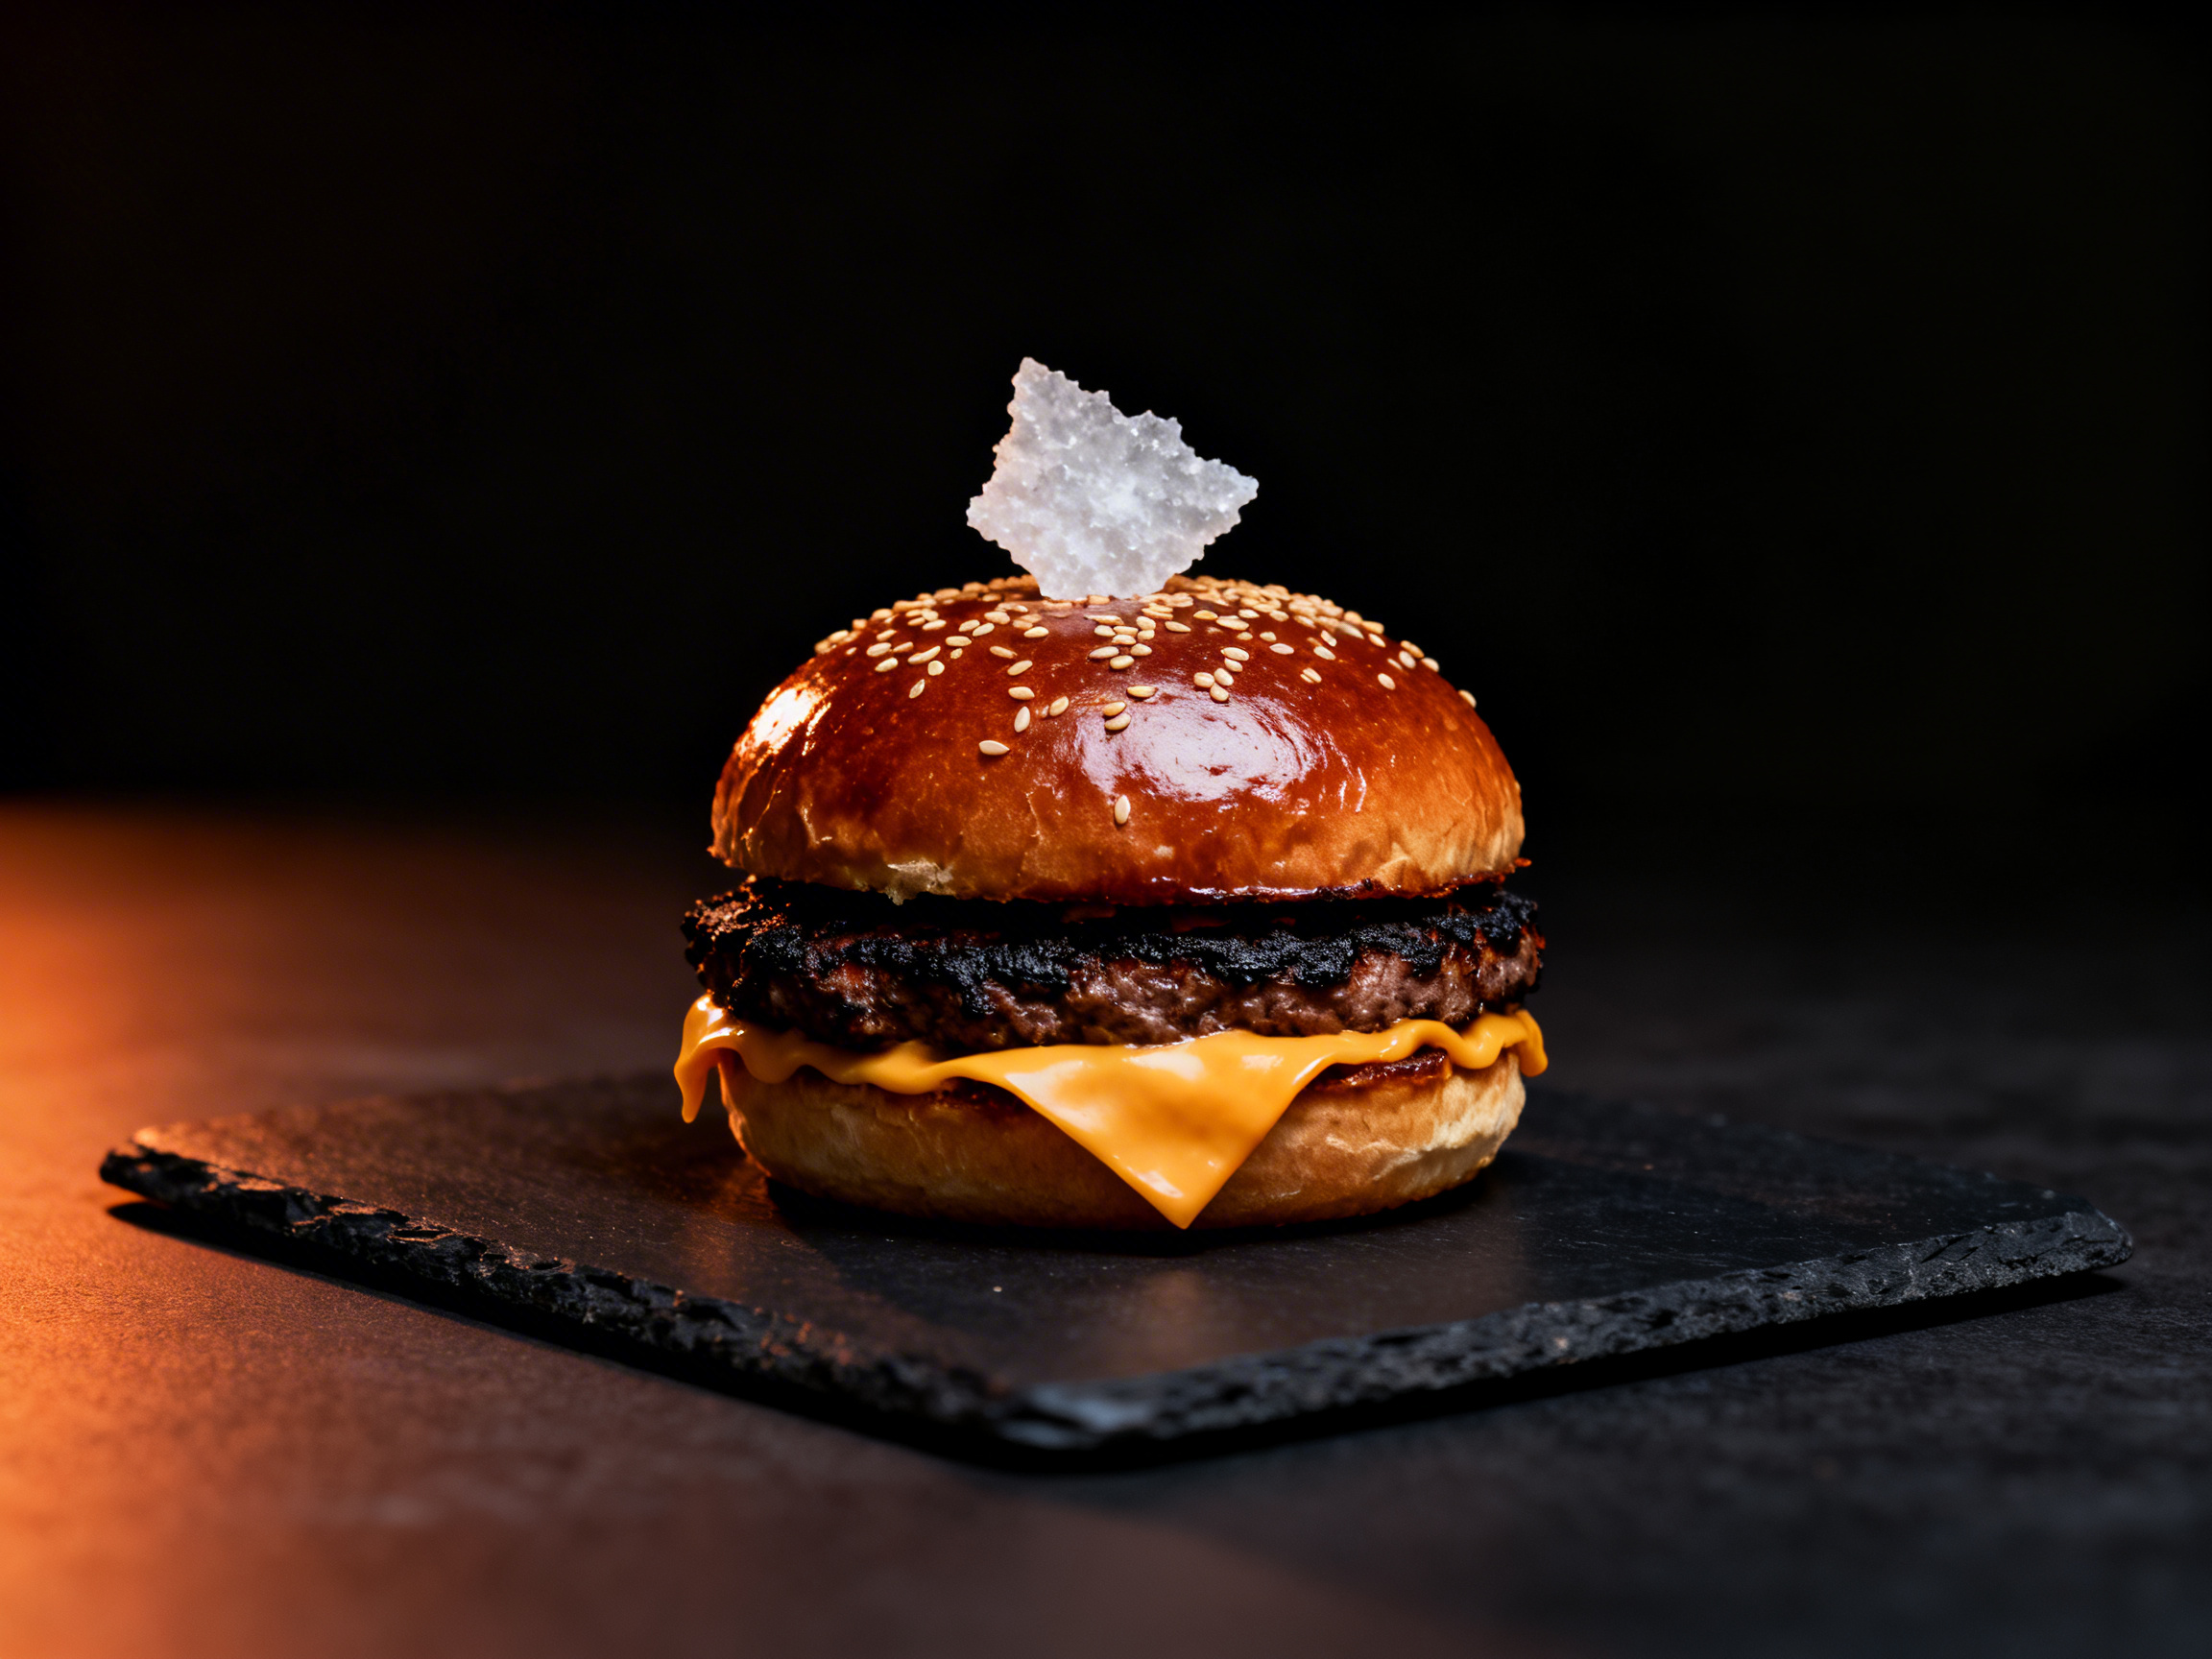
Burger styling is a fast-hands discipline. Have every prop and surface ready before the burger comes off the grill. Parchment paper under the burger is both practical and visual - it catches grease drips that would otherwise mark a wooden board and creates a food-truck authenticity that reads well in casual branding. A wooden board gives warmth and solidity; pair it with a metal basket of fries positioned slightly out of focus in the background to add context without competition. For a smash burger on kraft paper wrap, let the wrap curl naturally rather than folding it neatly - imperfect wrapping signals handmade quality. The toothpick-through-stack technique: use long decorative toothpicks (bamboo with knot tops) inserted at a slight inward angle so they converge at the core of the stack. The convergence braces the build. For a chicken burger, fan the lettuce slightly over the bun edge so it frames the patty rather than hiding it. For a wagyu burger, keep styling minimal - a single flake of sea salt on the crown and nothing else. The ingredient quality is the story; overpropping dilutes it. Remove any sauce squeeze that landed on the board; use a clean offset spatula to redirect drips to photogenic positions on the patty edge.
Recommended props

Equipment Guide
A 50mm to 85mm prime lens is the workhorse for burger photography. The 85mm compresses the stack slightly, making the height read as more dramatic at eye level - useful for tall double and triple builds. The 50mm is more natural and less distorting, which suits smash burgers and flat-style builds. A macro lens in the 90mm to 100mm range unlocks sesame seed detail on brioche buns and individual cheese bubble texture. For camera body, any modern mirrorless with reliable face-detection autofocus can be repurposed for food tracking, but for burgers, manual focus locked to the front-facing cheese edge is more dependable than AF hunting through layers. Shoot at f/2.8 to f/4 for a single-layer smash burger; stop down to f/5.6 to f/8 for a double stack so all layers land in acceptable sharpness. A tripod is ideal but not always practical given the three-minute bun window - practice handheld technique at 1/160s minimum to eliminate motion blur while working fast.
Skip the photoshoot — enhance the burgers photos you already have
The techniques on this page take time to master. MenuPhotoAI applies the same lighting, color, and texture corrections — automatically — to the smartphone photos you already shot. Studio-quality results in 30 seconds.
Try free — 5 credits, no cardCommon Burgers Photography Mistakes
Shooting after the three-minute window
Once bun steam has softened the crown, no amount of editing recovers the original dome shape. The bun top goes from rounded and glossy to slightly sunken and matte in about three minutes. The fix is simple: have your camera positioned, white balance set, and test shot fired before the burger is plated. The burger comes to the camera, not the other way around.
Flat front lighting that kills stack depth
Lighting a burger straight on from the front is the most common amateur mistake. It removes all side shadows, which are the visual cues that tell the viewer how many layers are in the stack. The result is a flat disc that could be two patties or five. Move the light to the side at 45 degrees and the layers separate immediately.
Overhead angle for a double cheeseburger
Overhead works for smash burgers because their appeal is the flat, lacy patty spread. On a tall double cheeseburger, overhead turns the entire build into a bun top with no context. The viewer cannot see the cheese, patty, or toppings. Reserve overhead for flat builds and use eye-level for anything with meaningful height.
Neglecting the cheese pull timing
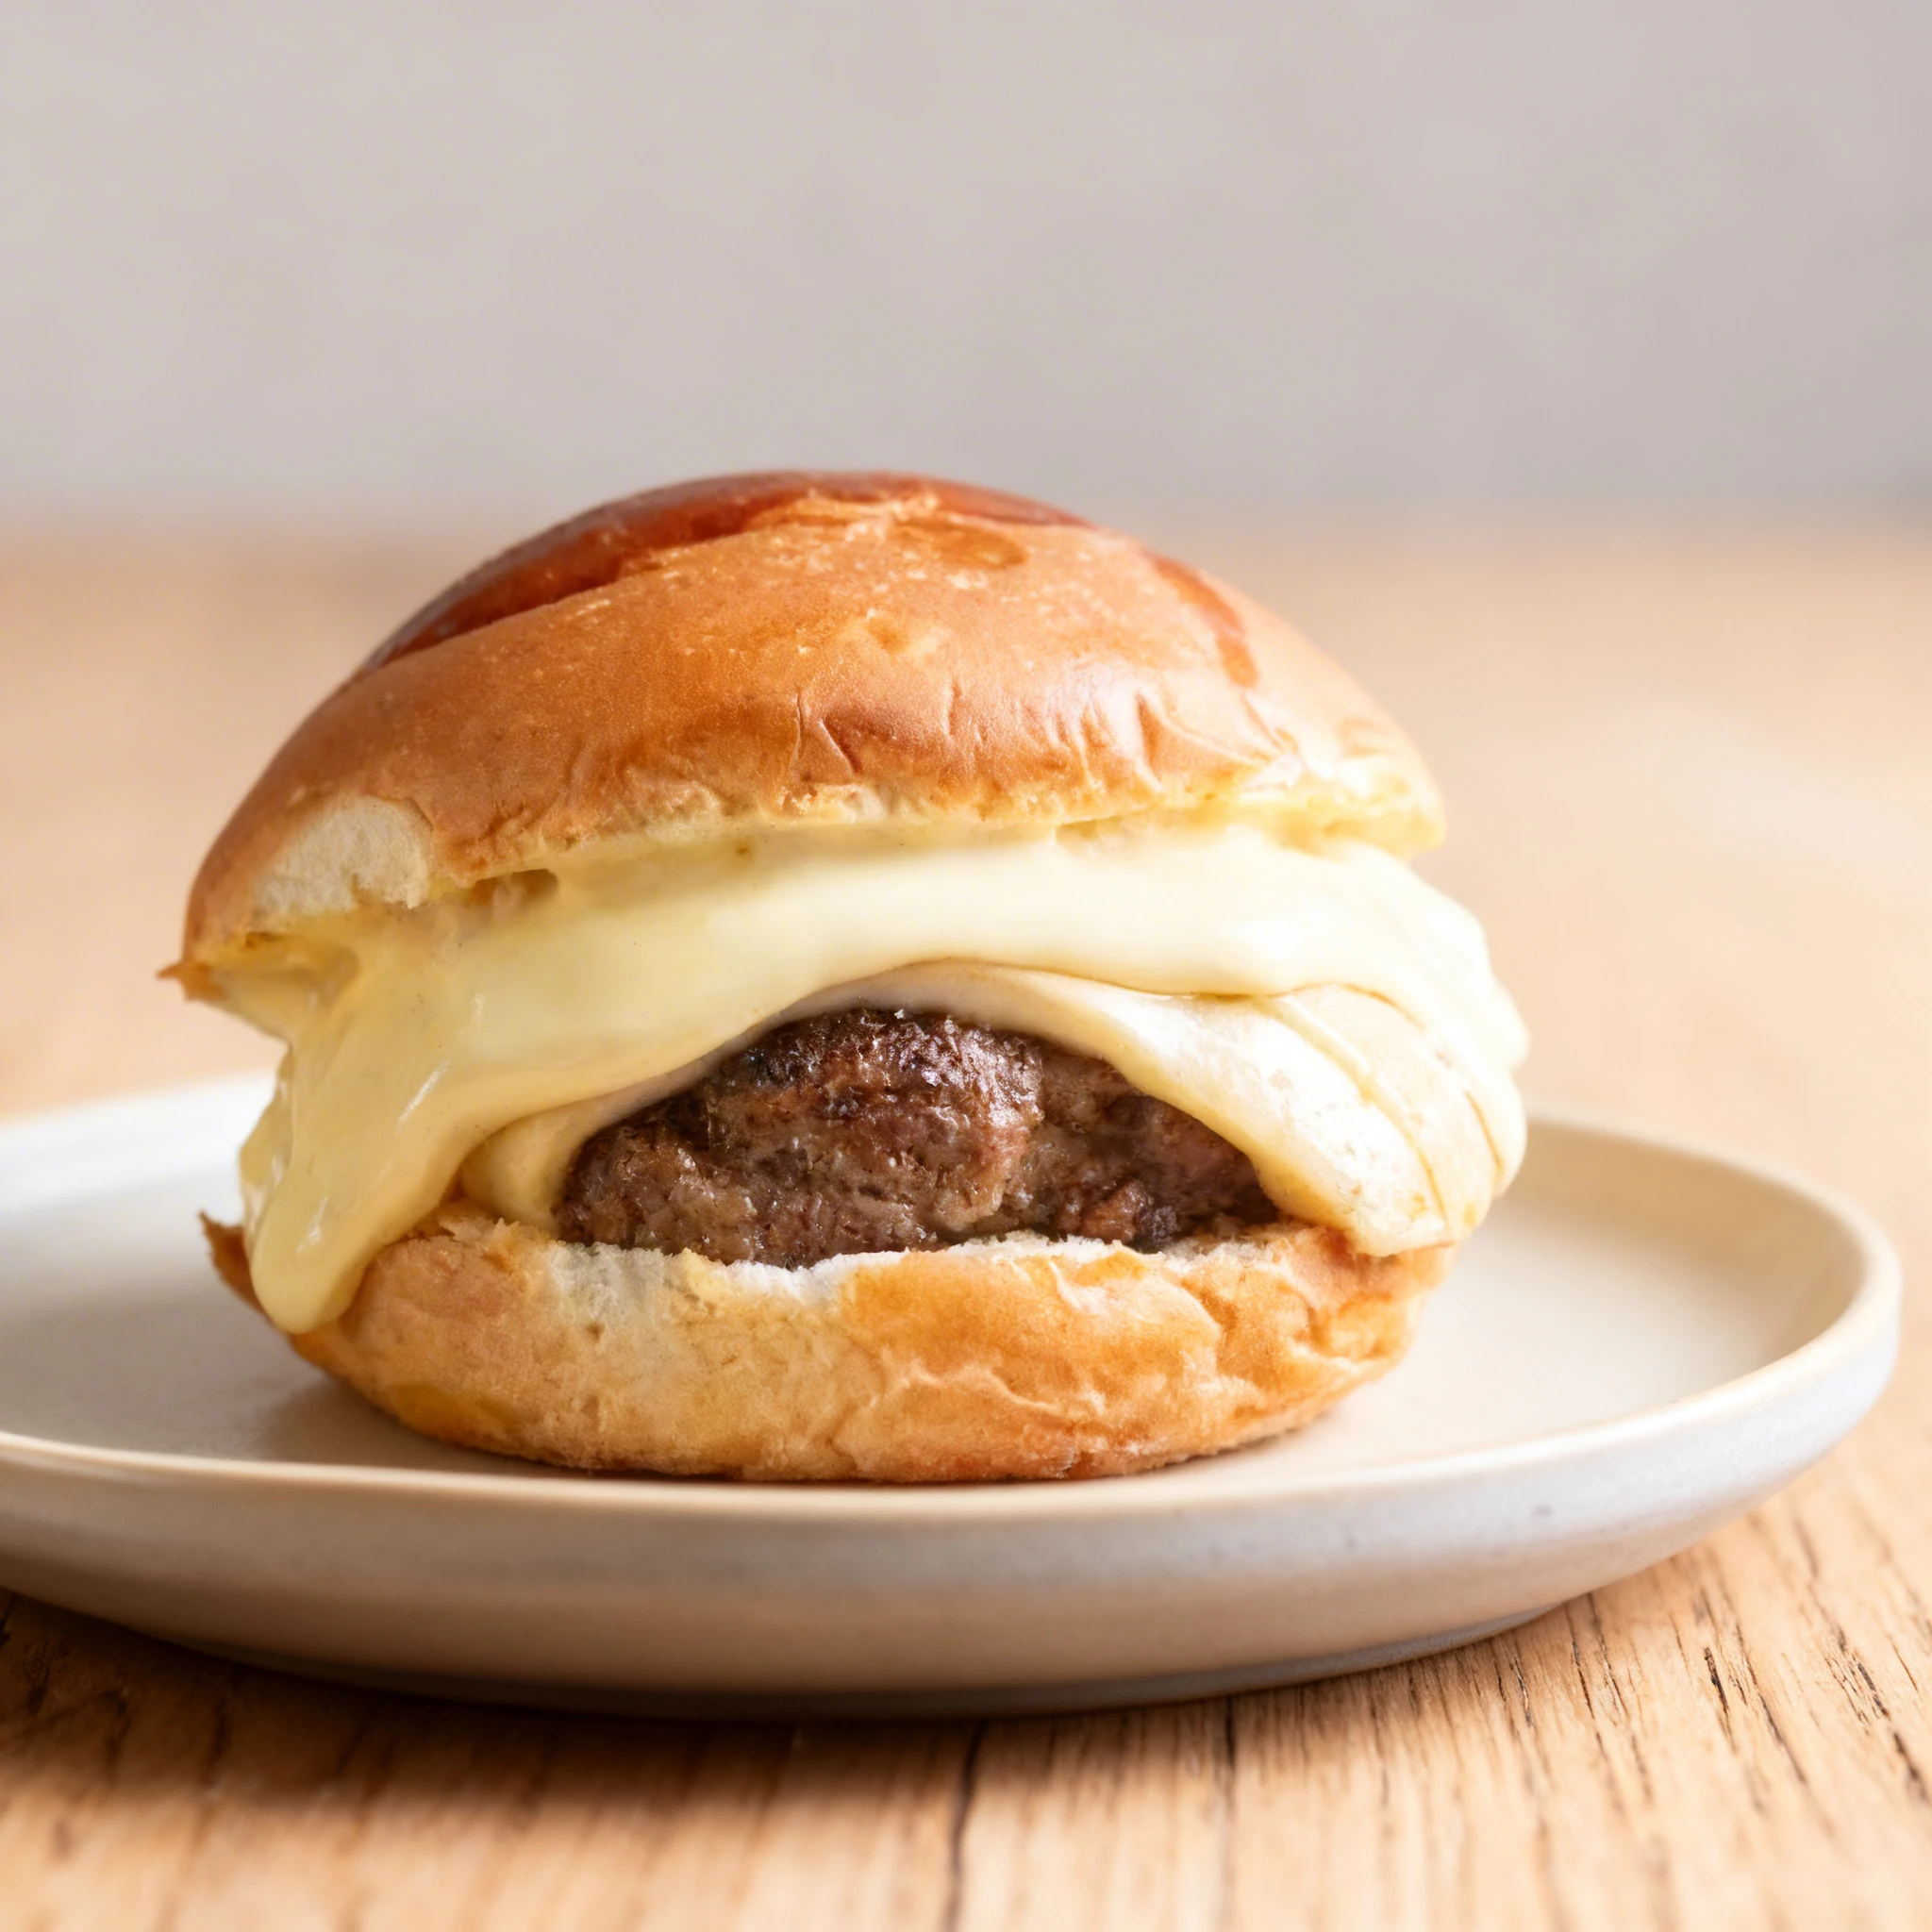
A cheese pull shot requires the cheese to be hot enough to stretch but not so liquid that it falls off. That window is roughly sixty to ninety seconds after the cheese slice hits the hot patty. If you are not ready to shoot the pull immediately after plating, the cheese sets and you get a static drape rather than a dynamic strand.
Over-propping around a premium burger
A wagyu burger or craft brioche build communicates quality through restraint. Adding condiment bottles, multiple side dishes, and branded napkins around it creates visual noise that competes with the burger itself. For premium builds, one supporting element maximum - a small ramekin of sauce or a single side - keeps the focus on the hero.
Editing Tips
Burger editing centers on beef color and cheese contrast. Pull shadows up slightly to keep layer gaps readable without crushing detail. Increase clarity 10 to 20 points to make sesame seeds and patty crust texture pop. Shift the hue of oranges and reds slightly toward red to move processed cheese color away from artificial-looking orange. For a wagyu burger, add a slight dehaze boost to cut through any steam haze still present at capture. Keep whites controlled - an overexposed bun crown reads as styrofoam. Final sharpening in the midtones only, to protect bun softness while enhancing the patty crust.
Platform-Specific Tips
For DoorDash and Uber Eats thumbnails, shoot slightly above eye level at 15 degrees and frame the burger in the upper two-thirds of a square crop, leaving room at the bottom for the basket of fries or a branded napkin. Delivery app users decide in under two seconds, so the patty, cheese, and bun crown must all be legible at 200 pixels wide. For Instagram, the eye-level hero shot with a horizontal crop performs best in-feed, while a tight vertical smash burger overhead works well for Reels covers. For print menus, you have the full resolution to show brioche texture and cheese pull detail - use the 85mm shot at f/5.6 with maximum clarity editing for print sharpness. A close-up cheese pull sequence photo can anchor a print menu section header. MenuPhotoAI can automatically enhance smartphone burger shots to professional clarity - sharpening patty texture and correcting cheese color in seconds, so you can capture your whole menu without a studio session.
Burgers Photo Examples
Real burgers photos from restaurants using MenuPhotoAI. Tap any category to see the full gallery and the before-and-after view.
Take your Burgers photos further with AI
Once you have a solid shot using the techniques above, MenuPhotoAI can handle the finishing work. Our AI removes distracting backgrounds, corrects exposure and white balance, and applies cuisine-appropriate color grading — turning a good smartphone photo into something you'd be proud to put on your menu or delivery app listing. Start with 5 free photos, no credit card required.
Frequently Asked Questions
Skip the photoshoot — enhance the burgers photos you already have
The techniques on this page take time to master. MenuPhotoAI applies the same lighting, color, and texture corrections — automatically — to the smartphone photos you already shot. Studio-quality results in 30 seconds.
Try free — 5 credits, no cardMore Cuisine Photography Guides
This guide reflects best practices for Burgers food photography as of 2026. Techniques may vary based on specific dishes, equipment, and shooting conditions. MenuPhotoAI is an AI food photo enhancement platform.