Photography Guide
Mexican Food Photography Guide
Tacos cannot lean on each other or they collapse - each must be individually propped - and avocado browns within five minutes of cutting.
Primary Angle
45-degree
Lighting
Warm natural light to emphasize spice tones; avoid cool light that drains vibrancy
Read time
~8 min
Mexican food photography is one of the most technically demanding and visually rewarding genres in restaurant food photography. The cuisine's visual language is built on saturated color - the deep brick-red of birria consommé, the vivid orange of al pastor, the near-fluorescent green of a fresh guacamole, the purple-black of dried ancho chiles - and the photographer's job is to capture that color without letting it tip into artificial or overwhelming. The challenge is compounded by practical difficulties: street tacos cannot support themselves and require deliberate propping; avocado browns within five minutes of cutting; tortillas begin to steam and go soft if covered. Mexican food photography rewards speed and preparation in equal measure. This guide covers every major category - street tacos (birria, al pastor, carnitas), enchiladas, guacamole, elotes, tamales, tortas, and chiles rellenos - with specific lighting setups, propping techniques, and editing approaches for each.
What Makes Mexican Challenging to Photograph
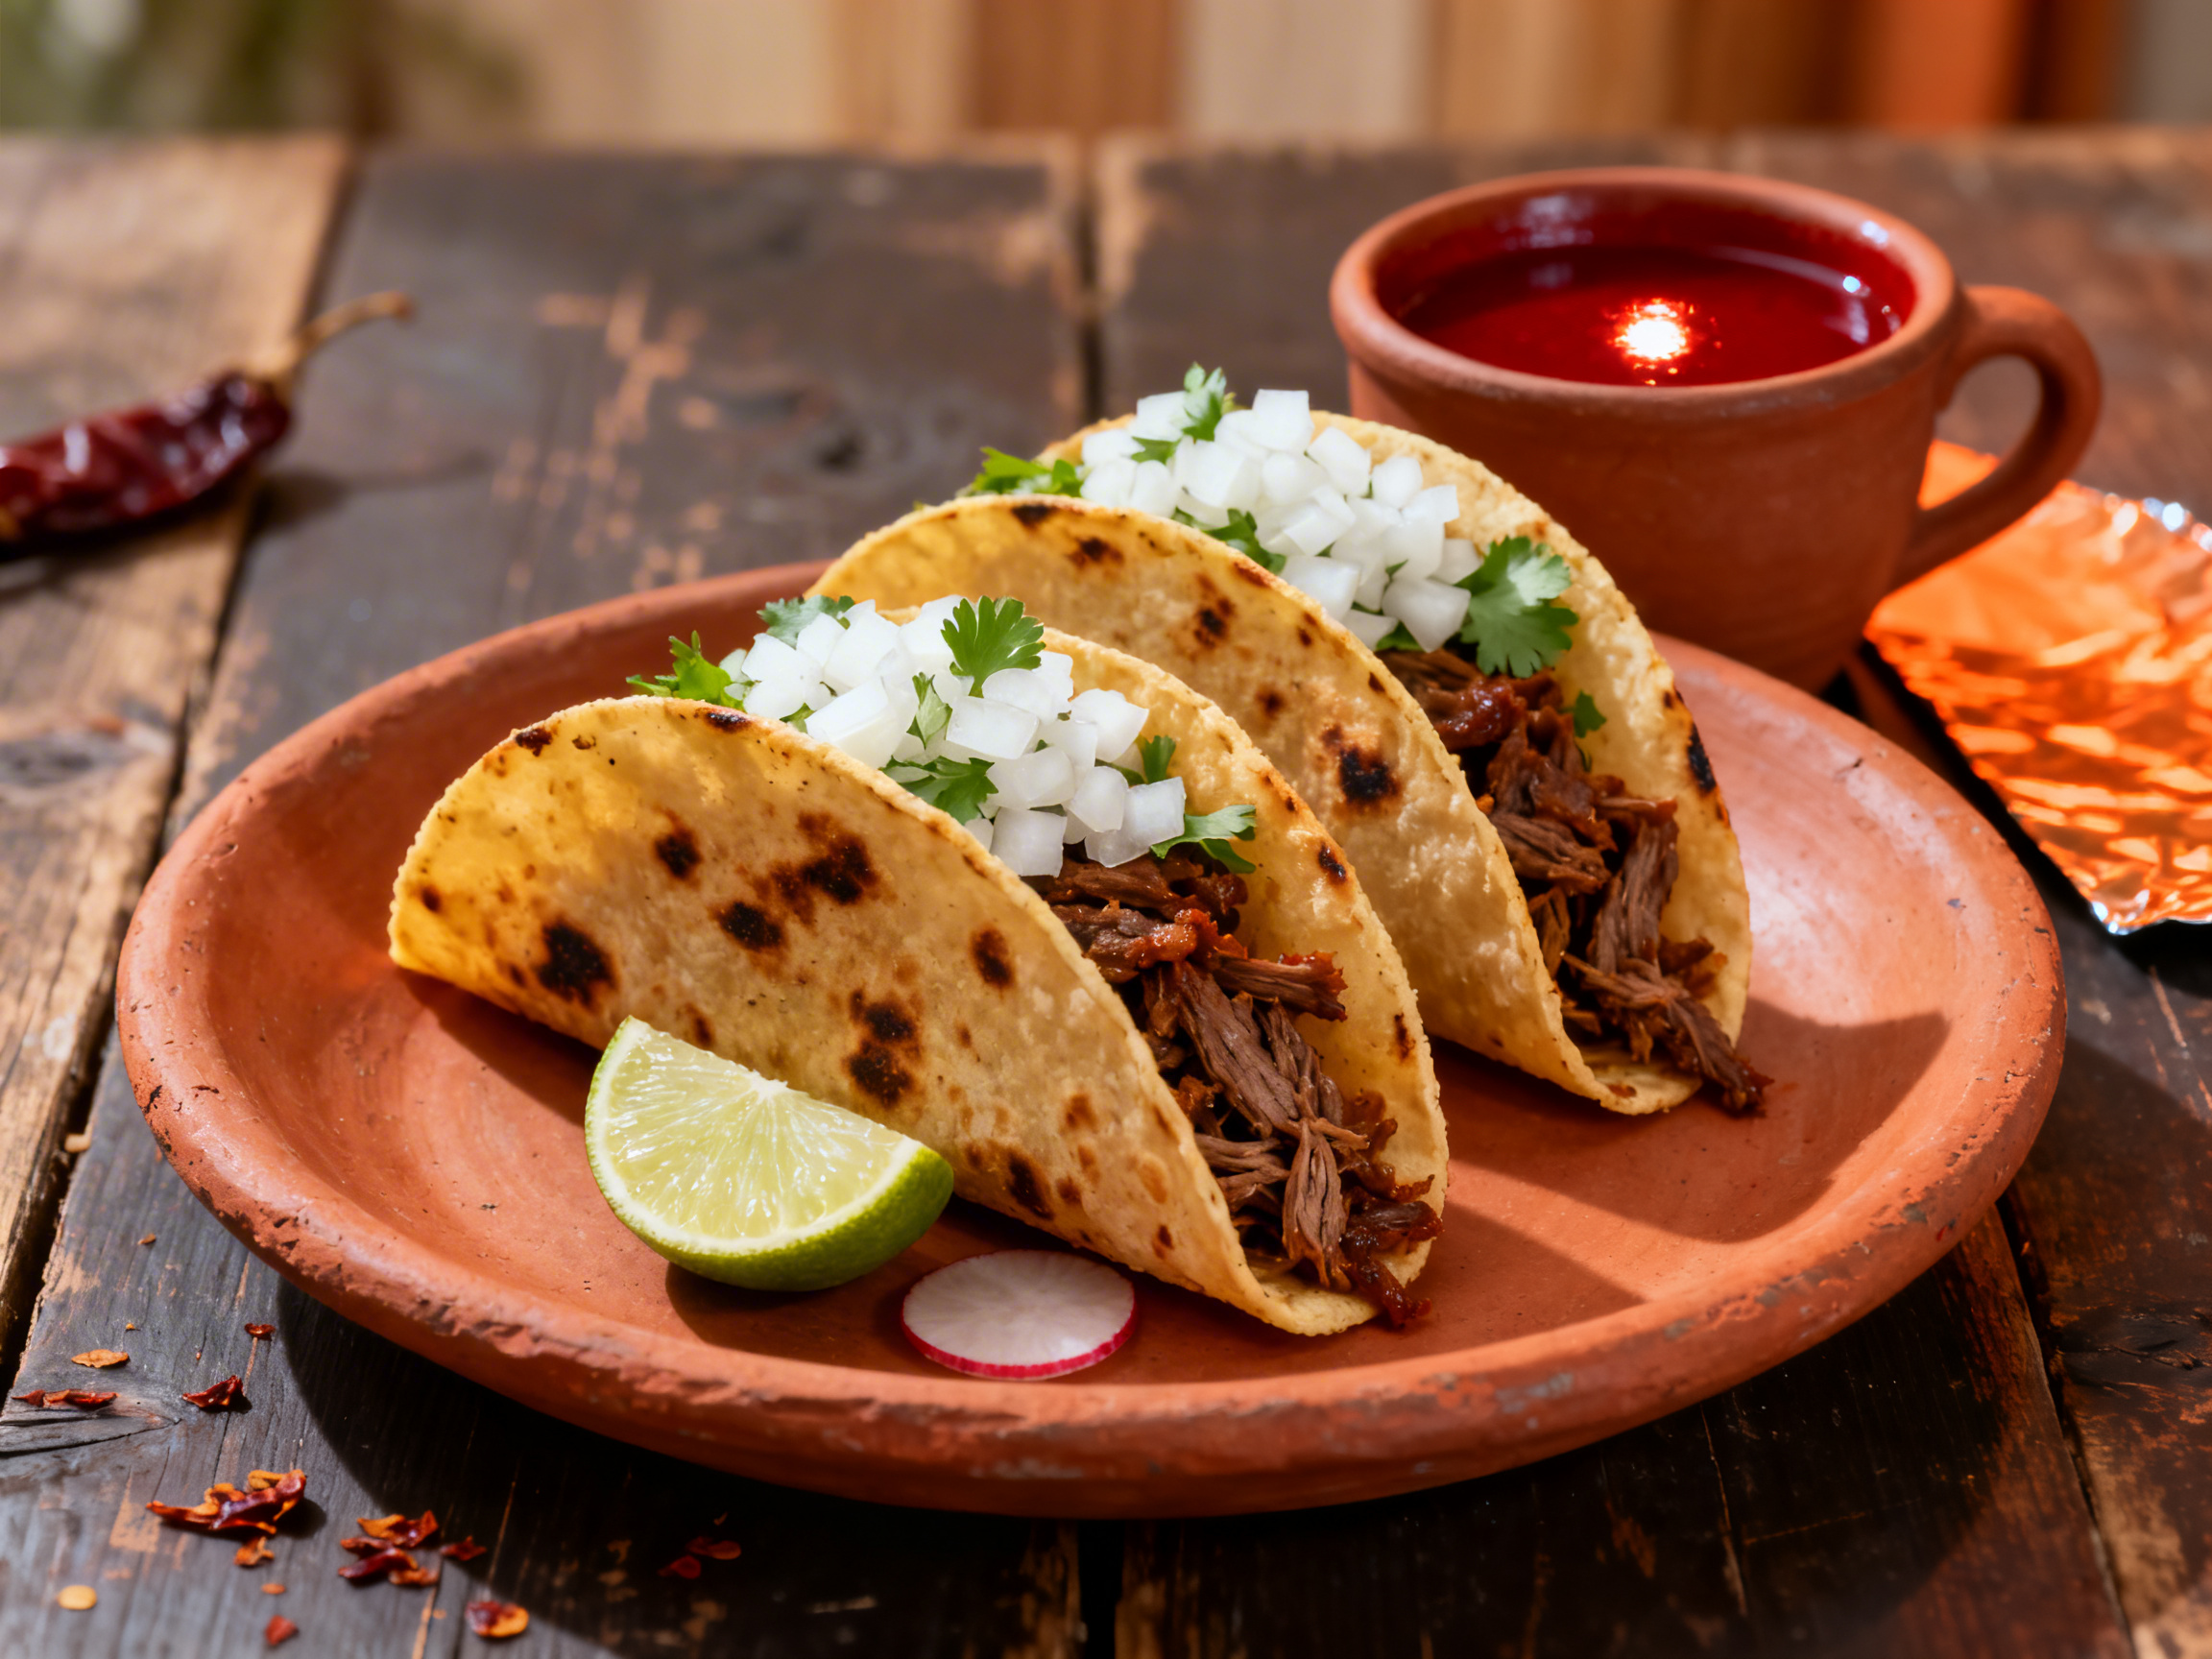
Mexican food presents two simultaneous clocks that run faster than almost any other cuisine. The first is the avocado clock. Cut avocado flesh - whether in guacamole, as a taco topping, or fanned on a torta - begins oxidizing and browning within five minutes of exposure to air. In a photography setting with warm studio lights overhead, that window can shrink to three minutes. The industry technique is to prepare the guacamole or sliced avocado immediately before the shot, apply a very light citrus acid from a squeeze bottle of lime juice to all exposed surfaces (which extends the window by two to three minutes without visibly affecting the appearance), and shoot without stopping. A second avocado or a guacamole stand-in is always prepared and waiting for reshoots. The second clock is the tortilla clock. A fresh corn tortilla - particularly a thick, handmade one for al pastor or carnitas - holds its shape for about four minutes before the steam from the filling softens the shell enough to collapse. Tacos cannot lean on each other for structural support: if they do, the camera-facing shell is crushed into the leaning one. Each taco must be propped independently with a hidden piece of skewered tortilla or a small ball of aluminum foil under the shell base. This propping must be done before the filling is added, not after.
Best Lighting for Mexican Photography
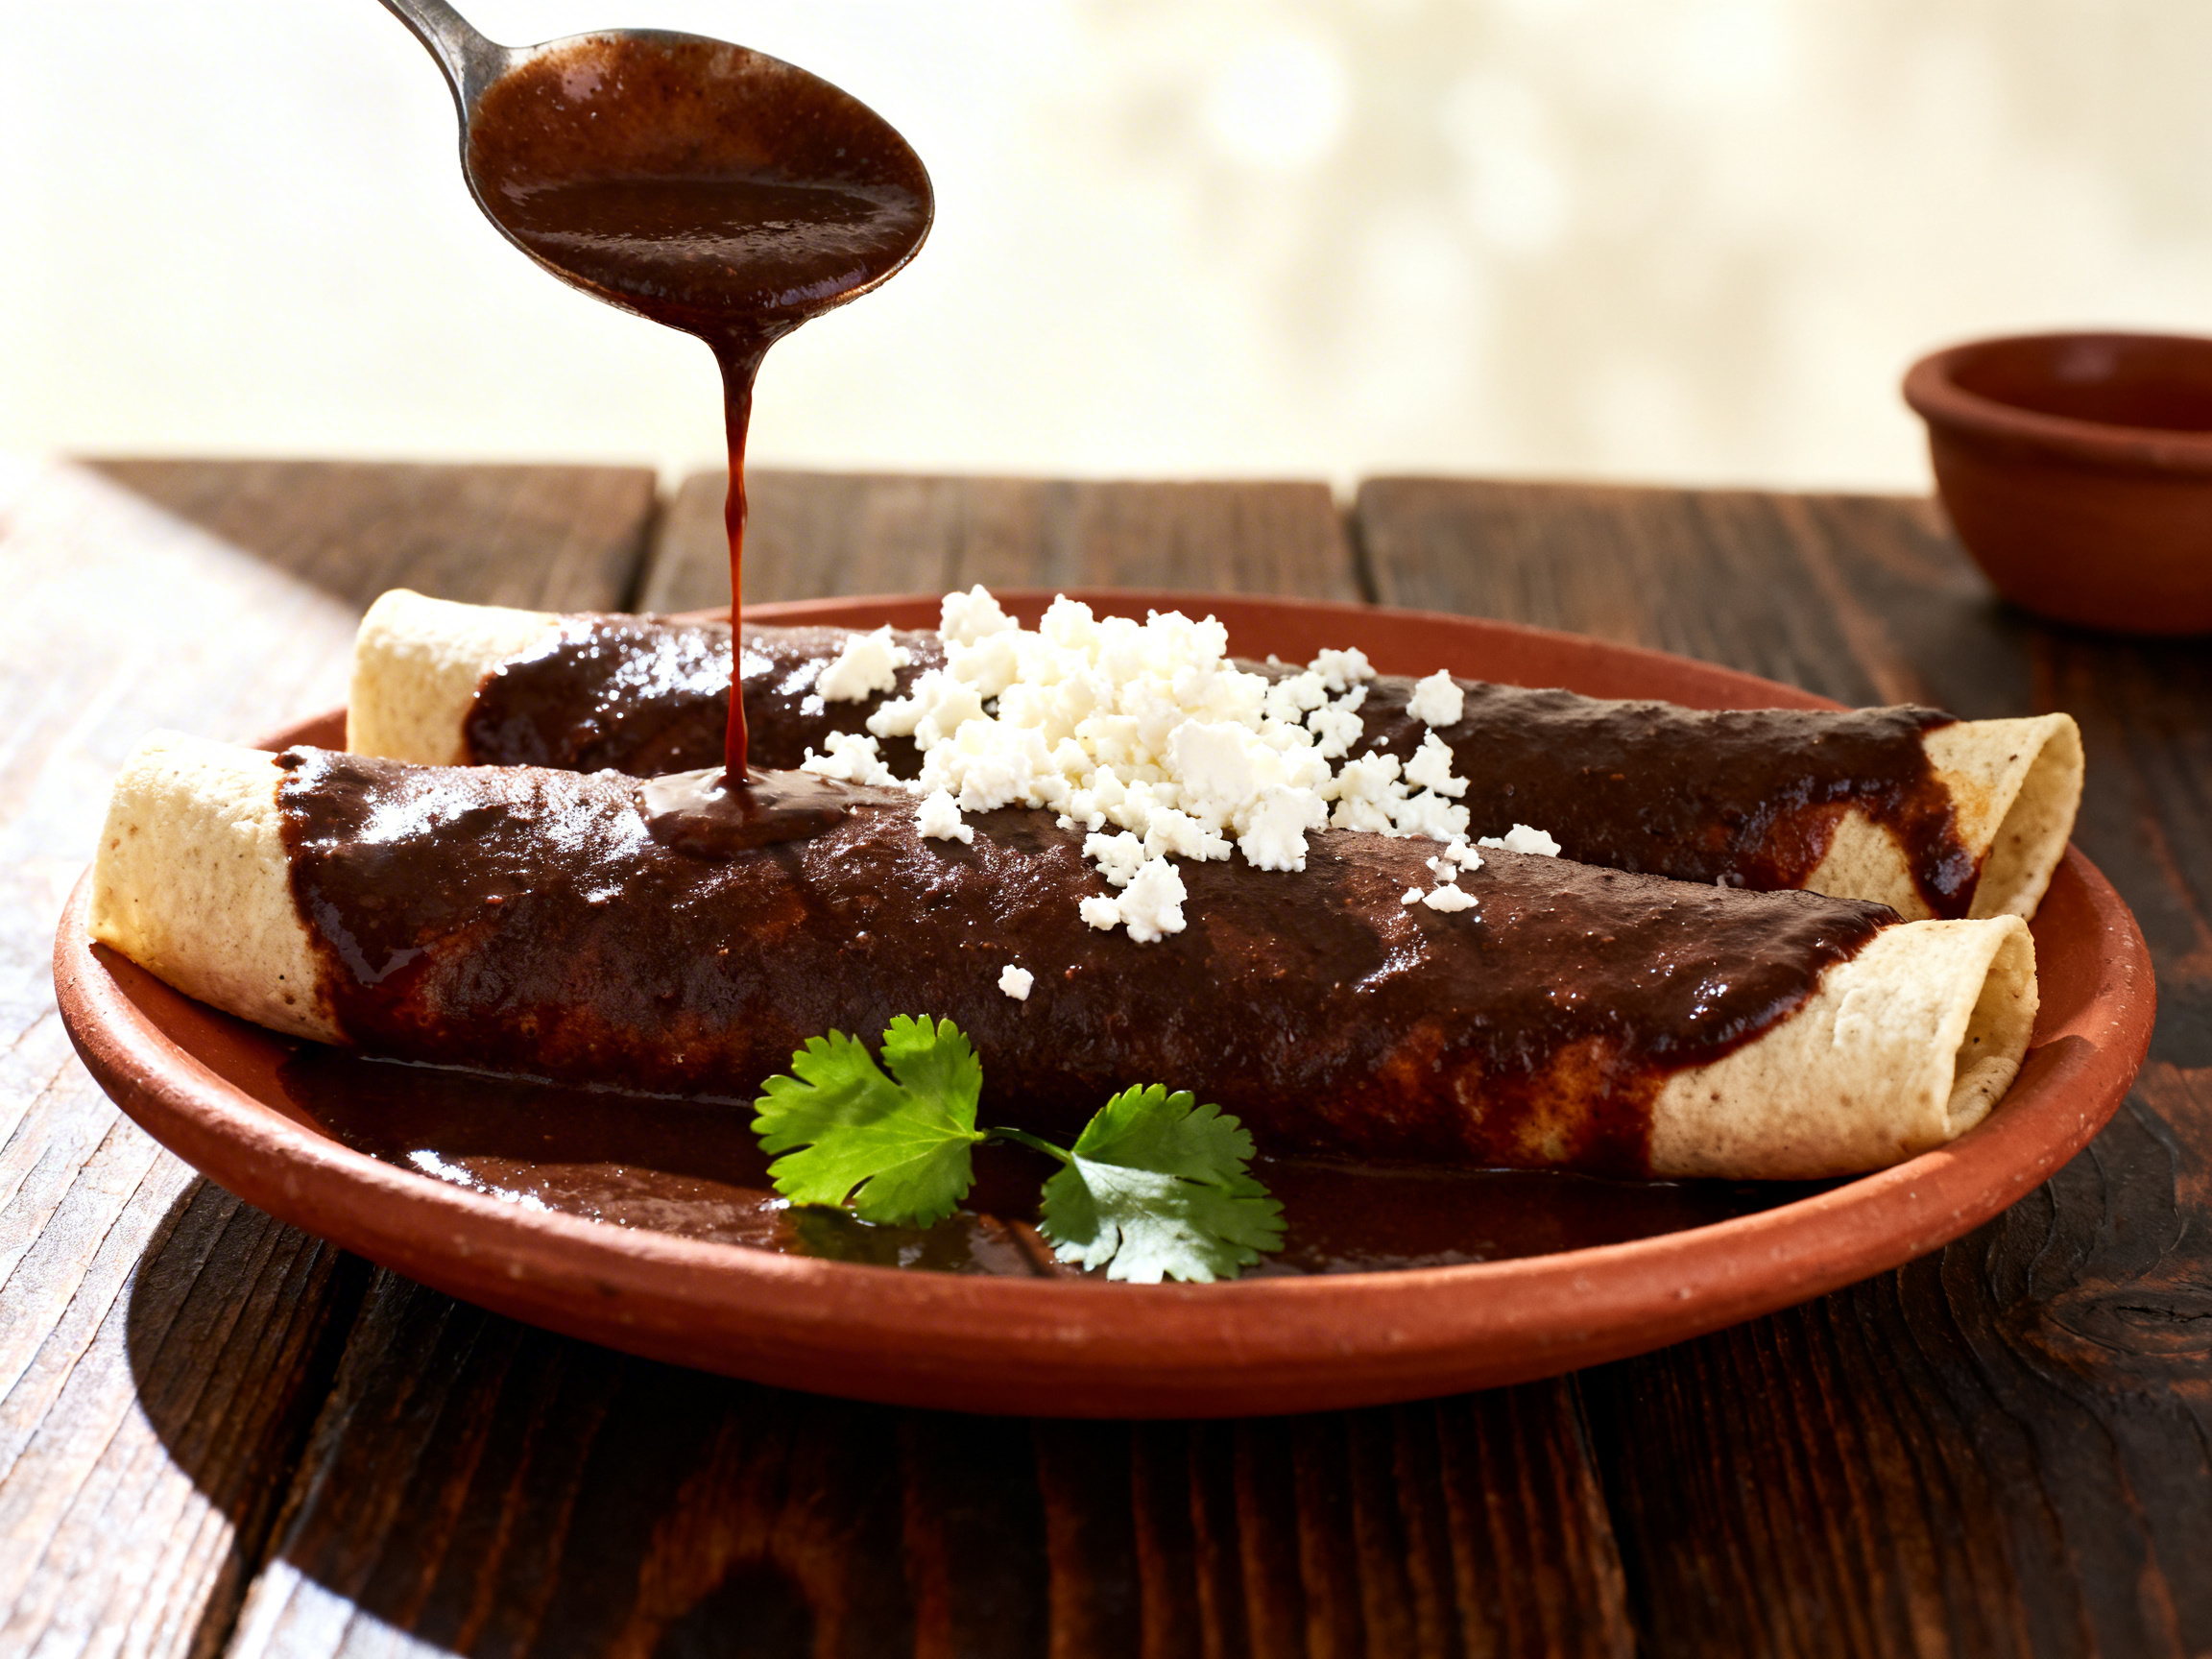
Warm natural light is the foundational lighting choice for Mexican food photography because it complements and amplifies the warm color palette of the cuisine. The spice tones in al pastor, the orange-red of birria consommé, the golden char on corn tortillas, the terracotta tones of ceramic bowls - all of these read richest and most appetizing under warm daylight at 4,500 to 5,500K. Avoid cool, blue-biased light: it drains vibrancy from red and orange tones, making chiles look dull, meat look grey, and salsas look thin and watery. Position your main light source - a large window or a daylight-balanced softbox - to the left of the setup at roughly the 10-o'clock position, with a warm-toned reflector card (use a piece of gold-foil foam core rather than pure white) on the right side to bounce fill light back with a warm cast. For overhead flat-lay shots of guacamole, elotes, and tamale spreads, position the softbox directly above with a slight forward tilt so the near side of the food receives slightly more light than the far side, creating a gentle gradient. For birria tacos specifically, the red consommé dipping bowl is a crucial element: position a small silver reflector directly in front of the bowl to create a specular highlight on the broth surface that signals richness and depth. For enchiladas, a 45-degree side light from the left creates the cross-shadow pattern that reveals the sauce's texture and the slight surface sheen of mole or rojo sauce.

Camera Angles for Mexican
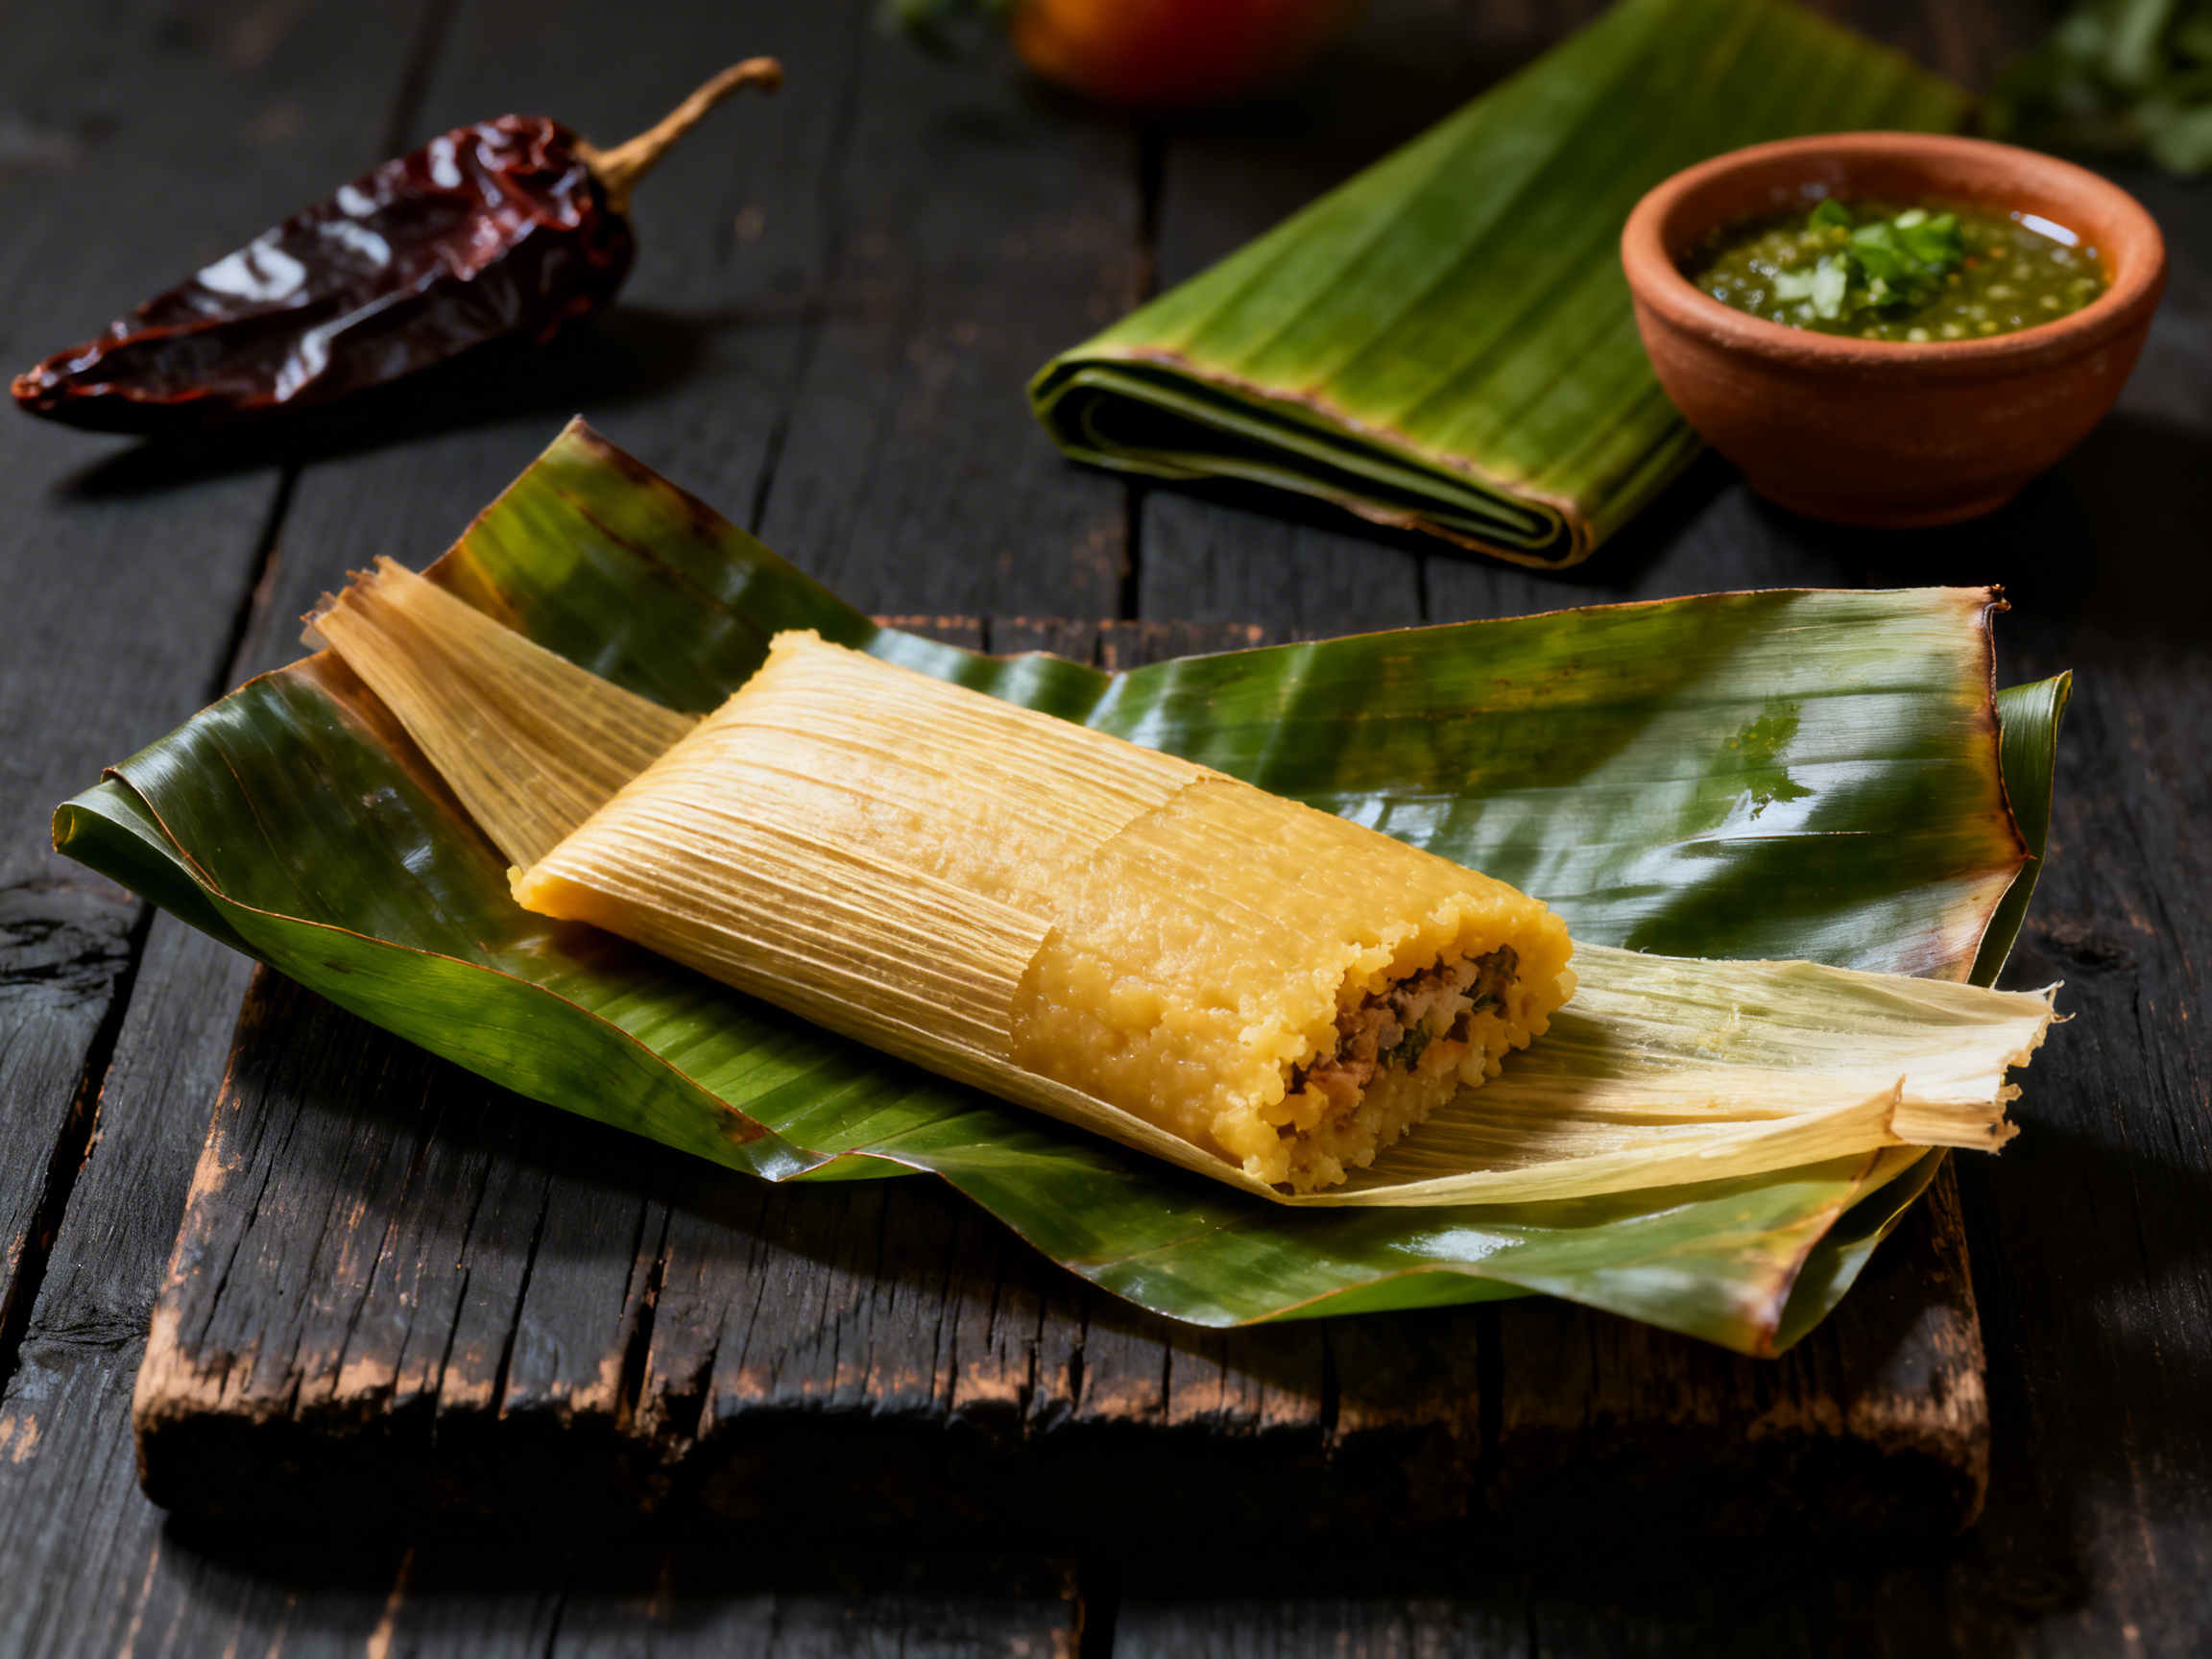
Street tacos - birria, al pastor, carnitas - photograph strongest at a 45-degree angle from the front, slightly elevated. This angle shows the filled interior spilling forward from the tortilla shell, the char on the meat, the fresh cilantro and onion topping, and the radish or lime garnish. Shoot slightly above the taco's mid-height so you can see into the shell. Do not go overhead: overhead converts a taco into a flat abstract shape and hides all the filling height that makes it look abundant. For a birria taco specifically, position the consommé dipping cup in the frame just behind and to the right of the tacos, visible but not dominant. Enchiladas photograph best at 30 degrees above the plate - high enough to show the full surface of the mole or rojo sauce topping, low enough to see the rolled tortilla sides. A slight side angle (shoot from the left at 30 degrees) shows the architectural roll shape and the sauce pooling at the sides. Guacamole is one of the strongest overhead subjects in Mexican food photography: shoot from directly above a molcajete or terracotta bowl with the garnishes - lime wedge, dried chile, cilantro sprig - arranged in the composition. Elotes photograph well at 35 to 45 degrees, where you can see both the cotija crumble on top and the char pattern on the corn. For tamales, a 30-degree overhead that shows the banana leaf partially unwrapped with the masa interior visible is the most evocative angle.
Food Styling and Props
Mexican food styling works with the richness of the ingredient palette rather than against it. The single most important rule is restraint in the garnish layer: a street taco needs white onion, cilantro, and a lime wedge - nothing more. Adding extra garnishes beyond the authentic composition signals inauthenticity to the viewer. For birria tacos, the dip bowl of consommé is not optional as a prop - it is part of the dish's identity and must appear in the frame. Position it so the deep red broth is visible. For guacamole in a molcajete, leave a rough, uneven surface texture on the top rather than smoothing it flat; rough texture creates the shadows and depth that a smooth surface lacks. Apply a small drizzle of olive oil in a deliberate pattern immediately before the shot. Press a few pomegranate seeds, a dried ancho chile, and a sprig of fresh cilantro into the surface. For enchiladas, a white crumble of queso fresco applied immediately before the shot adds the bright white contrast point that breaks up the dark mole or rojo sauce. For tacos propping, cut a small square of corn tortilla, skewer it on a toothpick, and wedge it under the taco shell base at the camera-facing side; this tilts the open end of the taco toward the camera without collapsing the structure. For elotes, apply a second coating of cotija, chili powder, and lime juice immediately before the shot, as the first application sinks into the mayo base within minutes. Colorful textile serape cloth in the background adds cultural context but should be muted rather than vivid so it does not compete with the food's own color.
Recommended props
Equipment Guide
For taco photography, a 50mm to 85mm prime lens at f/3.5 to f/5.6 is the correct choice - this focal range lets you fill the frame from a distance that does not compress the taco shell perspective, while keeping the foreground tacos sharp and the background props in soft focus. A shorter lens, like a 35mm, introduces distortion that makes taco shells look wider and flatter than they are. For guacamole and flat-lay overhead shots, a wider lens - 35mm to 50mm - works well when you need to show a spread of dishes. Use a boom arm or C-stand with horizontal extension to get the camera level directly above the composition for overhead shots without the camera body appearing at frame edge. For lighting, a large daylight-balanced softbox - 80 by 120 centimeters or larger - positioned to the left provides the main light. A gold-foil reflector card on the right returns warm fill. For the birria consommé highlight, a small silver card held at the front edge of the bowl at an angle creates the specular surface glint. Spray bottles with water or lime juice are essential tools for maintaining avocado freshness. A toothpick toolkit - standard toothpicks and flat toothpicks - handles the invisible taco propping work. Tweezers or small tongs allow precise cilantro and garnish placement without finger marks on the tortilla surface.
Skip the photoshoot — enhance the mexican photos you already have
The techniques on this page take time to master. MenuPhotoAI applies the same lighting, color, and texture corrections — automatically — to the smartphone photos you already shot. Studio-quality results in 30 seconds.
Try free — 5 credits, no cardCommon Mexican Photography Mistakes
Letting tacos lean on each other for support
Stacking tacos against each other for stability crushes the camera-facing shell and makes the interior filling look compressed and messy. Each taco must be propped independently using a hidden tortilla wedge on a toothpick or a small foil ball beneath the base. Prop every taco before filling it, not after. The front taco should be angled slightly forward toward the camera to show the interior filling clearly.
Waiting too long to shoot guacamole after cutting
Avocado browns within five minutes of exposure to air - faster under studio lights. Prepare a lime-juice spray bottle and apply a fine mist to all cut avocado surfaces immediately after preparation. Shoot within three to four minutes. Always have a backup batch prepared. Never prepare guacamole in advance and hold it - despite the browning-prevention folklore, no method holds cut avocado visually fresh under photography conditions for more than about six minutes.
Using cool, blue-biased lighting on vibrant spice tones
Cool light drains the warmth from Mexican food's defining color palette. Al pastor turns grey, birria consommé turns brown, and guacamole shifts toward an unappetizing olive drab. Always use daylight-balanced or slightly warm light - 4,500 to 5,500K - and avoid flash units with a cool color temperature. If shooting under restaurant lighting, measure the exact color temperature and dial in a custom white balance before shooting.
Photographing enchiladas from directly overhead
Enchiladas are a rolled dish whose visual identity depends on the contrast between the mole or rojo sauce on top and the rolled tortilla edge on the sides. Overhead collapses this into a flat, sauce-covered rectangle that is hard to read as a filled, rolled dish. Drop to 30 degrees above the plate from a slight side angle to show the sauce surface, the tortilla roll, and the queso fresco crumble simultaneously.
Smoothing guacamole to a flat surface in the bowl
A perfectly smooth guacamole surface has no texture, no shadows, and no depth - it reads as a flat green disc. Rough, irregular surface texture created by folding rather than blending creates the shadows and highlights that make guacamole look fresh, chunky, and handmade. Use the back of a spoon to create intentional peaks and valleys rather than smoothing the surface. Apply garnishes into the valleys so they sit at different heights.
Editing Tips
Mexican food editing centers on preserving the warm, saturated color palette without pushing it into artificial territory. In Lightroom or Capture One, boost vibrance (not saturation) by 10 to 15 points to lift muted colors without oversaturating the already-vivid reds and oranges. In the HSL panel, boost orange and red saturation by 8 to 12 points for al pastor and birria meats; boost green saturation by 10 to 12 points to restore guacamole vibrancy if it has cooled to olive in the shot. Pull highlights down on consommé and salsa surfaces to recover detail. Clarity at plus 12 to 15 enhances tortilla char texture and cotija crumble definition. Avoid adding blue in the shadows - it fights the warm palette. MenuPhotoAI's AI enhancement applies Mexican food-specific tone profiles that distinguish chile-red from tomato-red and restore avocado green tones that white-balance shifts have compromised.
Platform-Specific Tips
On Instagram and TikTok, birria taco dip videos and guacamole preparation shots are consistently the highest-performing Mexican food content - the dip and the scoop are the two motions that generate saves and shares. For static images, a tight 45-degree front shot of three tacos with the consommé bowl and a visible lime squeeze is the platform's preferred Mexican food aesthetic. For DoorDash and Uber Eats listings, use a clean, bright overhead of the taco plate or enchilada dish against a neutral or very light background. Delivery platforms require that every topping be identifiable at thumbnail scale - avoid the dark dramatic setups used for Instagram lifestyle shots. Use a white or light terracotta surface, not dark backgrounds. For print menus, a full-page flat-lay of the full spread - tacos, guacamole, chips, consommé, salsas - creates the abundance shot that works as a restaurant hero image. Print requires 300 DPI at CMYK; Mexican red tones particularly need accurate ink profiling to prevent the brick-red of mole from shifting to brown. For Google Business profile photos, a bright overhead of guacamole in a molcajete or a clean taco plate generates the strongest local search visual impact. MenuPhotoAI exports platform-optimized versions from a single source image automatically.
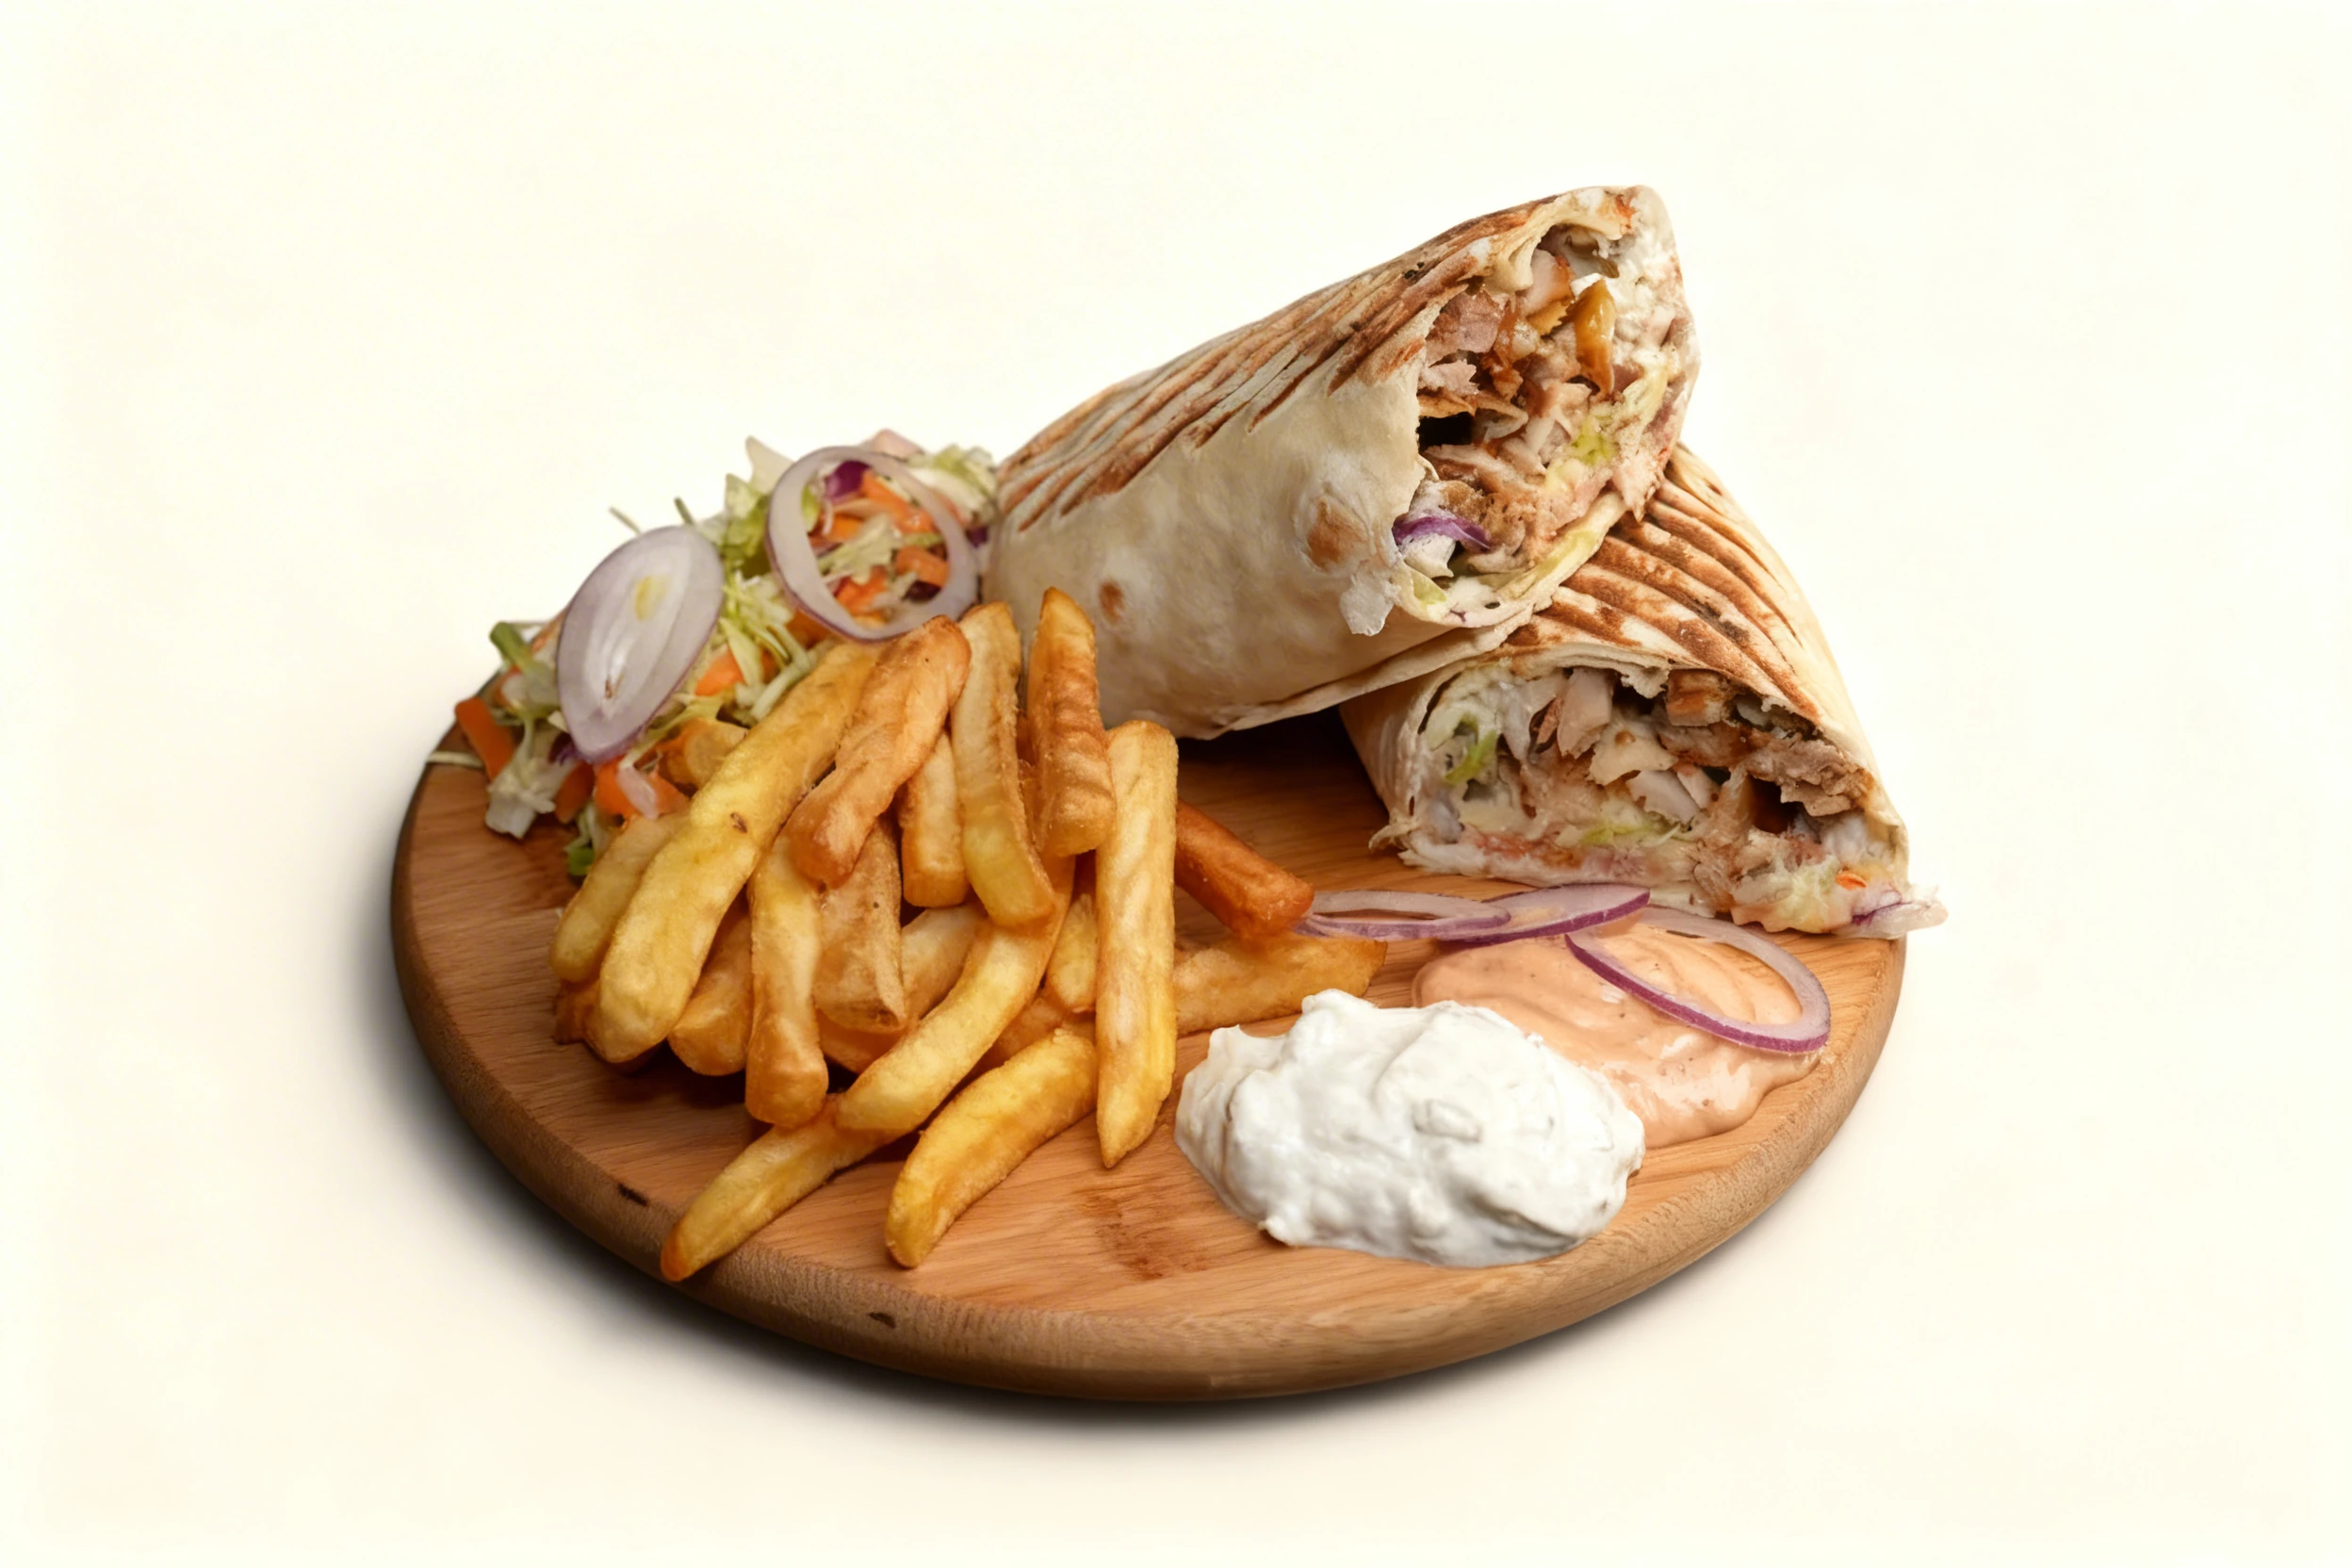
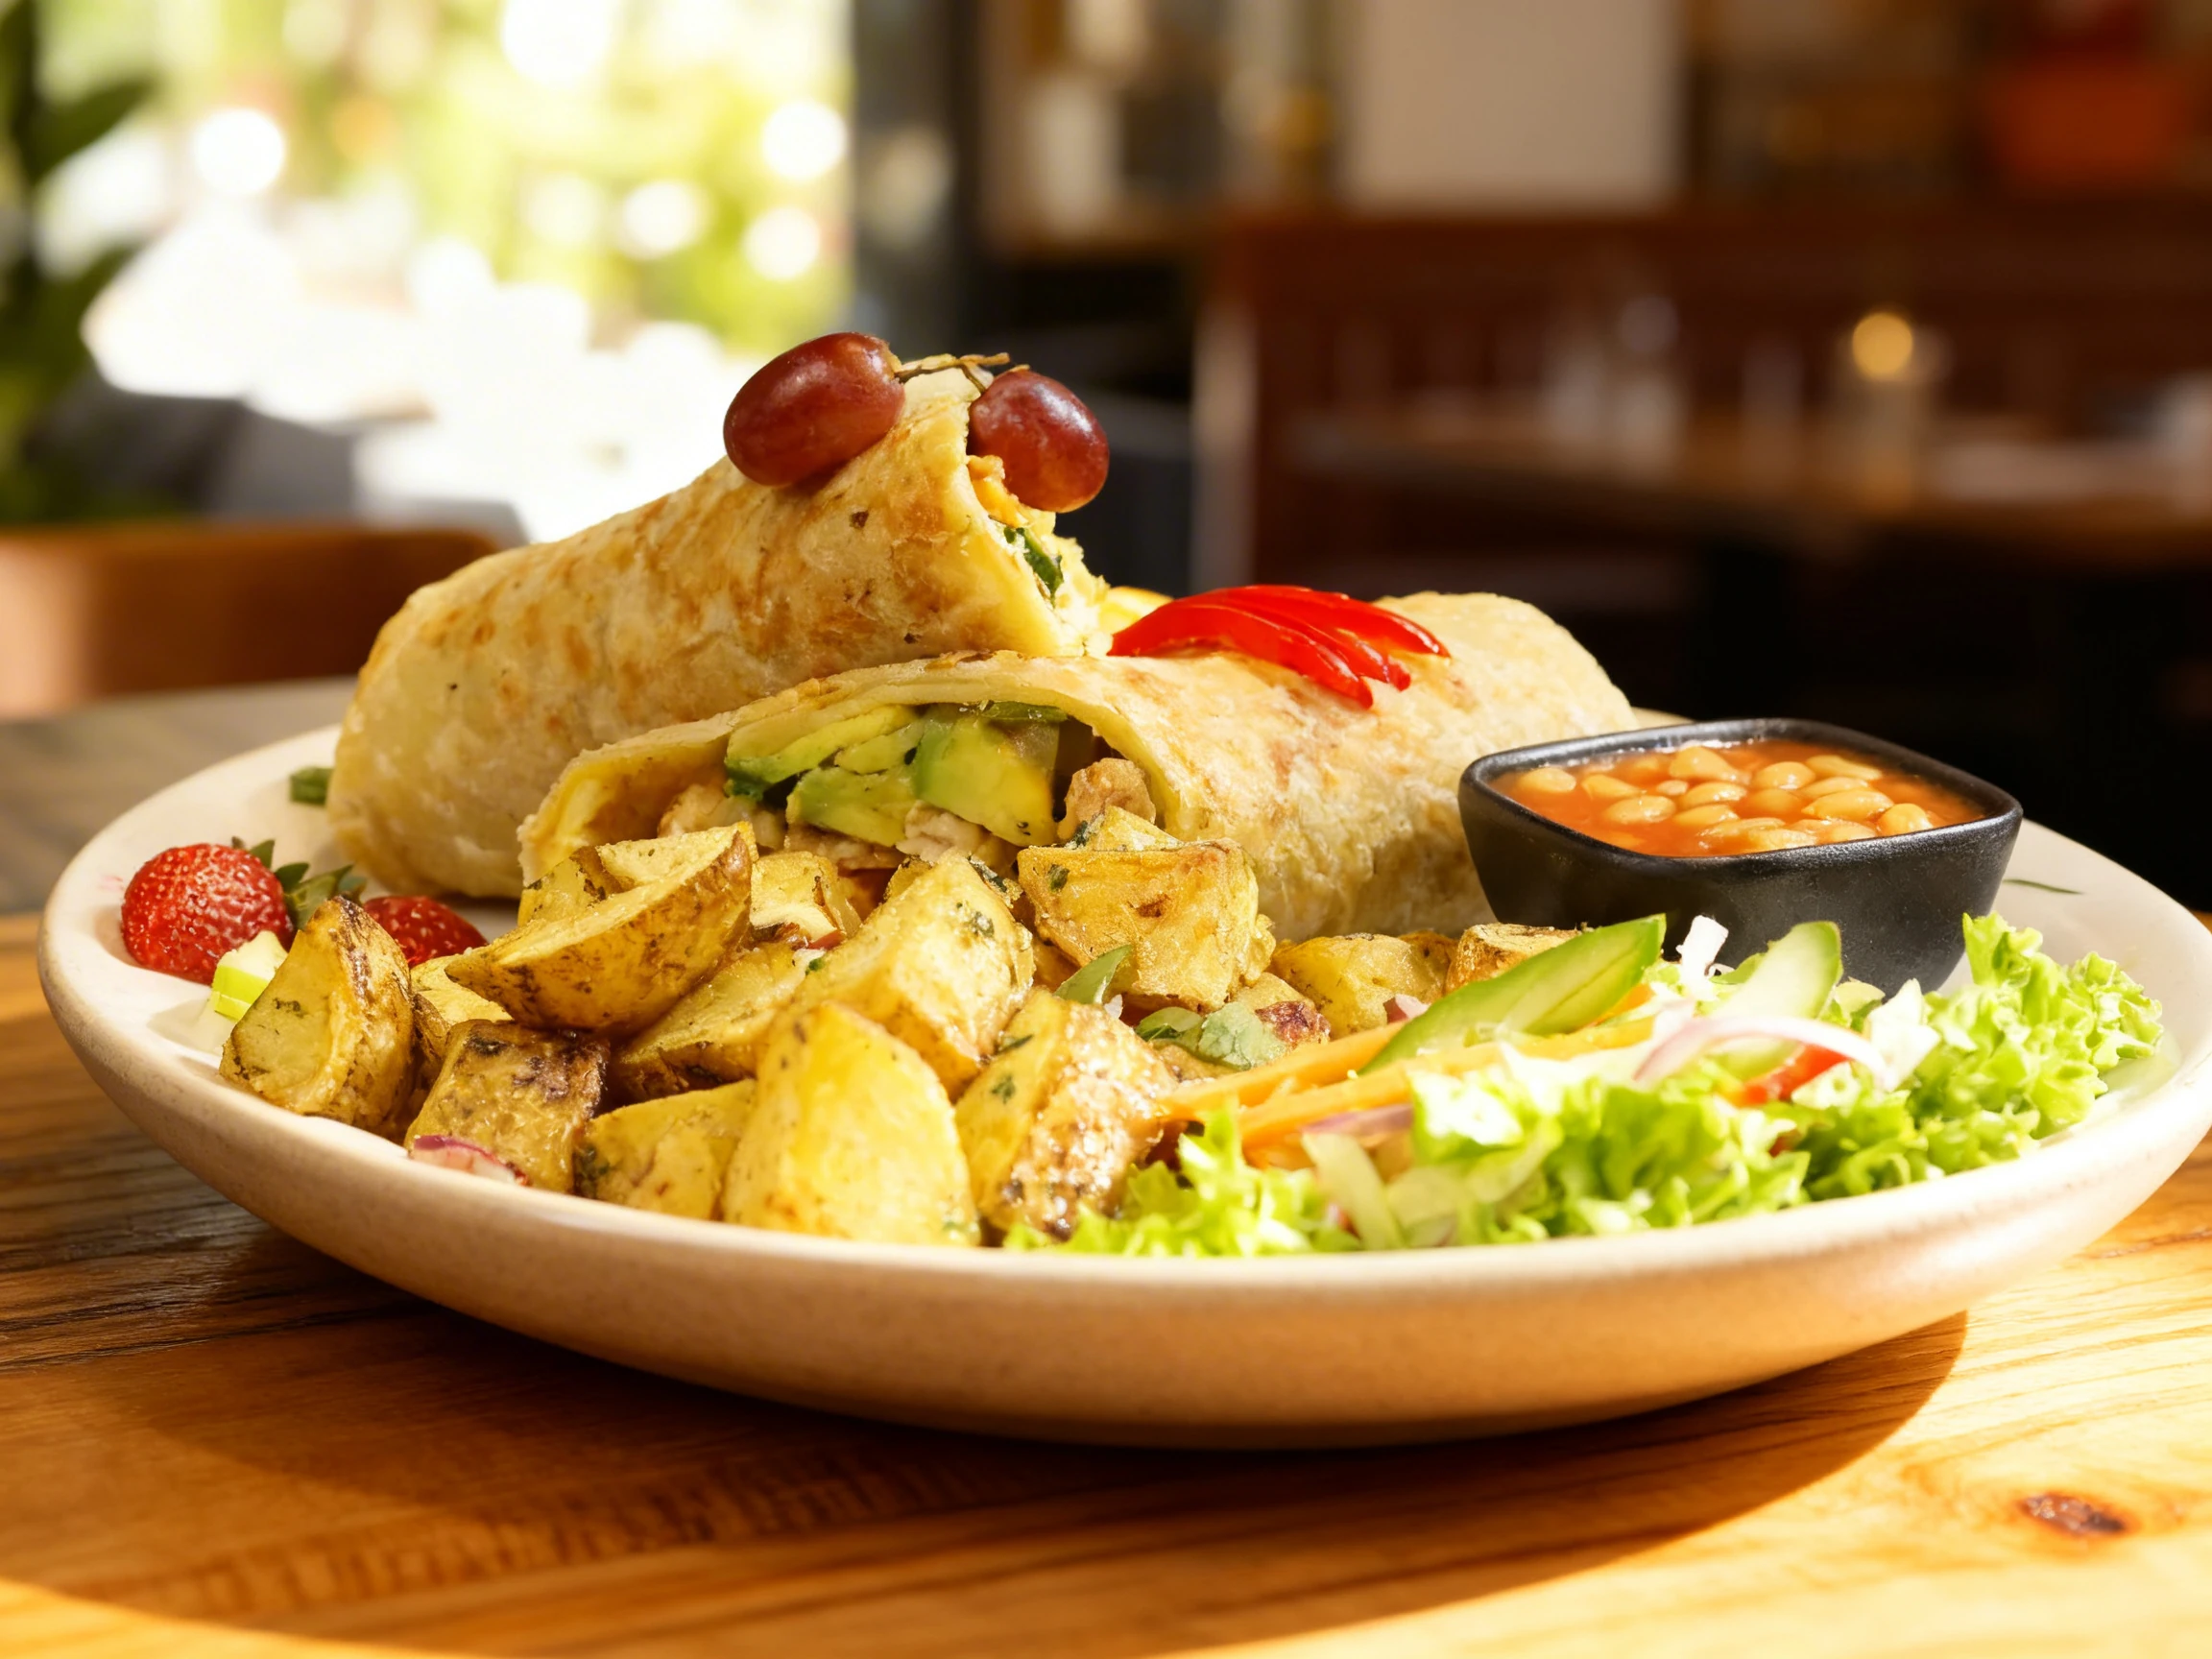
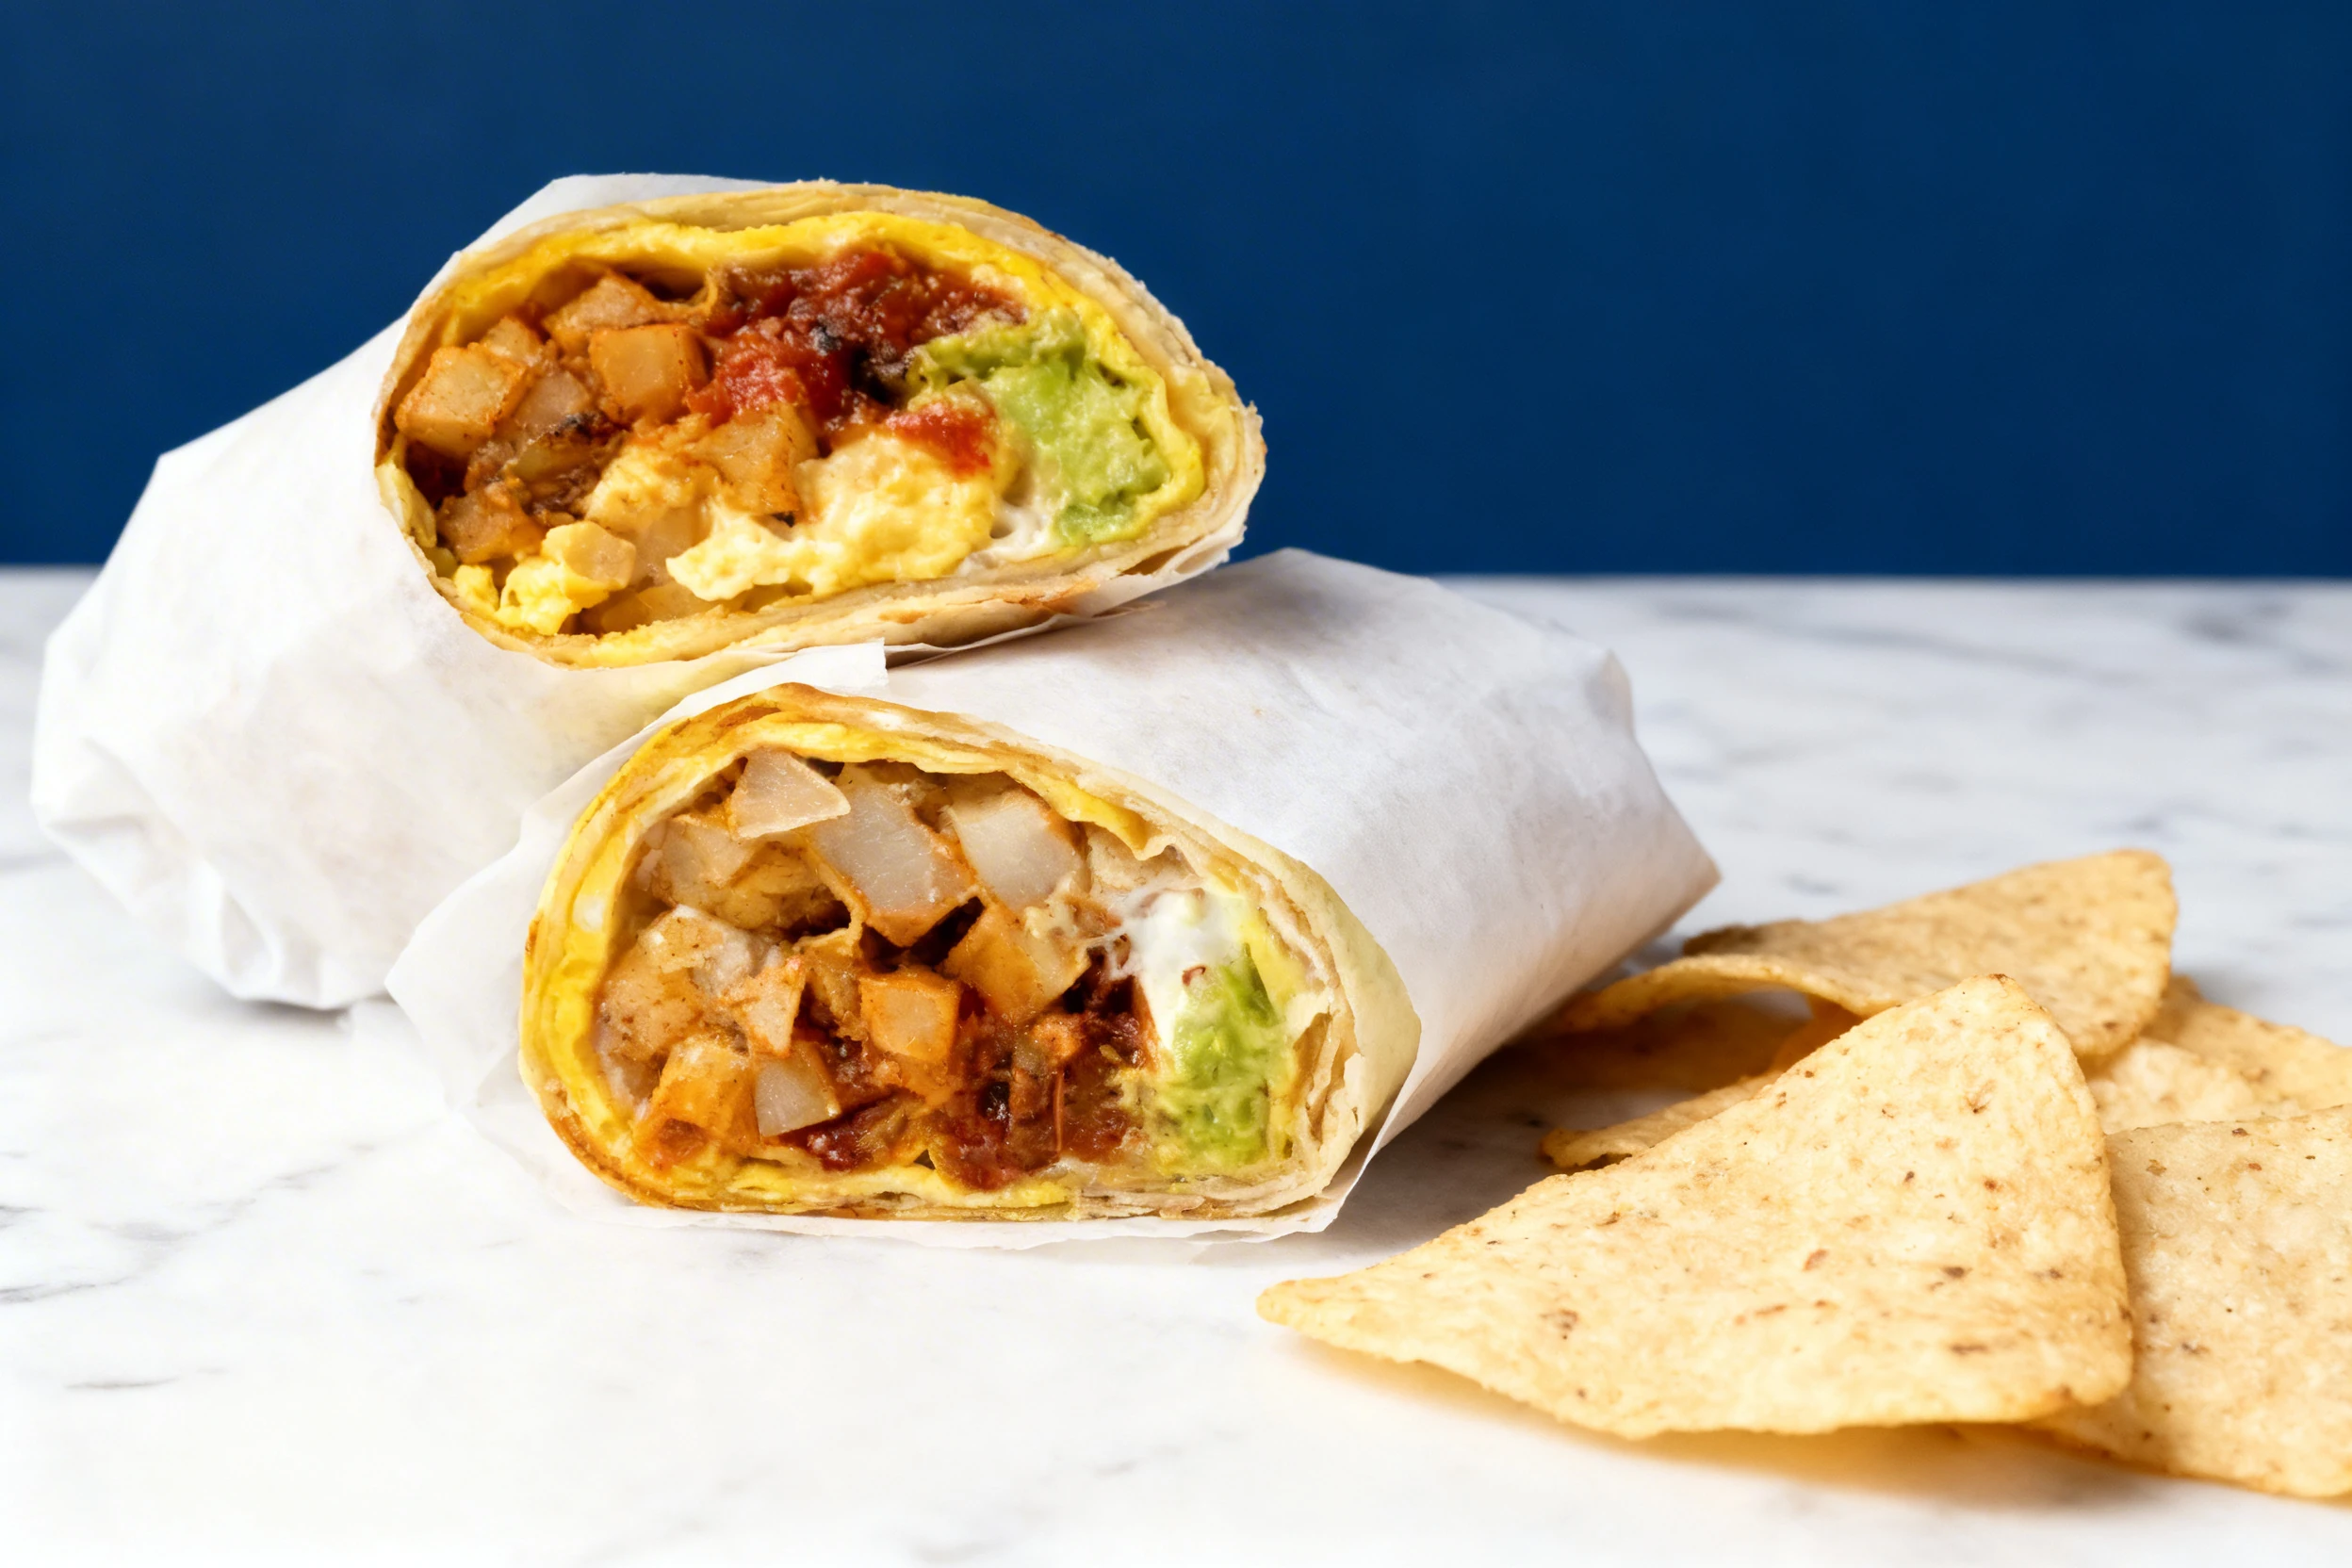
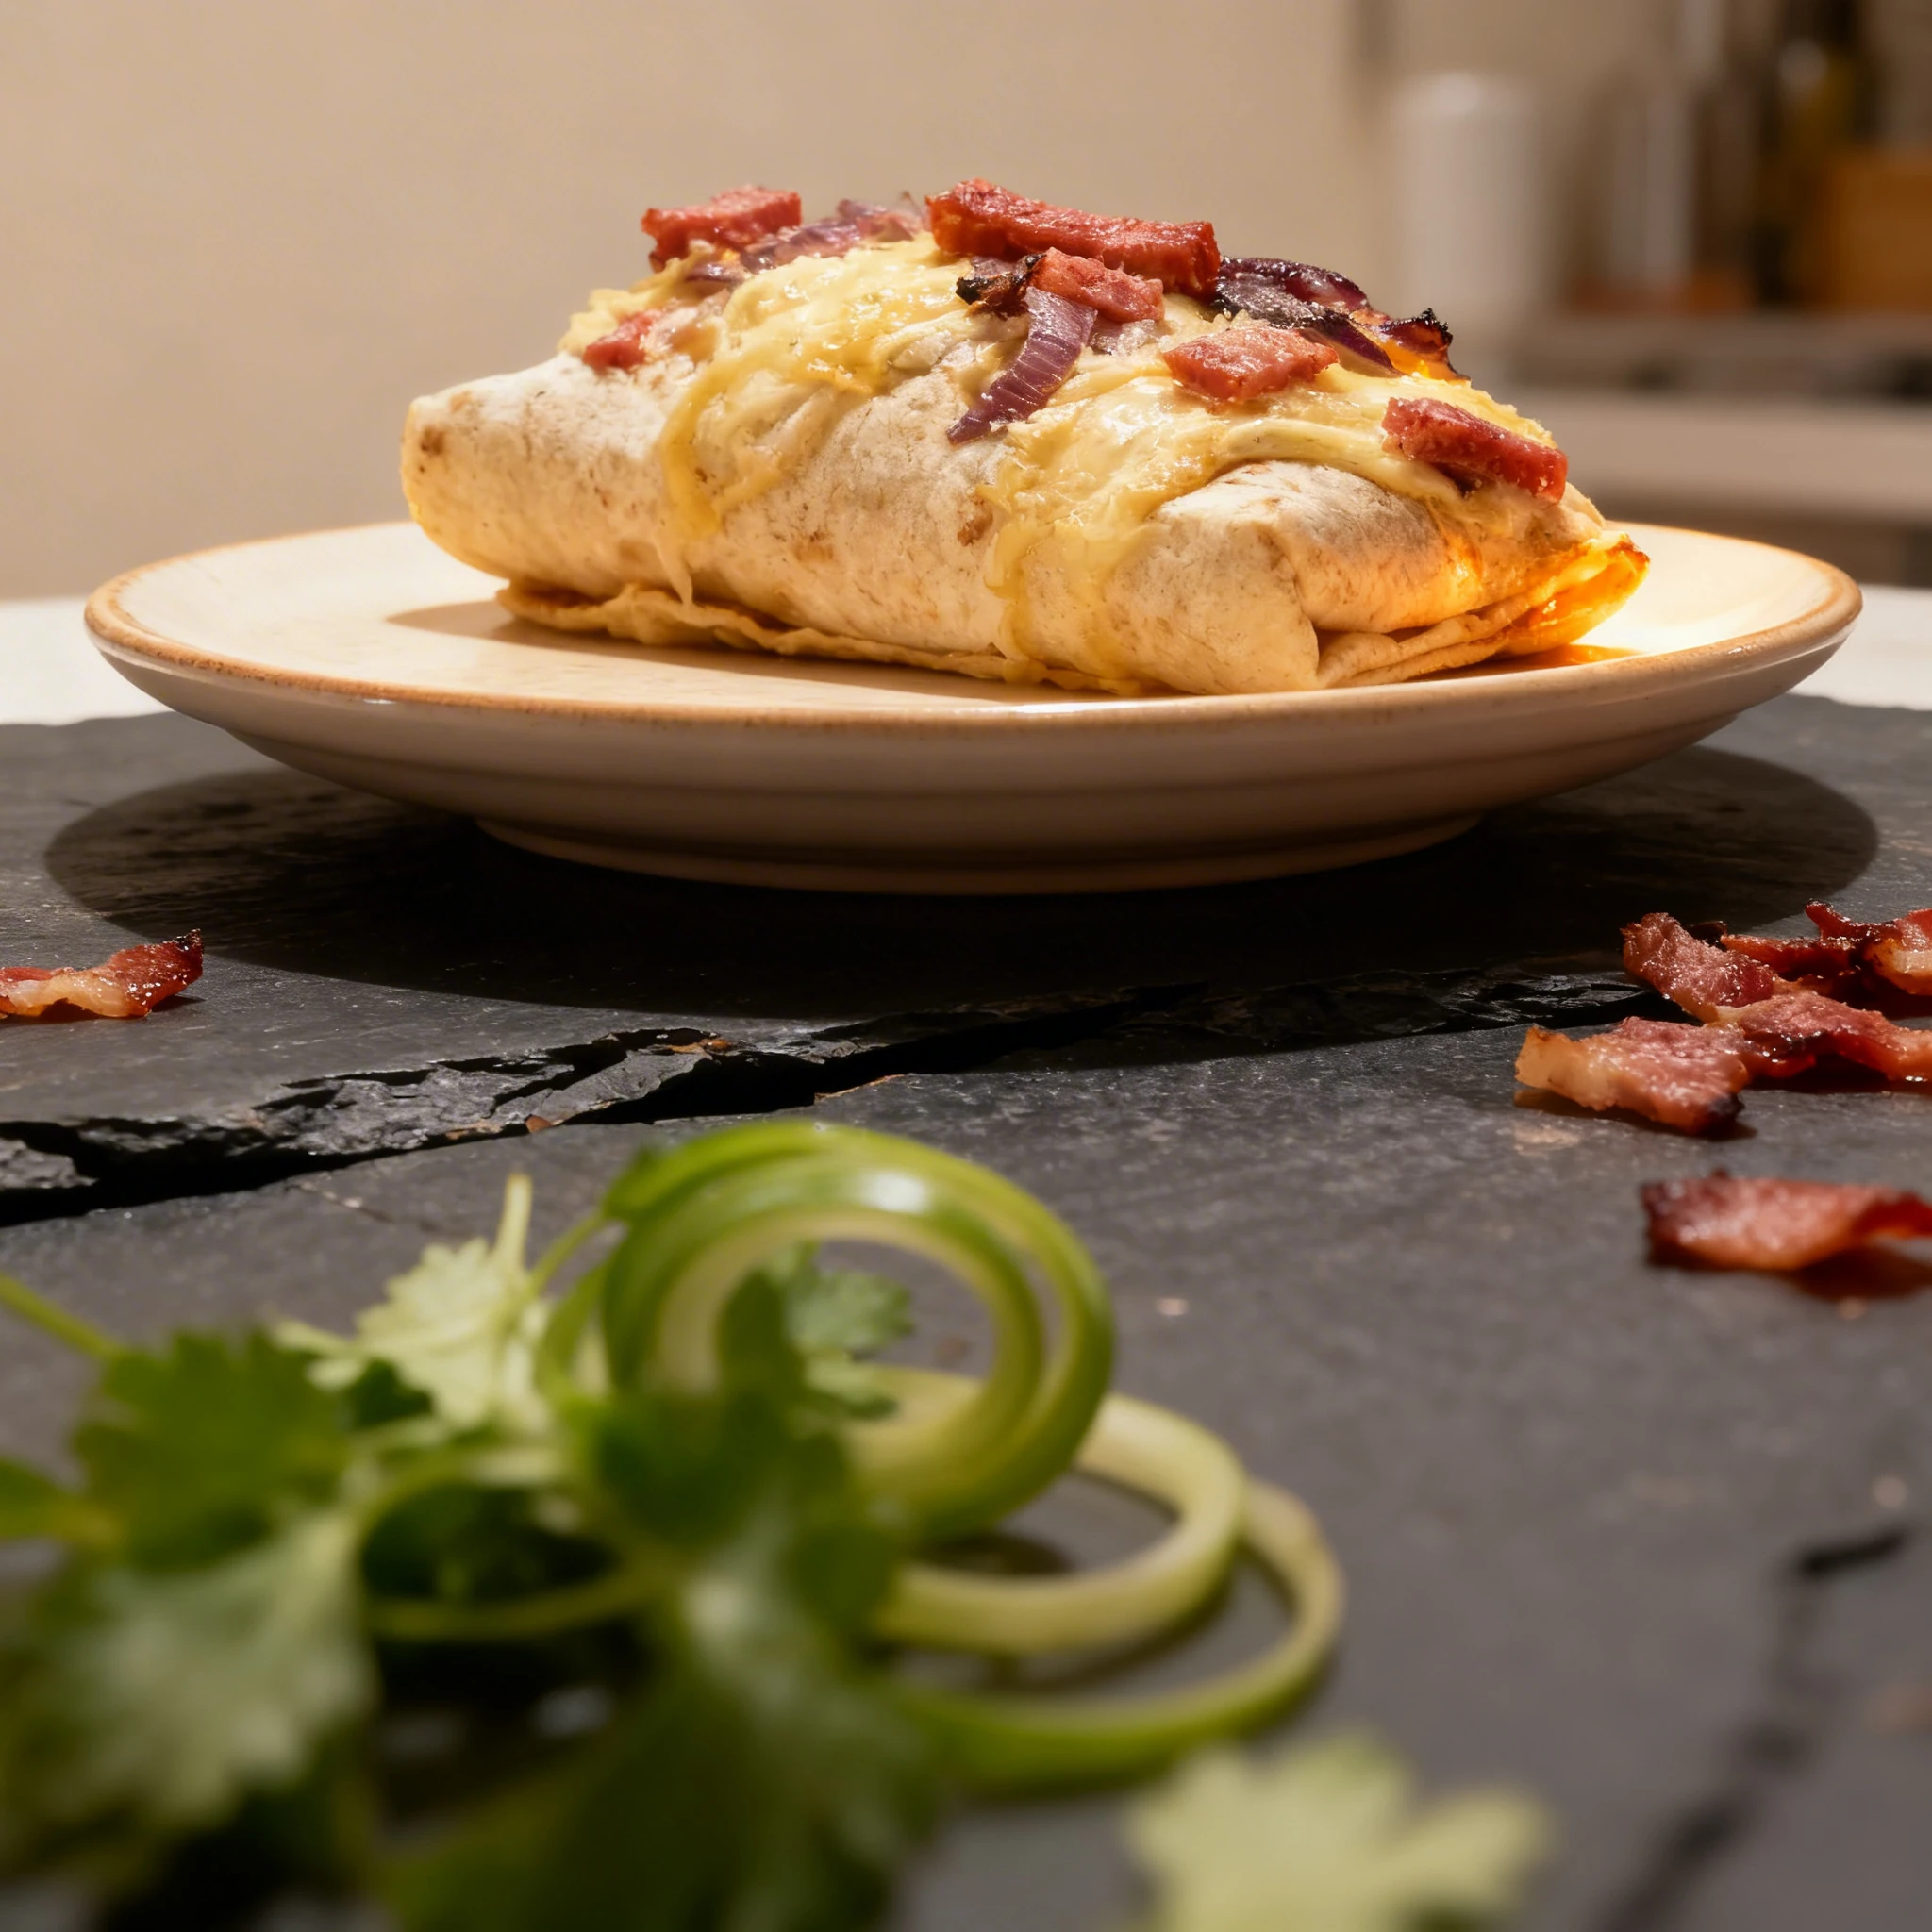
Mexican Photo Examples
Real mexican photos from restaurants using MenuPhotoAI. Tap any category to see the full gallery and the before-and-after view.
Take your Mexican photos further with AI
Once you have a solid shot using the techniques above, MenuPhotoAI can handle the finishing work. Our AI removes distracting backgrounds, corrects exposure and white balance, and applies cuisine-appropriate color grading — turning a good smartphone photo into something you'd be proud to put on your menu or delivery app listing. Start with 5 free photos, no credit card required.
Frequently Asked Questions
Skip the photoshoot — enhance the mexican photos you already have
The techniques on this page take time to master. MenuPhotoAI applies the same lighting, color, and texture corrections — automatically — to the smartphone photos you already shot. Studio-quality results in 30 seconds.
Try free — 5 credits, no cardMore Cuisine Photography Guides
This guide reflects best practices for Mexican food photography as of 2026. Techniques may vary based on specific dishes, equipment, and shooting conditions. MenuPhotoAI is an AI food photo enhancement platform.