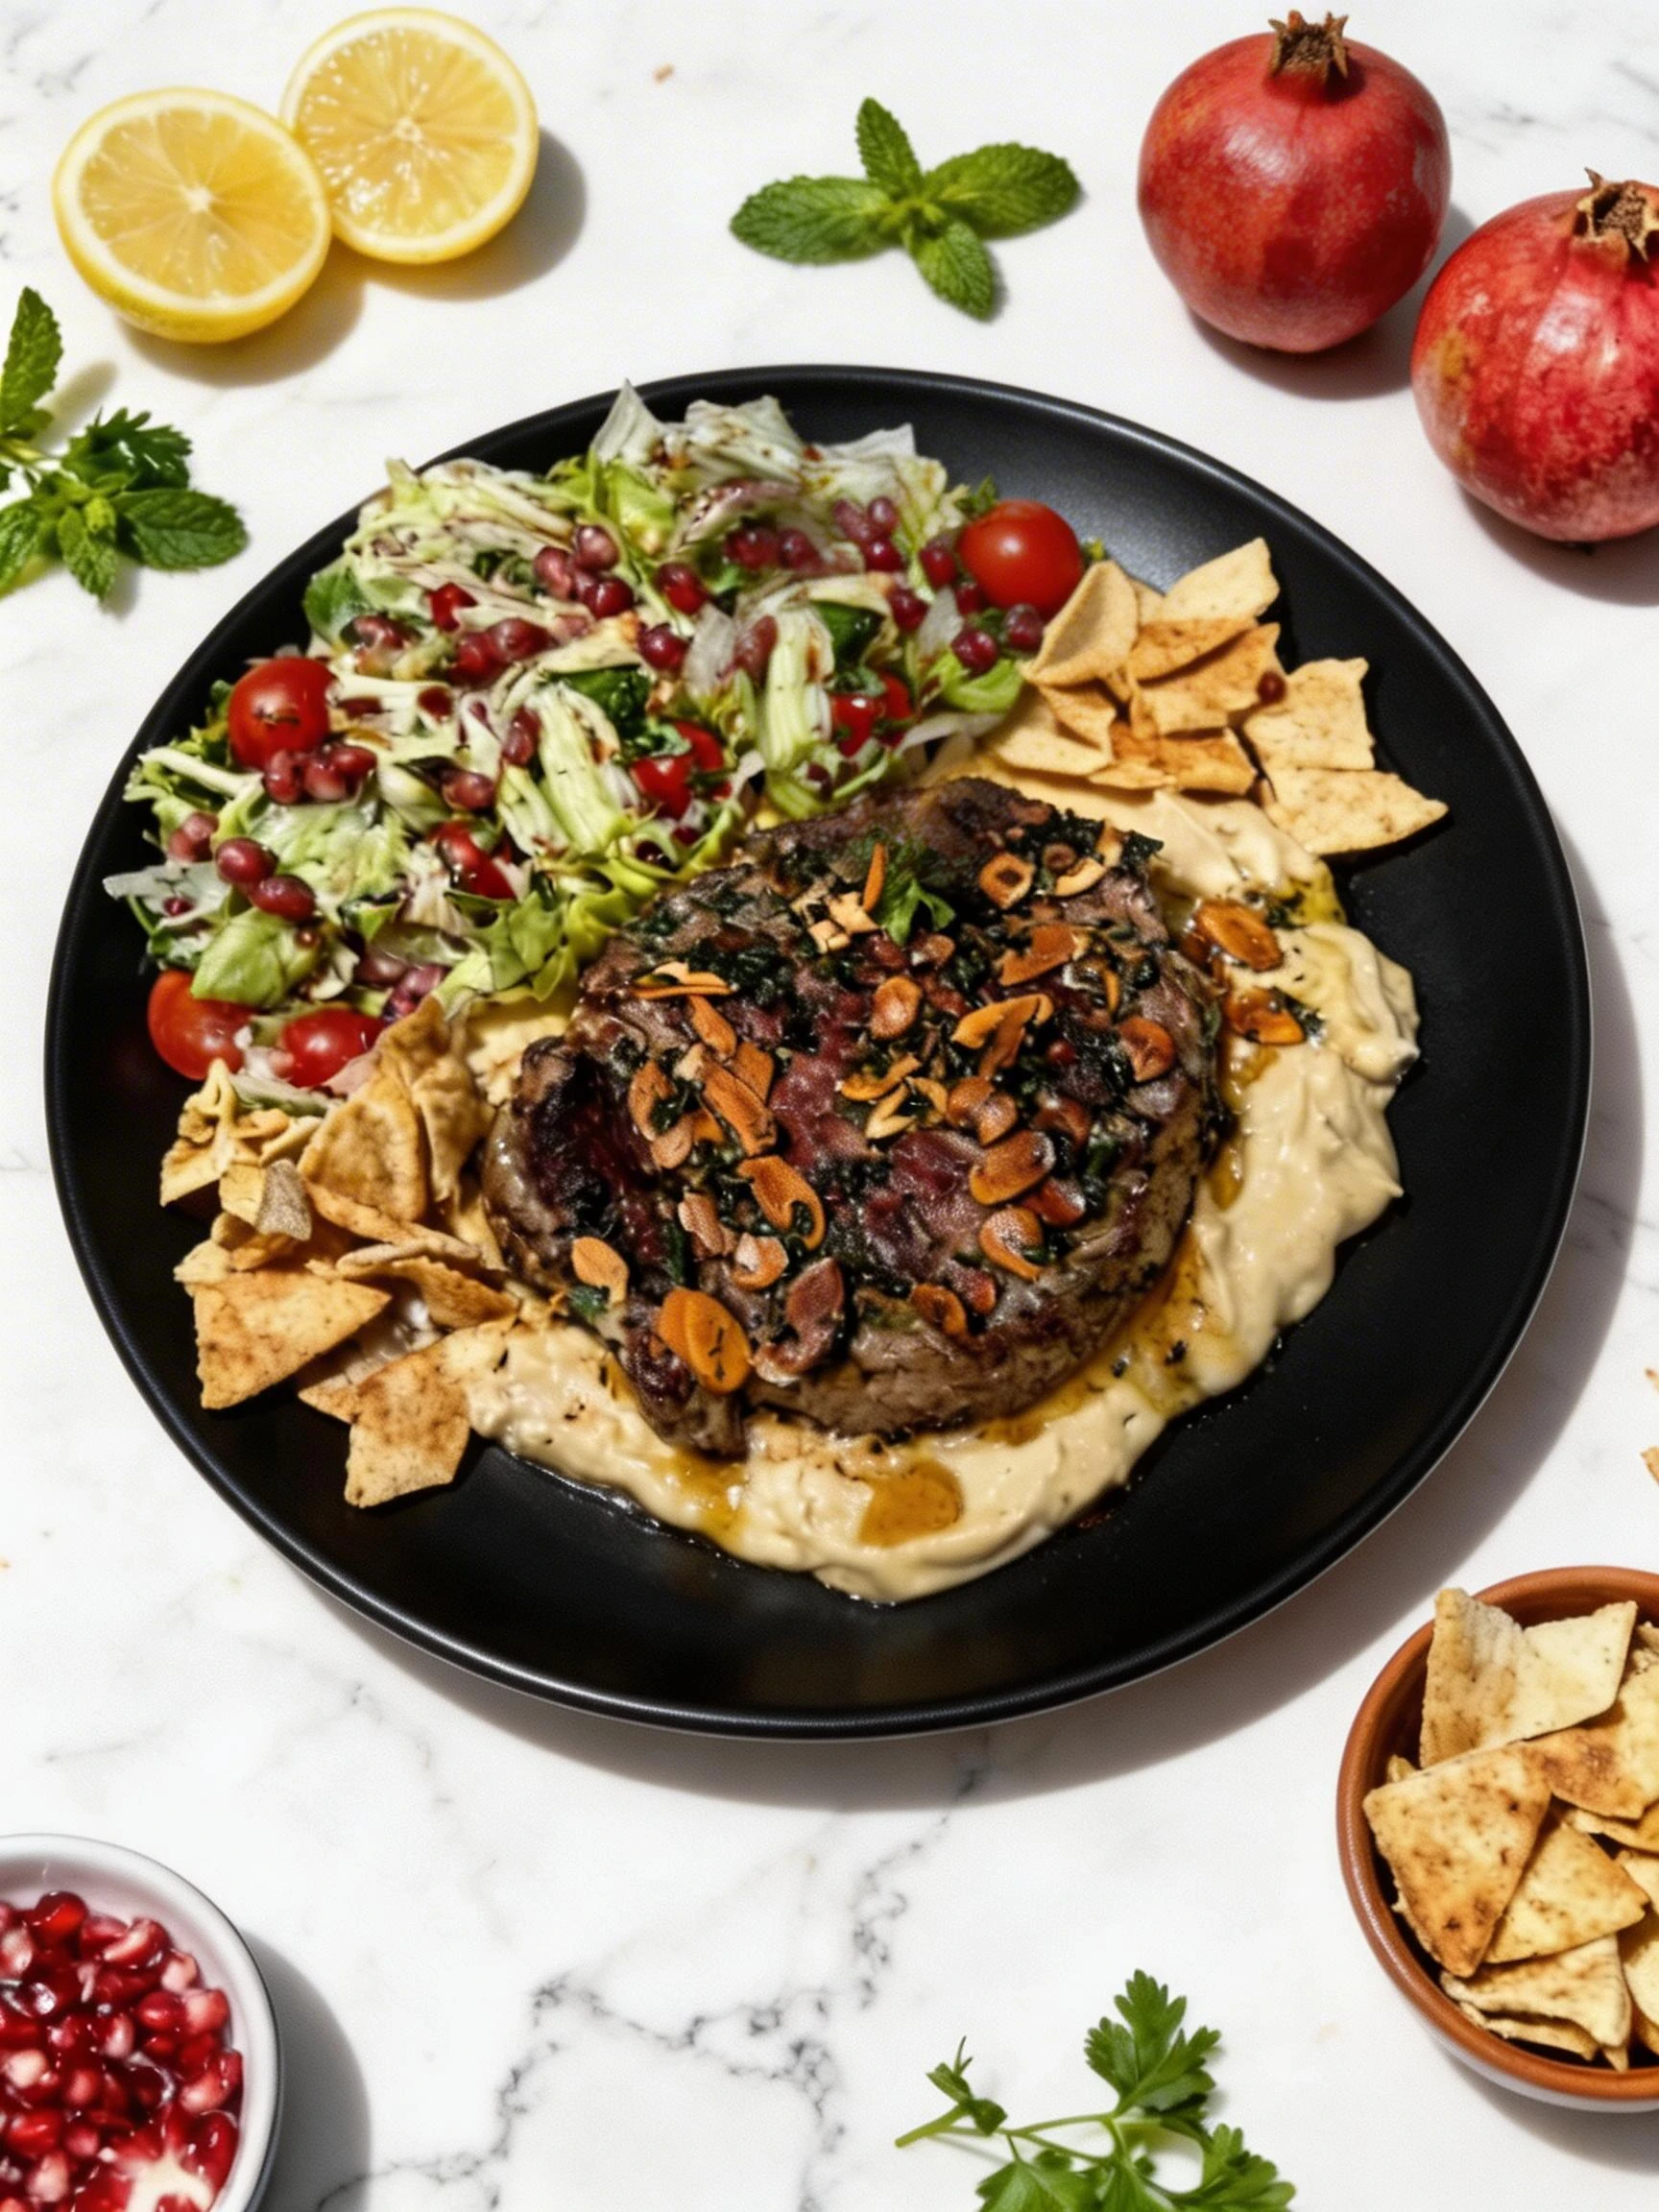
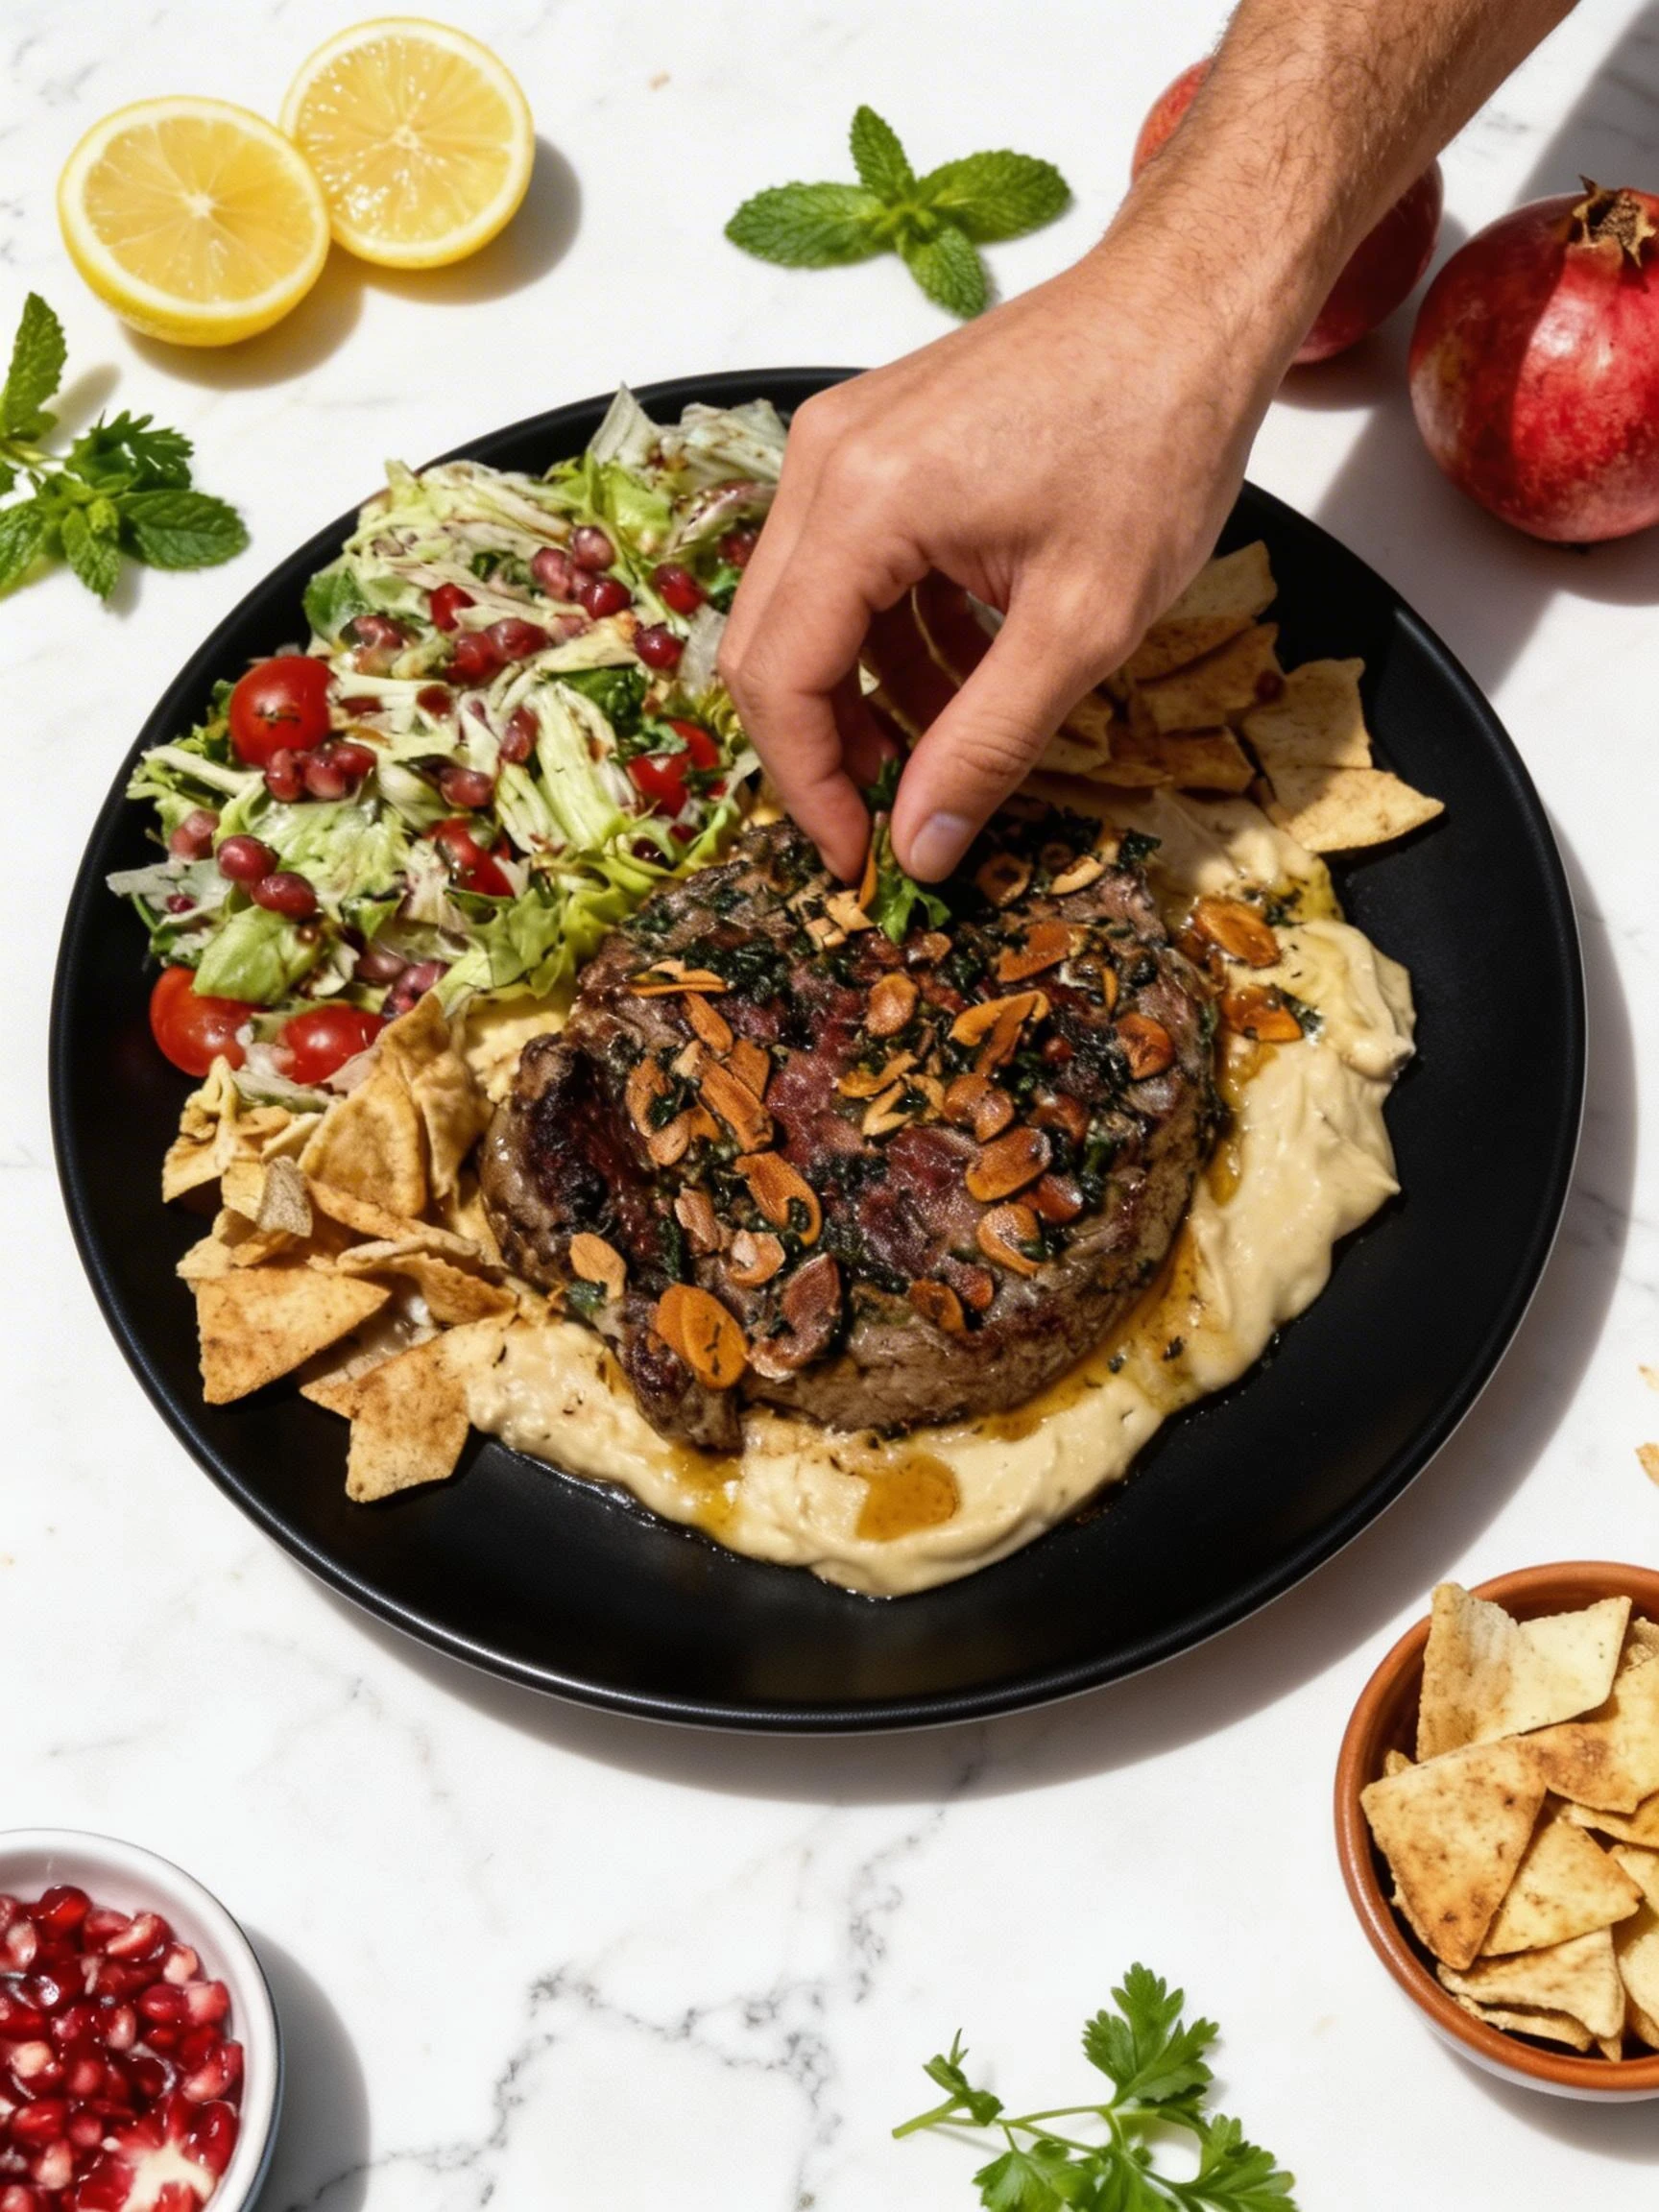
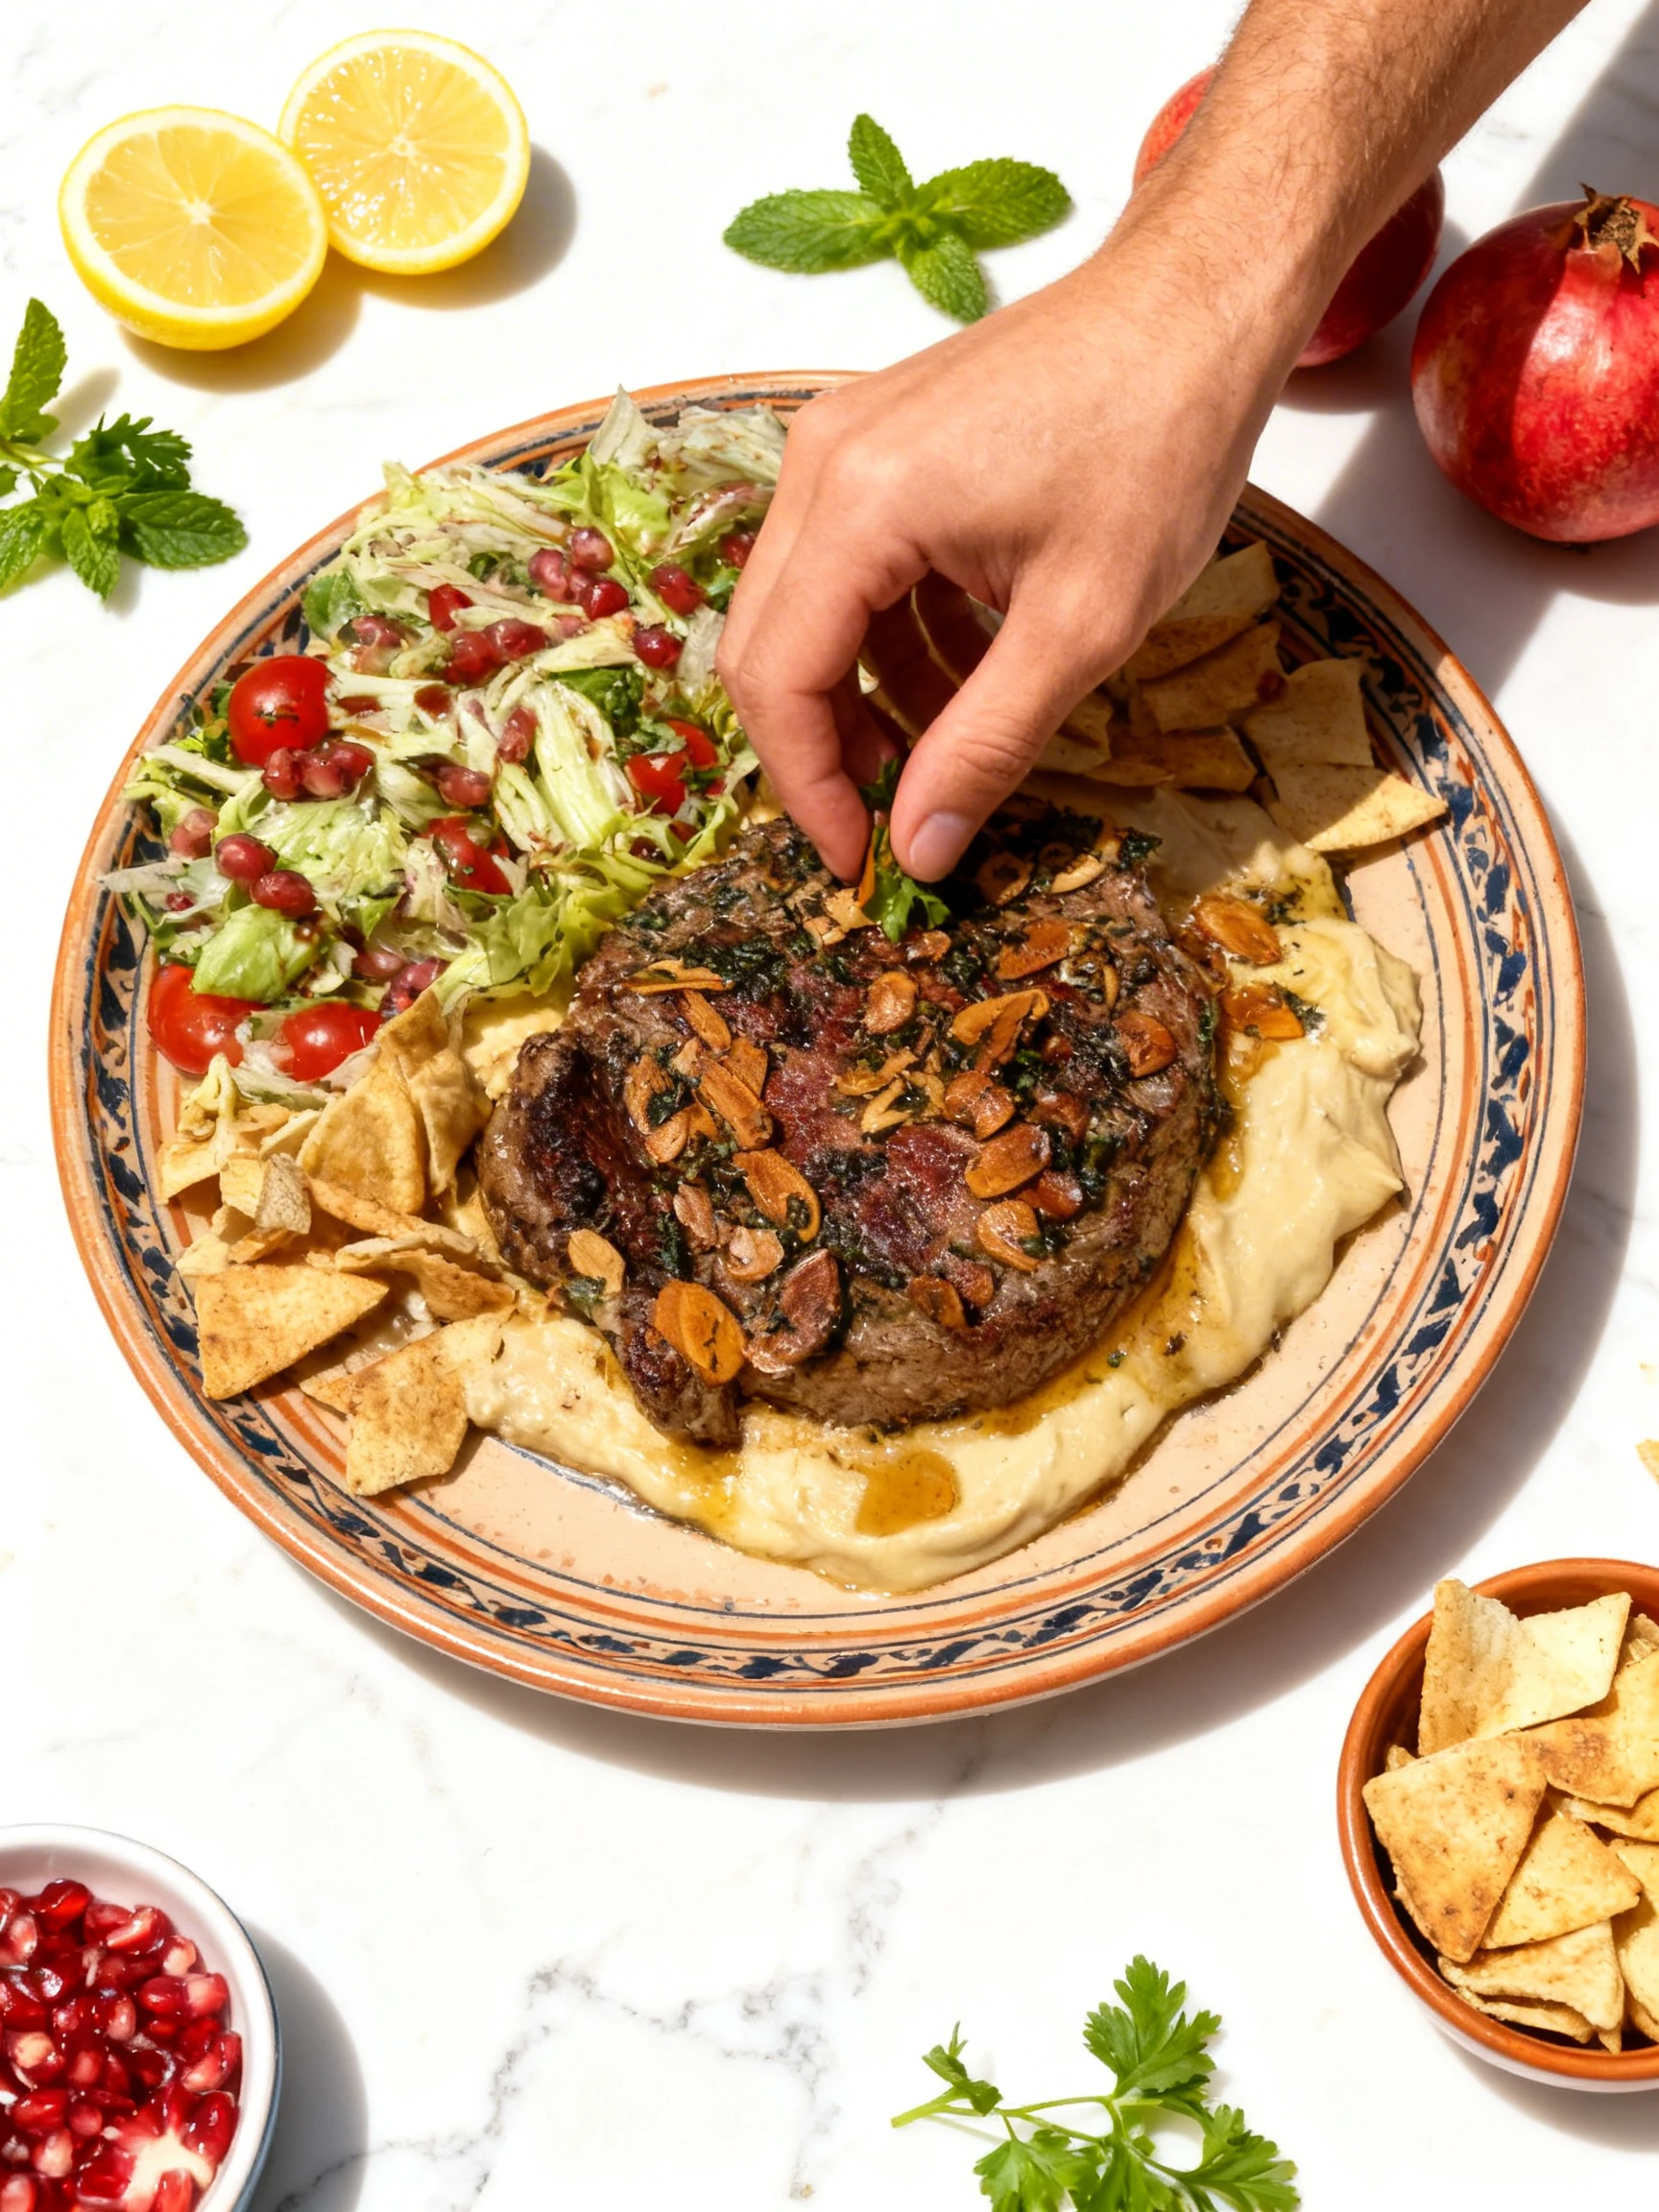
Macarons Food Photography Examples
14 real macarons photos from working restaurants — all enhanced by AI in under 30 seconds, not staged or AI-generated.
Get results like these for your restaurant
Upload your food photos and get studio-quality results in under 30 seconds. No photography skills needed.
Trusted by restaurants worldwide
“Our Uber Eats orders went up 35% after we updated all our menu photos with MenuPhotoAI. The difference is night and day.”
Maria R.
Owner, Italian Bistro
“We used to pay $800 per photoshoot. Now we spend $39/month and update photos whenever we change the menu. Incredible ROI.”
James C.
Head Chef, Asian Fusion
“Customers tell us they chose our restaurant over competitors because the food photos looked more appetizing. Game changer.”
Sarah T.
Manager, Farm-to-Table
Macarons Photography Tips
Showcase the macaron foot from the side
The macaron foot (the fluted base) is a quality indicator. Shoot from 45 degrees side angle with a light angled perpendicular to the shell. This reveals the foot texture and proves proper baking technique.
Soft backlighting for shell sheen
Macaron shells should have a smooth, glossy finish. Backlighting at 90 degrees reveals the smooth surface without creating harsh shadows. Avoid overhead shooting; macarons need depth from a 45-degree angle.
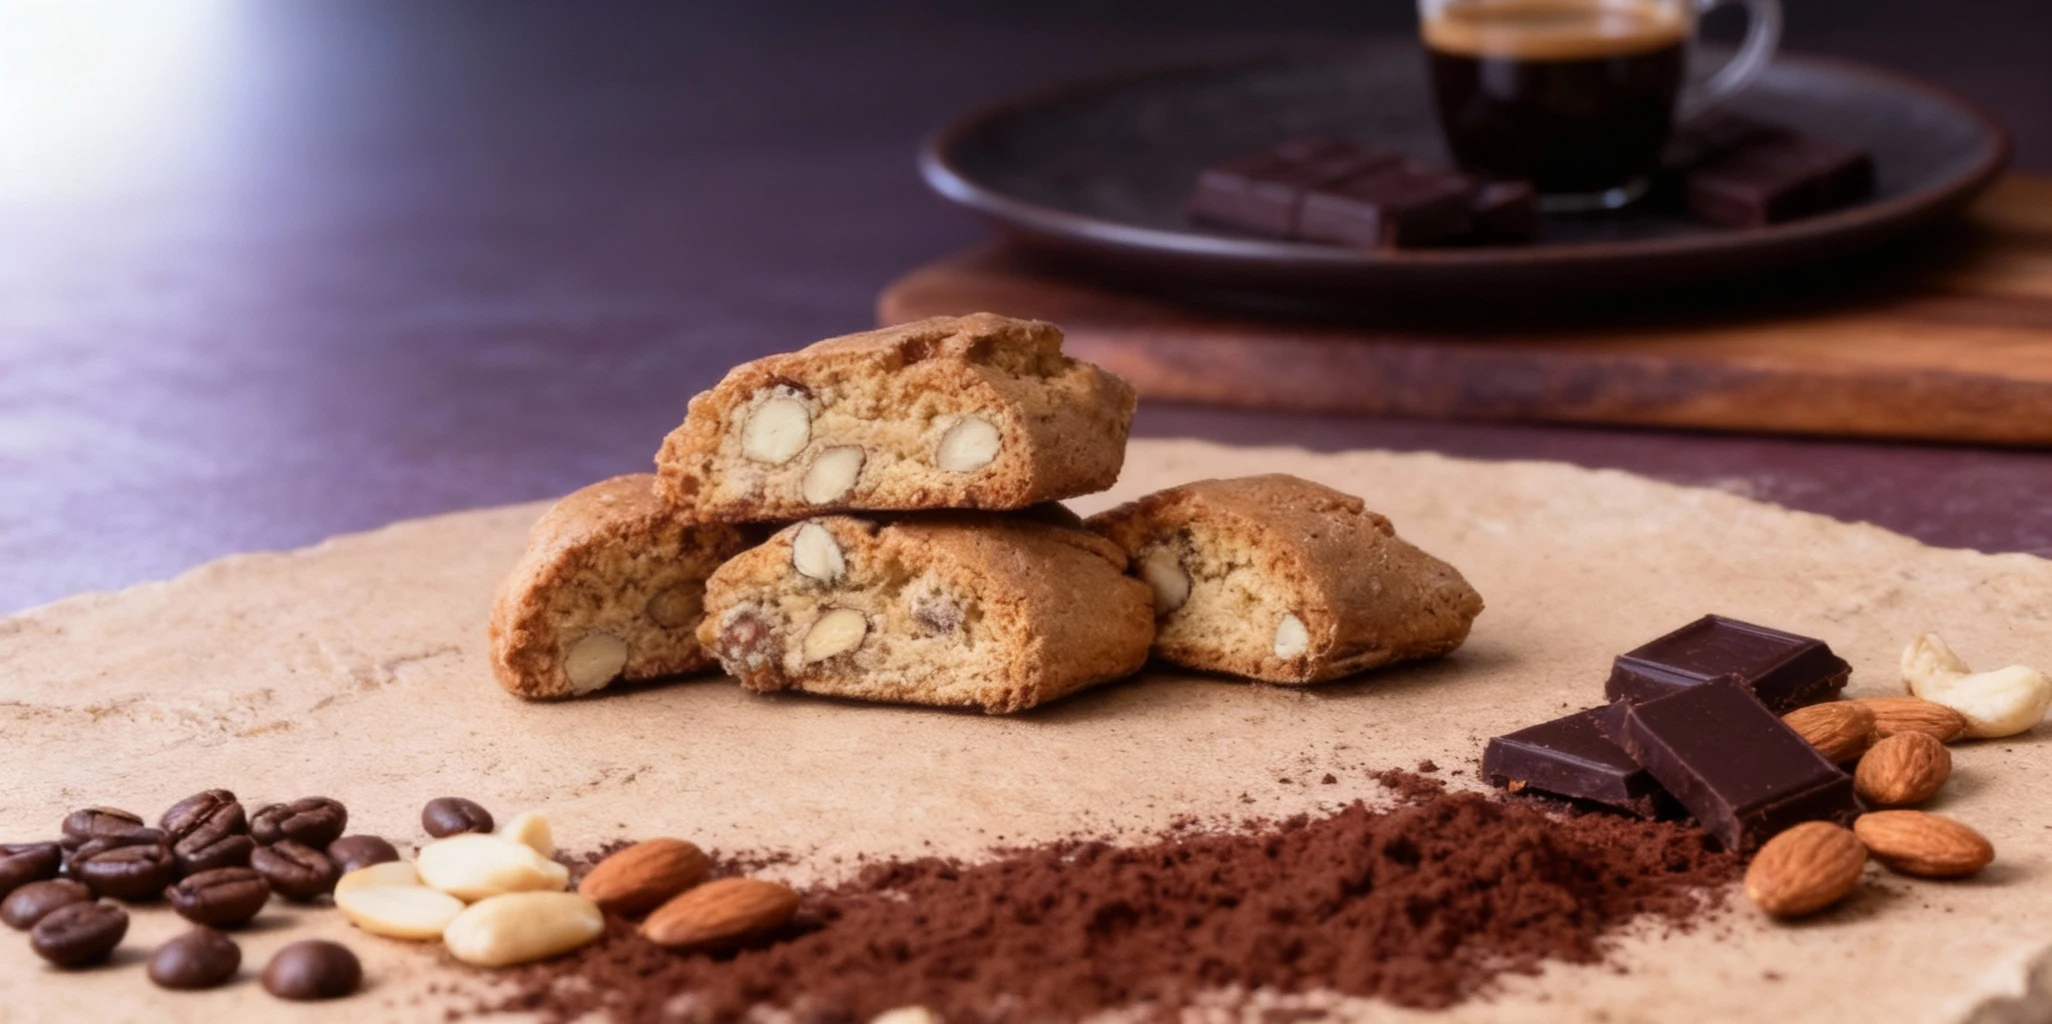
Macro focus on the filling sandwich
The ganache or cream filling is only visible from the side. Use shallow depth of field to focus on a macaron's edge showing the filling layer, proving a thick, quality interior that justifies premium pricing.
More food photography examples
Frequently Asked Questions
What is the best angle to photograph macarons?+
Photograph macarons at the angle that reveals its hero element — for layered or stacked dishes that means eye-level, for sauced or topped dishes that means 30 to 45 degrees, and for cross-section reveals (think a sliced burger or layered cake) shoot straight on.
What is the hardest part of macarons food photography?+
Cutting a croissant within 15 minutes of baking to show lamination layers before heat and moisture compress them flat. Working fast — and pre-setting your frame, lighting, and props before the dish leaves the kitchen — is what separates restaurant photos that look professional from ones that look like phone snaps. Our Bakery photography guide covers the full workflow.
What kind of lighting works best for macarons photos?+
Side raking natural window light to reveal crust texture and crumb structure. Direct overhead flash flattens the surface gloss that makes food look fresh, so use a single soft directional source — natural window light or a softbox — and bounce the opposite side with a white card. The closer the light is to the dish, the softer and more flattering it looks.
What is one styling tip for macarons that most restaurants miss?+
Showcase the macaron foot from the side: The macaron foot (the fluted base) is a quality indicator. Shoot from 45 degrees side angle with a light angled perpendicular to the shell. This reveals the foot texture and proves proper baking technique.
How much does professional macarons food photography cost?+
A traditional photo shoot for macarons typically runs $150 to $500 per image when you factor in the photographer, food stylist, props, and editing. AI enhancement tools like MenuPhotoAI start at $0 with 5 free credits and continue at $39/month for 25 photos — making restaurant-grade macarons photos accessible to any kitchen. Browse the 14 macarons examples on this page — every image was originally a phone photo.
Make your macarons photos look like these
Upload one photo and see the result in 30 seconds. 5 free credits, no credit card needed.
Get Started FreeReal results from MenuPhotoAI users. Individual results may vary based on original photo quality.